Useful Information About Portland & My Recommendations

Columbia River Gorge
For those of you visiting the area next week, I thought it might be helpful to provide some information about Portland. Feel free to send me an email if you have any questions.
Public Transportation
The Portland TriMet bus and rail system is good, but unfortunately there will be some disruptions to its regular operation due to construction starting August 4. There is also a separate rail system called Portland Streetcar, which is especially useful in the downtown area and provides an alternative transit option to TriMet. Normally, traveling from the airport to downtown is easy by TriMet rail (called MAX), but extra research will be needed to find your way during this construction. Here is more information.

A Rose City rose
Portland TriMet Rail System Map
August 4 - 17 TriMet Temporary Map
Lyft and Uber are plentiful and convenient. At PDX (Portland Airport), there is a ride share pick-up area after you exit the baggage claim on the lower level. It is on the island across the street and is clearly marked.
Parking
Street parking uses a system where you pay for the desired amount of time at a pay station, usually somewhere on the block where you parked. The machine takes coins or credit card and prints a ticket which you display on the window facing the sidewalk. The good part is that you can move your car to another spot and use any leftover time on the ticket there. There is also a parking app, which I haven’t used. There are various parking zones with different rates, and it’s also important to know that there are parking spots for 2, 3, 4, or 5 hour time limits, which are shown in big numbers on each block. You can find this information on these interactive maps:
City of Portland Parking Zones
There are also a few parking garages around Portland State University (PSU). Below is a map where I circled the two buildings where all activities will take place along with the two closest parking garages. There are a lot of one-way streets in the downtown area so it’s good to make note of this.

Things from my garden, but these and more are found at the farmer’s market
Farmer’s Market
There is a fantastic farmer’s market right next to PSU at the Park Blocks on Saturdays 8:30am - 2:00pm. It’s huge and there are lots of samples, coffee, prepared food booths, live music, and more. I highly recommend getting up early and checking it out before it gets too crowded. This also means that parking and traffic will be very busy all around PSU that day so it would be a good idea to plan ahead.
Portland Farmer’s Market Website
Powell’s Books
Powell’s is a legendary bookstore for good reason. Don’t miss going there. There’s a coffee shop inside, plus lots of quirky non-book merchandise that would be perfect gifts for yourself or someone at home. If you are like me, you won’t be able to leave the store empty handed so it might be wise to plan your luggage situation with this in mind. There are a few locations but the downtown one is the place you want to be. It’s also a one-minute walk from Deschutes Brewery.

The famous and delicious Deschutes beer
Great Beer
Portland is called Beervana, which I think is quite appropriate. There is a dizzying number of breweries and great beer bars here. As difficult as it was, I narrowed down my list of favorites to just 10 places. There are many, many more.
Belmont Station
Deschutes Brewery
Montavilla Brew Works
Cascade Barrel House
Occidental Brewing
Breakside Brewery
Von Ebert Brewery
Wayfinder Beer
Hopworks Urban Brewery
Saraveza

Montavilla Brew Works flight

Fish and Chips at Portland Fish Market
Great Food
There is also a lot of good food in Portland, and the town is well known for the many food cart pods scattered around. This website will help you plan a pod pilgrimage.
http://www.foodcartsportland.com/maps/
Here is a list of some of my favorite food places:

Multnomah Falls
Pine State Biscuits
Ken’s Artisan Pizza
Ken’s Artisan Bakery
Trifecta Tavern
Cheese Bar
St. Honore Boulangerie
Kale
Lardo
Bunk Sandwiches
Ruby Jewel Ice Cream
Stumptown Coffee
Water Avenue Coffee
Barista
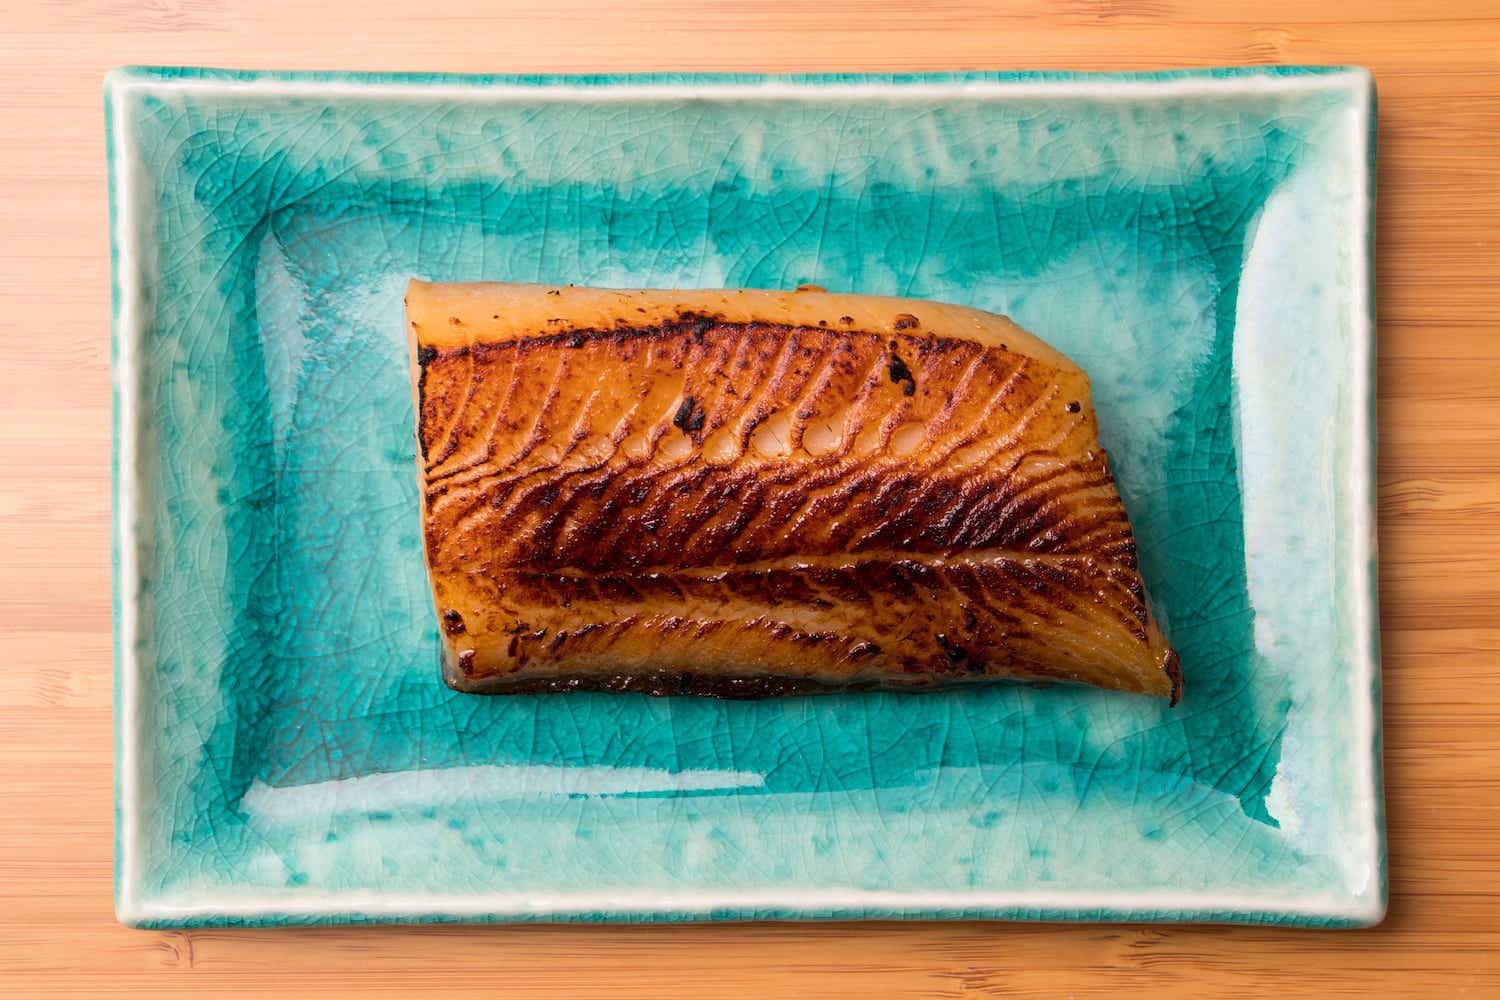
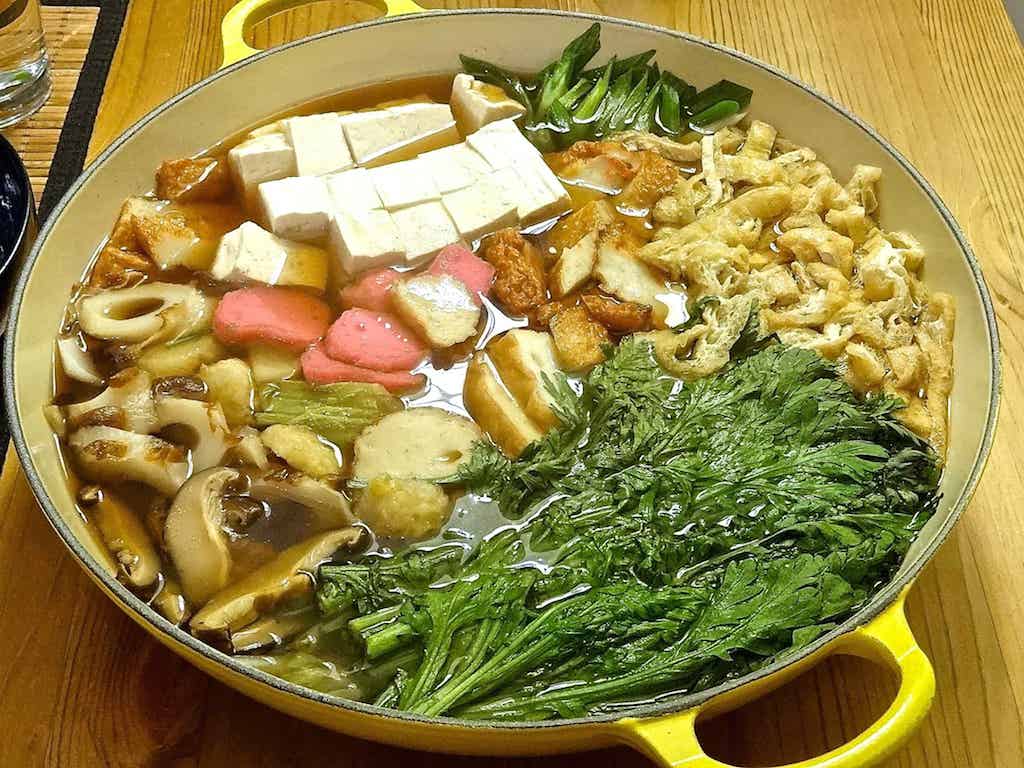
Ota Tofu
Olympia Provisions
Kayo Ramen
Portland Fish Market Fish & Chips
For more food info, the main Oregon newspaper made their own lists of 40 top restaurants and 40 top inexpensive restaurants:
Other Activities
Multnomah Falls - a 30 minute drive into the Columbia River Gorge
Portland International Rose Test Garden is beautiful and free (Portland is also called Rose City)
Portland Japanese Garden
Shopping: Mississippi Avenue (I recommend The Meadow for salt and chocolate)
Shopping: NW 23rd Avenue (there is also a second location of The Meadow here)
Washington Park - great escape into the woods next to downtown
Belmont Goats - local celebrities
Oregon Coast - Cannon Beach is beautiful and worth the drive from Portland
Uwajimaya - big Japanese grocery store in Beaverton
Giraffe - little Japanese deli with bento, onigiri, sandwiches
Wineries - Oregon pinot noir is well known, but there are a lot of other great wines made here
Distillery Row - you can walk and hit several craft distilleries
PDX - the airport here is always rated at the top of national rankings, with good food, beer, coffee, gifts, movie theater, etc.

Cannon Beach