Making Fermented Corn Relish

Fermented corn relish
Grilled corn on the cob is one of my favorite summertime treats, but this fermented corn relish is equally delicious. Like many fermentation-related projects, I learned about this technique from Sandor Katz's definitive fermentation guide The Art of Fermentation. On page 215, Katz describes the traditional Native American method of fermenting corn on or off the cob in a brine. April McGregor, a Cherokee folklorist quoted in the book, recommends using a 5% brine (about 3 tablespoons salt to 1 liter water). For the last few years I have roughly followed Katz’s recipe from a 2012 New York Times article. Just like my sauerkraut, kimchi, and dill pickle method, I prefer to use percentages with weighed ingredients for precision, consistency, and control in adjusting to my personal preference. But this would be easy to make without measuring anything and simply adding salt to taste, and there is a lot of room for variation with herbs, fruits, other seasoning as well as the salt, heat, and acidity level. Of course, the highest quality ingredients will provide the best results. Here is the basic recipe from my first batch of 2017 using only things from my garden and the farmers market.

Fermented Corn Relish
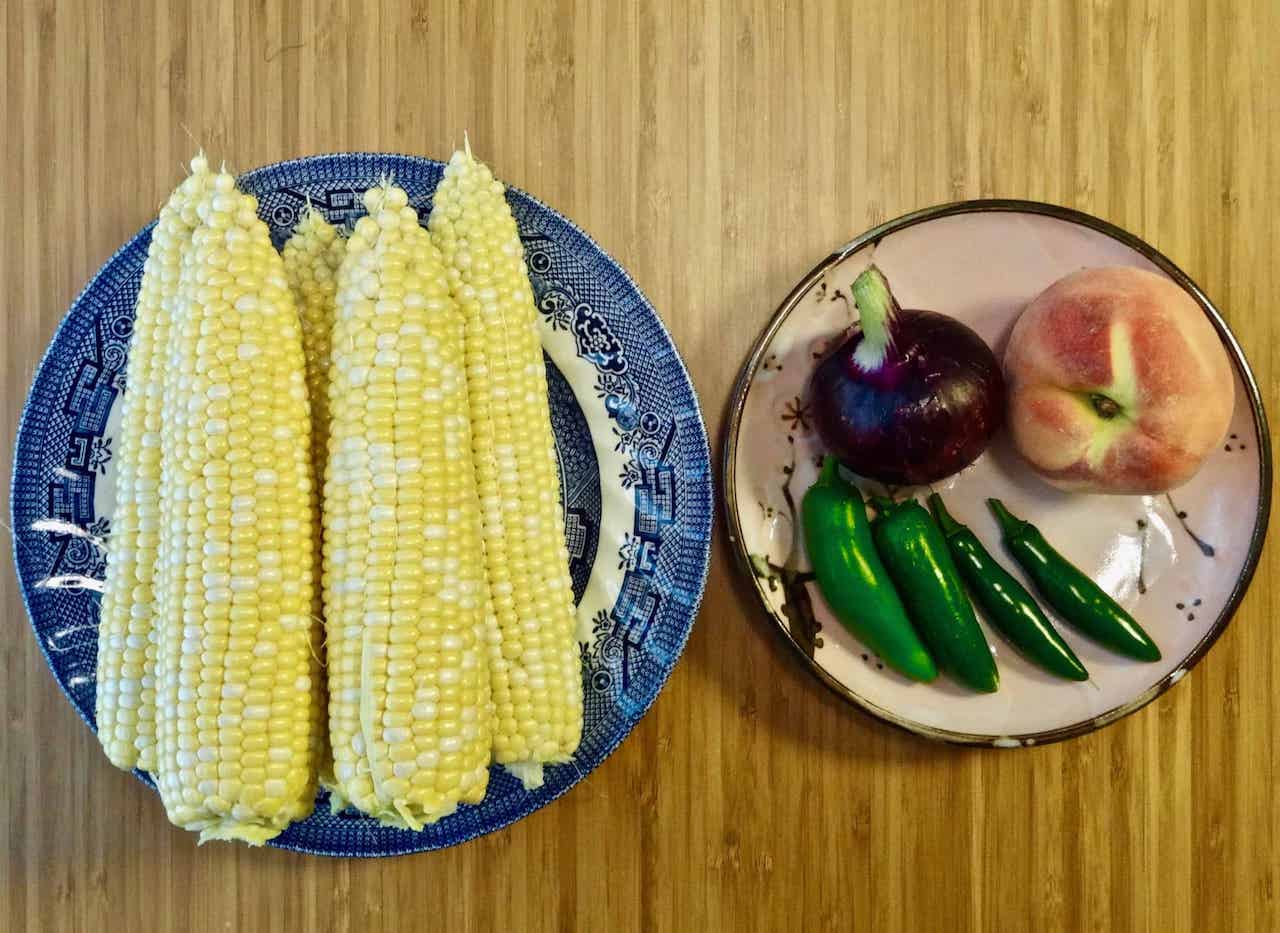
5 ears corn (680g)
1 peach (170g)
1 red onion (120g)
2 jalapeno peppers, seeds included
2 serrano peppers, seeds removed
15g sea salt (1 tablespoon)
1. Cut kernels off corn cob. It’s easiest to invert a small bowl inside of a large bowl as a stand for the corn cob. Use a sharp knife to cut kernels, then scrape the pulp with a spoon or back of the knife. Chop peach and onion. Mix with salt and let sit at least 1 hour, then squeeze to release juices. I used 1.5% salt of the total weight of 970g.

2. Mince peppers and add to corn mixture. It’s important to taste chiles due to their variation in heat level. This time I decided to keep the jalapeno seeds and remove the serrano seeds. You can also just use sweet peppers.

3. Stuff into a jar and press down to submerge in juices. This batch didn’t all fit into a 1 liter mason jar so I used a second 1 cup jar. The airlock is not required. I fermented for 2 days at 75 - 80 degrees F room temperature, resulting in a good balance of salt, heat, acid, and fermented flavor. Colder temperature might need more time for fermentation so always taste to check progress. It will keep in the refrigerator for weeks and months, though I always eat it up before that.