How to make yuzu kosho

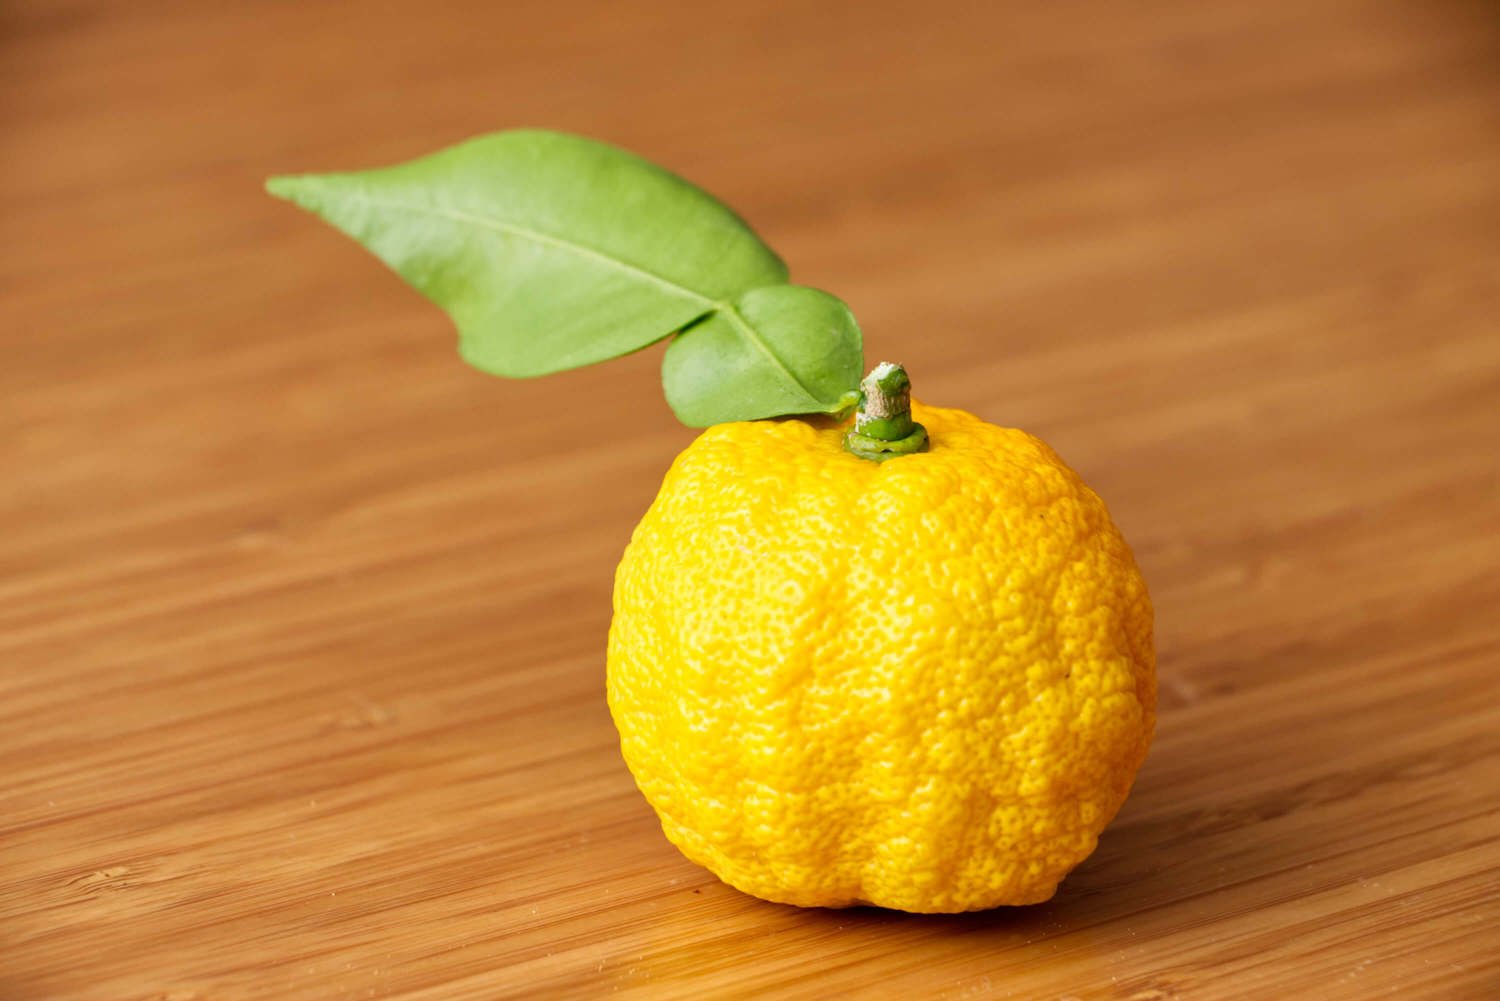
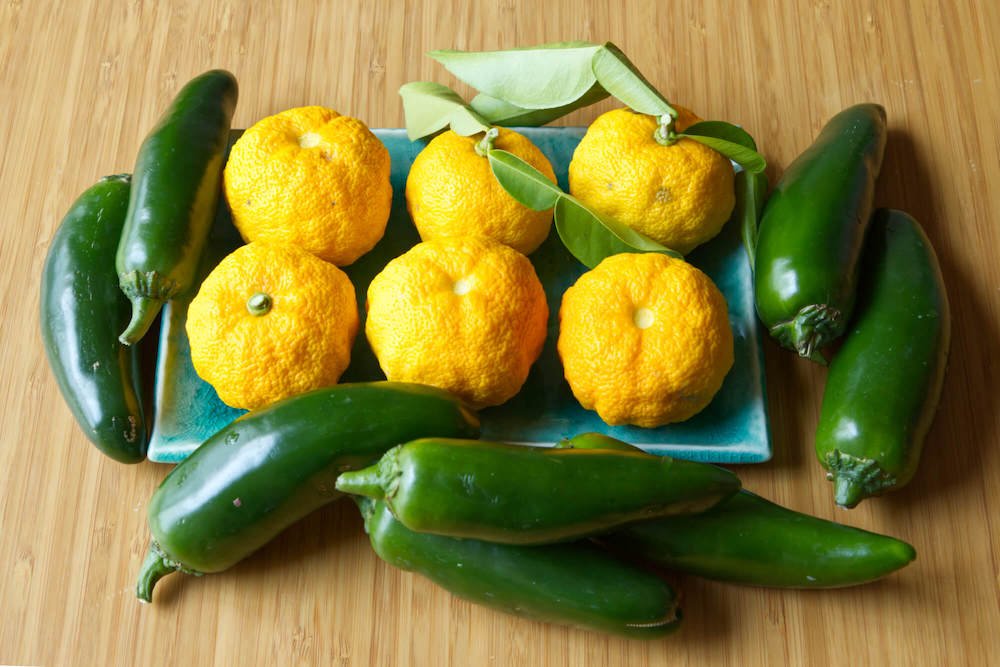
Is there a citrus fruit more amazingly intoxicating than yuzu? It’s my favorite by far, and I don’t think it’s only because I grew up with a huge yuzu tree in the back yard. I often see aroma descriptors that combine lemon, grapefruit, and orange but to me they don’t quite convey the magic of yuzu. Outside of Japan, they are hard to find, expensive, and typically not fresh and vibrant, so my solution was to grow it at home. After buying a small potted yuzu tree at the local nursery 3 years ago, it finally produced around 20 fruits this year. I can’t overstate how precious these yellow fruits were as they slowly grew from flower to pea-size to lime-size and finally turning yellow in late fall.

Yuzu peel is great on so many things like udon, soba, nabemono, pickles, salad, and pretty much anything. The juice mixed with equal parts shoyu makes a fantastic ponzu for dipping anything. I decided to make yuzu kosho to take full advantage of the fresh fruit by stretching it out with green chiles and preserving it with salt for longer storage. I found various recipe in books and online with a wide range of methods and ingredient ratios, but most only contain 3 ingredients. I decided to use equal parts yuzu peel and jalapeno with 10% salt by weight. This salt amount is on the lower side of the recipes I saw but I think it’s more than enough. I would use less salt if eating the yuzu kosho while fresh, but more salt if the goal was longer storage in the fridge.

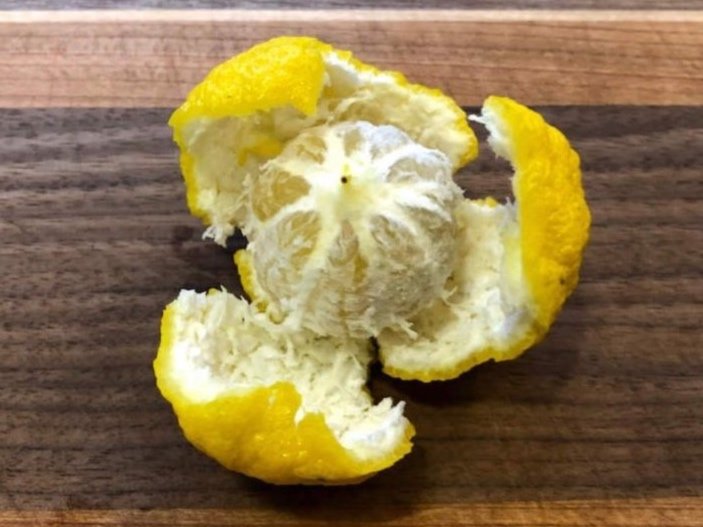
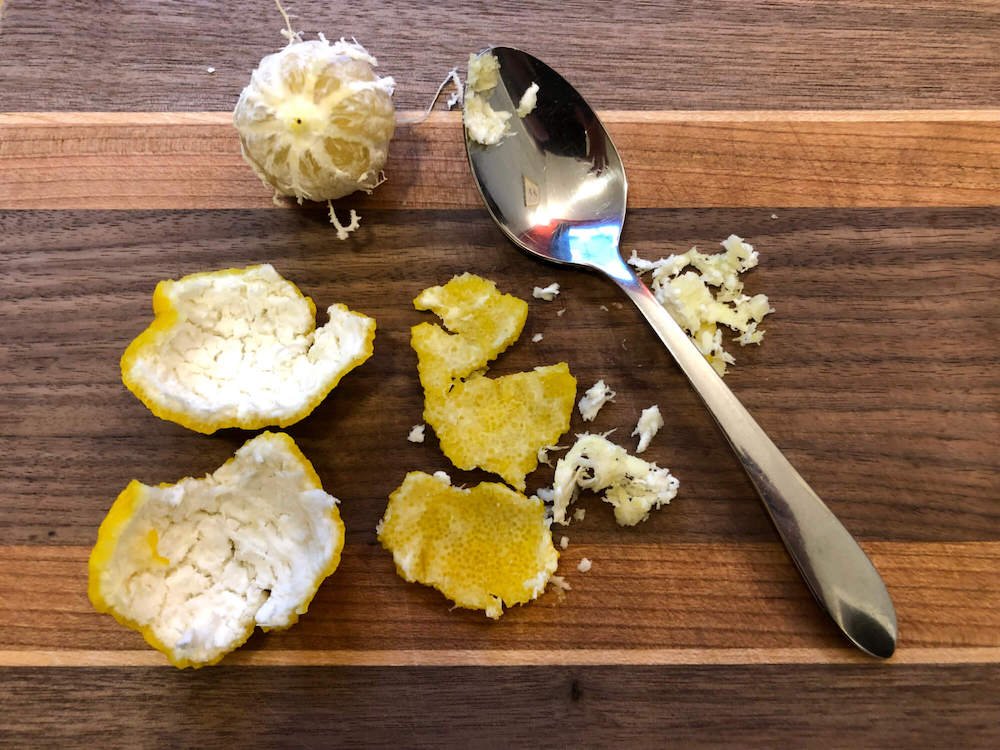
While many recipes use a food processor, I decided to make it in batches in my biggest mortar and pestle. For this method, it’s important to mince the yuzu peel and chiles as finely as possible. I learned about a great way to maximize the yield of yuzu peel without getting the white pith on this MIKLIA recipe where you peel it by hand and use a spoon to gently remove the pith. It works great and I will always process yuzu peel this way in the future.

This recipe turned out to be very delicious, but I would prefer a more pronounced chile flavor and heat. In late December I wasn’t able to find the variety of chiles that are available in summer and early fall so jalapeno was the only option I had. The had virtually no heat so my yuzu kosho was more mild than the typical versions in Japan where green or red togarashi chile are often used. I think a blend of chiles such as serrano, togarashi, habanada, habanero, and cayenne would add a lot of fruity and spicy character. Next year, I will try to work on the timing of my yuzu ripening with the availability of home-grown chiles. I am satisfied with this ratio of yuzu, chile, and salt.
Yuzu kosho is delicious when added to noodles, hotpot, sashimi, tofu, soup, tenpura, and many other foods. I added some to natto and it was spectacular. Of course you can purchase shelf-stable jars of yuzu kosho at an Asian grocer with the understanding that the home-made version is something completely different. If yuzu is unavailable, I think it’s worth trying the recipe with a blend of other citrus. I might try 3 meyer lemon, 1 grapefruit, and 1 navel orange (or blood orange) as a starting point. Or make them separately and blend after to find the ratio you enjoy. Have fun mixing your yuzu kosho into anything you like, although I would personally not put it into the bathtub.

Yuzu Kosho
150g yuzu peel, fine mince (around 8 medium)
150g jalapeno, fine mince (around 6 large)
30g sea salt (10% of total weight of yuzu and jalapeno)

  1. Peel yuzu by hand and remove pith with a spoon, then mince finely.

  2. Remove seeds from jalapeno chiles and mince finely.

  3. Combine with salt and pound into a paste in mortar and pestle (in batches depending on amount).

  4. Store in fridge or freezer.

A Simple Recipe for Cauliflower Vinegar Pickles

Vinegar-pickled cauliflower, carrot, and celery

Vinegar-pickled cauliflower, carrot, and celery

Vinegar-pickled vegetables are easy to make and I always have some in my fridge along with jars of fermented vegetables. In contrast to fermented pickles where the acidity is produced by lactobacillus fermentation, vinegar pickles - often called ‘quick pickles’ - are made simply by covering the vegetables with a vinegar brine and stored in the fridge. There are many recipe variations out there but it’s good to start with one recipe as a baseline and adjust the ingredient ratios to please your own taste. Here I decided to use cauliflower because I recently tasted a good version at Aloha Beer Co in Honolulu (I usually make vinegar pickles with red onions or cucumbers). Tart pickles make a great accompaniment to any foods that will benefit from a sharp counterpoint. There are many classic examples of such pairings out there: capers on pizza, dill pickles on burgers, sauerkraut on hot dogs, pickled daikon on bahn mi, rice and egg with kimchi. Condiments like ketchup, mustard, relish, yogurt, lemon juice, and hot sauce all serve the same purpose of accenting and complementing the main elements.

Pickled red onion

Pickled red onion

This basic method calls you to heat the brine ingredients (vinegar, water, salt, sugar, spices) until everything is dissolved. The vinegar-water ratio is flexible depending on the preferred acidity. I usually make a 1-1 brine with rice vinegar, but here I made it slightly less tart because of the relatively subtle flavor of cauliflower. Other vinegars like apple cider or distilled can be used as long as you are aware of the varying acidity levels found in different vinegars. The salt and sugar amounts will also make a difference so you can change the amounts depending on how sweet and salty you like these pickles. The seasonings are completely interchangeable. I almost always try a different blend of spices each time, and it always tastes good. These pickles involve very little time and monetary investment so it’s easy to experiment with any ideas you come up with. One optional step is to blanch the vegetable before adding the brine. I usually don’t precook the vegetables but several recipe sources for cauliflower pickles instructed a quick blanch. Instead of doing this separately, I decided to toss it in the pan with the brine and let simmer for 1 minute. I’m not sure if this step was necessary - you can decide for yourself if you think it’s worth doing. You can eat this pickle immediately, or place it in the fridge after cooling where it will keep for many months without a problem. This recipe fits a 1 quart Mason jar easily.


Cauliflower Vinegar Pickle
250g cauliflower florets (about 1/2 of a large head)
1 carrot, in sticks
1 stalk celery, in sticks
1 cup water
3/4 cup rice vinegar
1 tablespoon salt
1 tablespoon sugar
2 garlic cloves
1 dried cayenne
bay leaf
black pepper
coriander seed

All ingredients prepped

All ingredients prepped

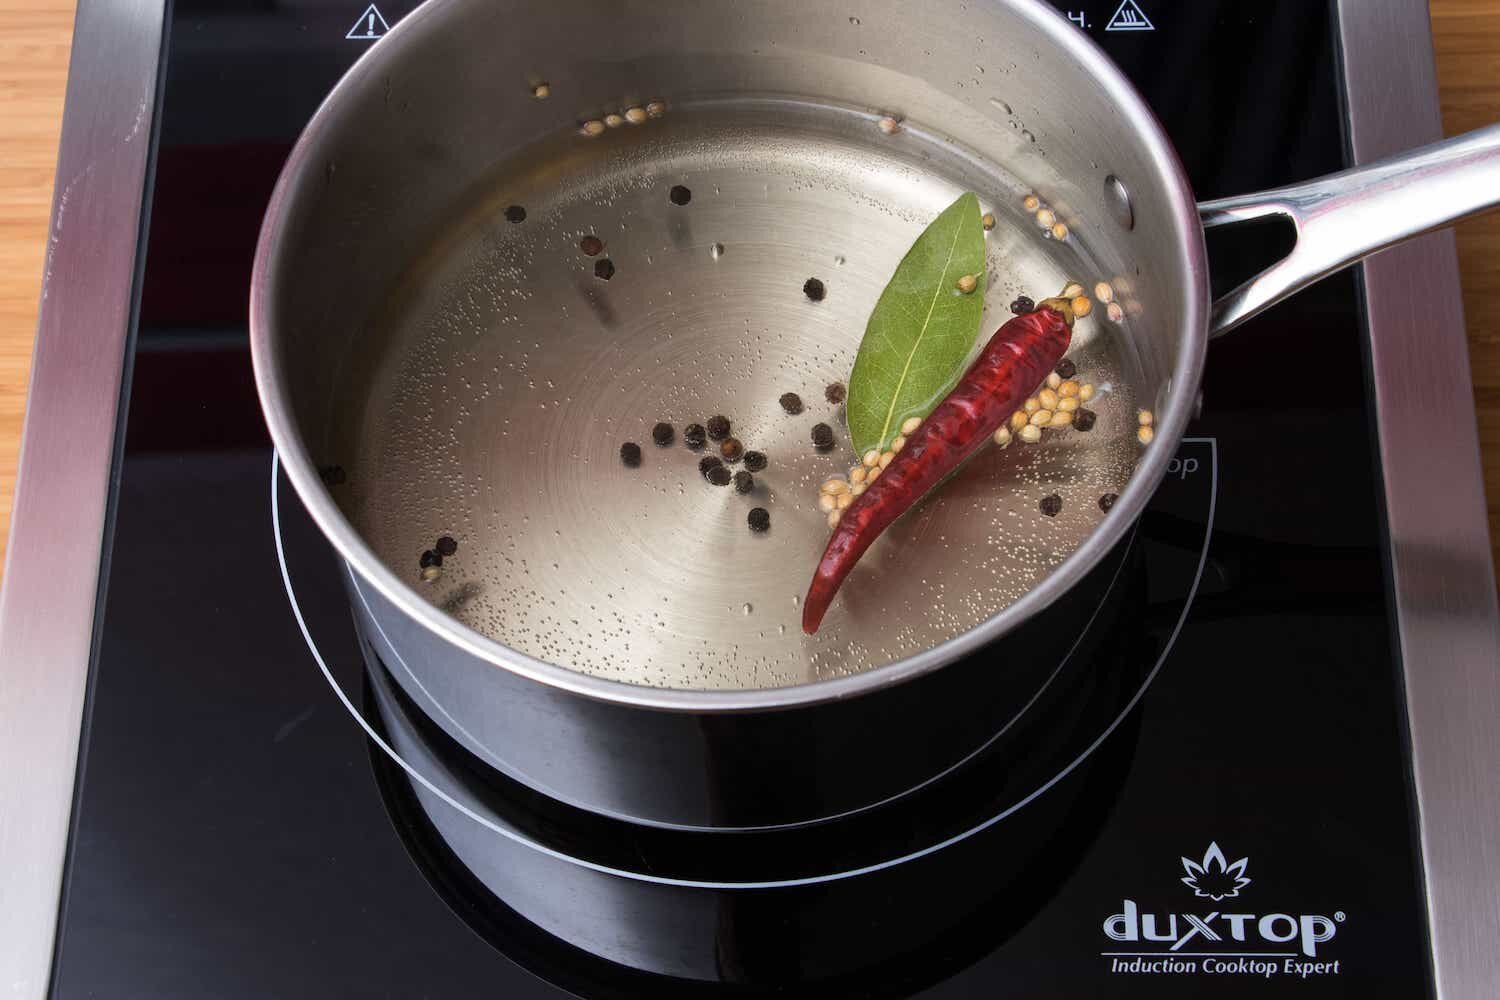
Vinegar, water, salt, sugar, spices - simmer and stir until dissolved

Vinegar, water, salt, sugar, spices - simmer and stir until dissolved

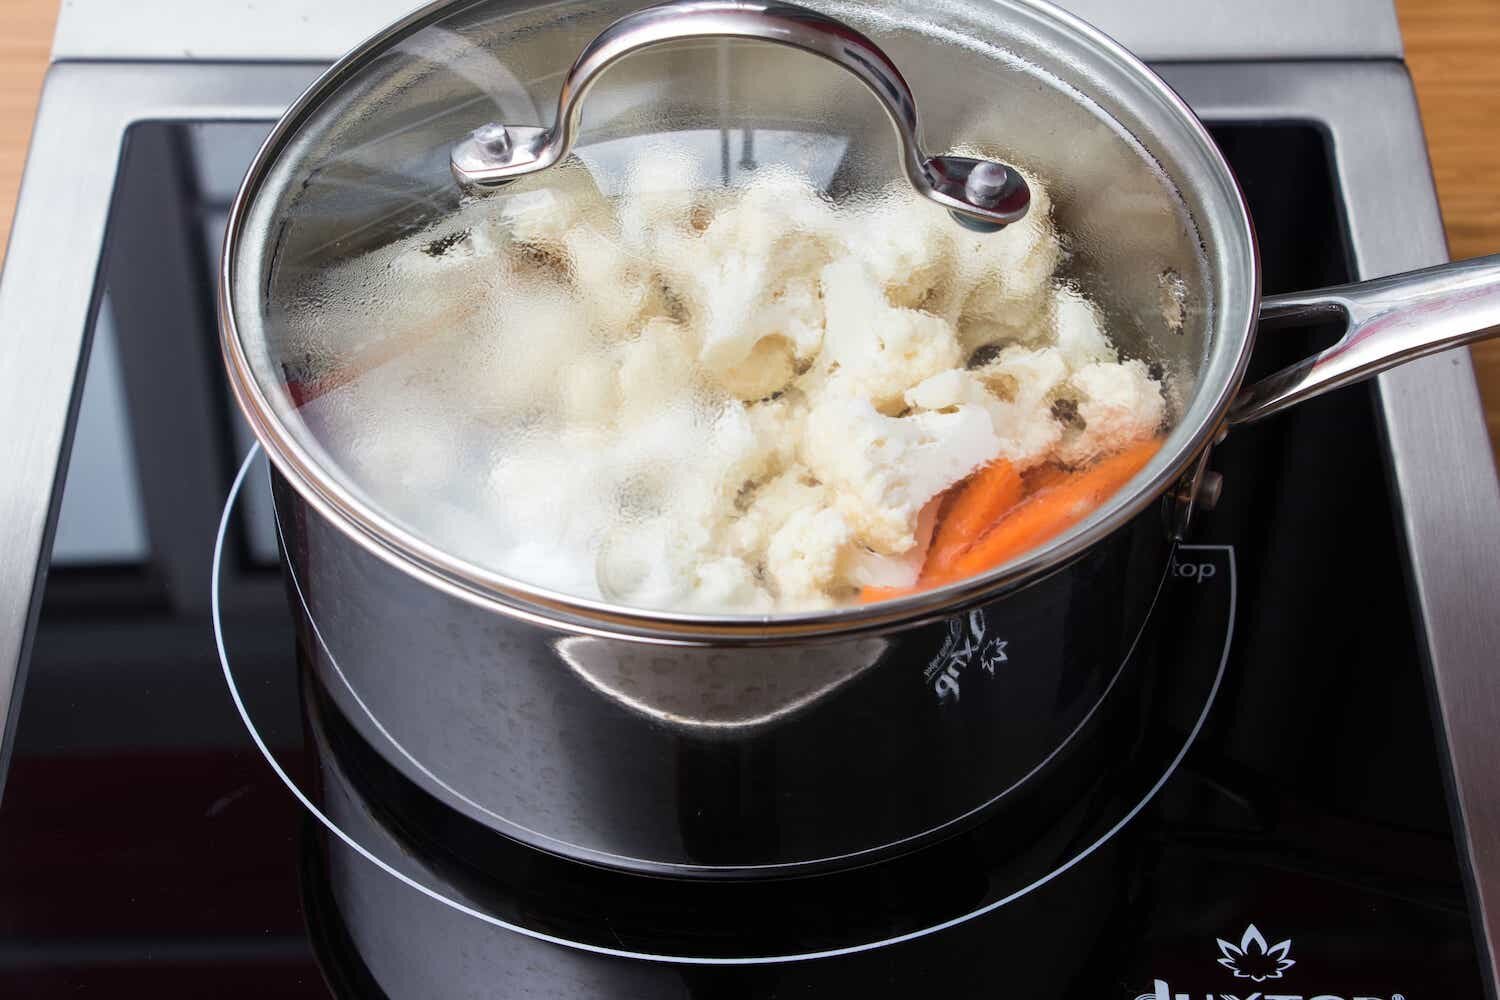
Add cauliflower, carrot, celery - cover and simmer 1 minute

Add cauliflower, carrot, celery - cover and simmer 1 minute

Pack everything into a 1 quart Mason or Ball jar, let cool, cover, and refrigerate

Pack everything into a 1 quart Mason or Ball jar, let cool, cover, and refrigerate

All dry ingredients on a board

All dry ingredients on a board

How to Make Miso Butterfish at Home

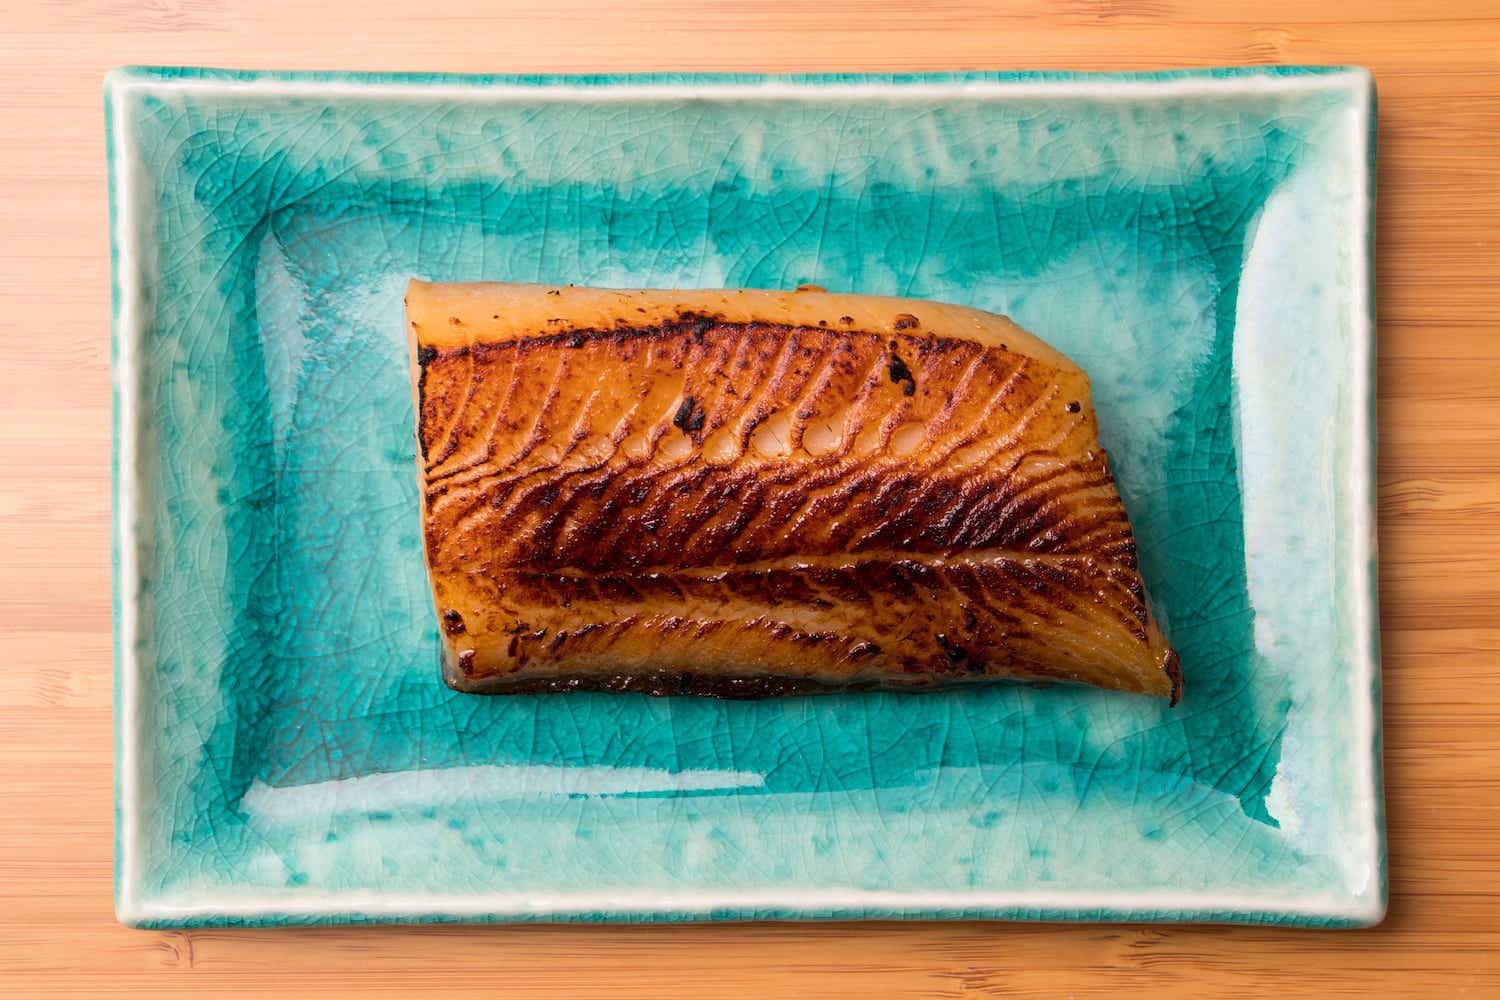
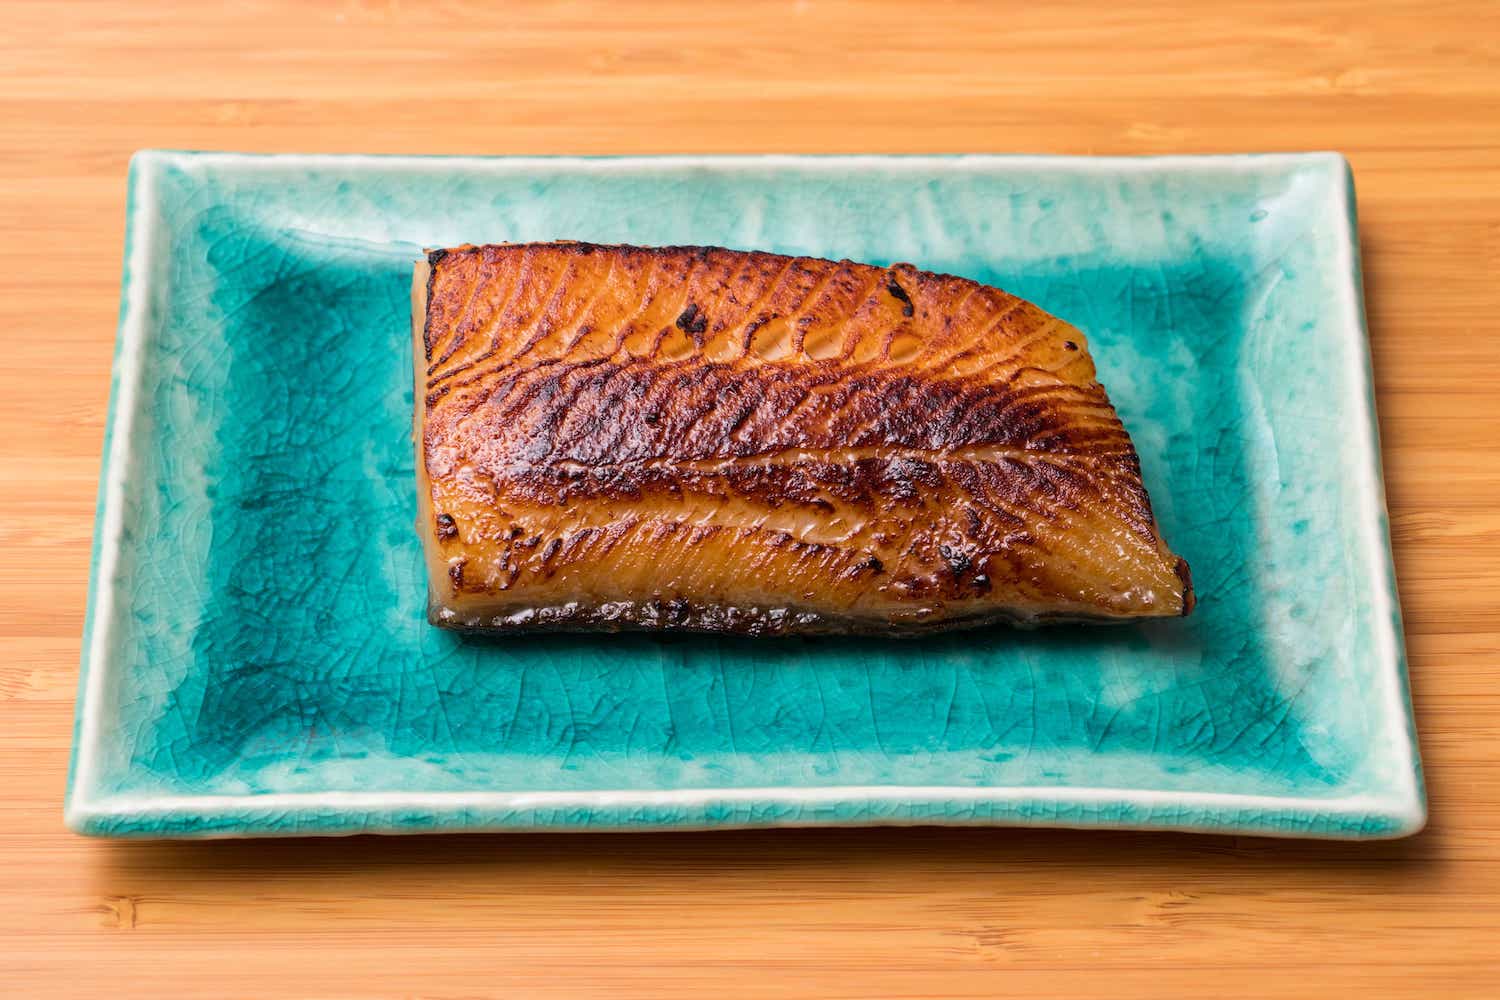
Delicious miso butterfish

Delicious miso butterfish

Miso butterfish is simple to make and incredibly delicious. It really hits many of our buttons: rich texture, fermented umami flavor, caramelization, sweetness, and salt. Most people credit the chef Nobu Matsuhisa for popularizing this recipe which contains only five ingredients. My version is messily penciled on a small piece of paper and I don’t recall where I found this ratio or exactly when I wrote it down (it was a long time ago). You can find the Nobu version with a quick online search too, and I would encourage experimentation with the balance of the four marinade ingredients in order to find the ratio that tastes best to you. I often change the amounts or even leave out ingredients or steps, and it still tastes very good. 

Butterfish is also known as sablefish and black cod, and in Japan, gindara. It has very high oil content, which makes it a great pairing with sweet-salty miso and the umami of sake. Because of the fattiness, butterfish is quite forgiving compared to other fish so the danger of overcooking is not as imminent. This recipe can work well with other oily fish like sockeye salmon and albacore tuna. It can be made with fillets or steaks, as long as the fish is fresh and of high quality. You can easily scale this recipe up or down depending on how much fish you have.

Miso Butterfish
1/4 cup sake
1/4 cup mirin
1/4 cup white miso
3 tablespoons white sugar
1 or 2 butterfish fillets or steaks

  1. In a small pan, heat the sake and mirin, and boil for 20-30 seconds to burn off the alcohol.

  2. Remove from the heat and whisk in the sugar, followed by the miso.

  3. Chill the marinade, and add it to the fish in a container or ziplock bag.

  4. Marinate in the fridge for 2 - 4 days.

  5. Wipe off (don’t rinse) the marinade and cook. Grilling or broiling is best, but you can also brown it in a pan (nonstick or cast iron to avoid sticking to the pan). Sometimes I will cook it sous vide at 115F for 40 minutes, then brown it with a torch.

Keep in mind that the marinade is full of sugars and proteins so the fish can brown and burn quickly. The best way to be consistent is to monitor the internal temperature with an instant-read kitchen thermometer. My preference is 115 - 130F internal temperature, but some people might prefer to go higher for firmer texture or food safety concerns. Most sources cite 145F as the absolutely safe internal temperature for fish. To go lower, it’s recommended to freeze the fish for one week to kill any potential parasites. It’s always good to do your own research across multiple sources so that you can make informed decisions on topics like these.

Miso butterfish ingredients: miso, butterfish, sugar, mirin, sake

Miso butterfish ingredients: miso, butterfish, sugar, mirin, sake

Boil sake and mirin to vaporize the alcohol

Boil sake and mirin to vaporize the alcohol

Turn off heat and add miso and sugar

Turn off heat and add miso and sugar

Cool the marinade and place in a ziplock bag with the butterfish, then place in fridge for 2 - 4 days

Cool the marinade and place in a ziplock bag with the butterfish, then place in fridge for 2 - 4 days

Grill, broil, pan fry, or sous vide

Grill, broil, pan fry, or sous vide

How to Make Onigirazu - A Step by Step Pictorial

Willamette Valley rose with onigirazu (nori, brown rice, canned sardines, grilled zucchini and peppers, lettuce, shiso, and shoyu-balsamic vinaigrette). There are no rules.

Willamette Valley rose with onigirazu (nori, brown rice, canned sardines, grilled zucchini and peppers, lettuce, shiso, and shoyu-balsamic vinaigrette). There are no rules.

Onigirazu is a fairly new food preparation which has been getting more popular in Japan over the last few years. Apparently, the idea first appeared in a comic book series 30 years ago, but it seems to be a newer trend among home cooks. I learned about it recently through an online article on the website of the Japanese supermarket Uwajimaya. The Japanese word onigirazu (おにぎらず) means ‘to not grip, or unsqueezed,’ referring to its main difference from the traditional rice ball called onigiri (おにぎり). Onigiri is a popular snack food where a flavorful ingredient (such as umeboshi, salted salmon, spicy cod roe, shiso, pickles, etc.) is placed into the center of the rice ball before squeezing into a triangle with wetted and salted hands. Wrapping nori around the onigiri is optional. Another similar preparation is makizushi (巻き寿司), which is rolled sushi made with seasoned sushi rice. To me, makizushi requires the most technical skill to build, along with the added step of having to make seasoned rice.

I was excited to discover the onigirazu concept because the format encourages improvisation. You can think of it as a sandwich but with the satisfying flavor and texture of rice. Because the nori contains everything like a burrito, the onigirazu can be stuffed with ingredients that might fall out of a sandwich, and the higher filling-to-rice ratio differentiates it from onigiri and makizushi. As I learn to make better onigirazu, it’s clear that there are still techniques waiting to be discovered for improving upon this basic method. In terms of ingredients, anything goes. Here, I had some leftover grilled vegetables and sausage to which I added some fresh cucumber, tomato, and herbs from the garden. It’s good to think about how sandwiches are made - adding condiments to the bread is typical - in order to make sure the rice is seasoned properly. Whereas bread has salt in it, rice does not and therefore needs seasoning. The onigiri has its exterior salted, but it makes more sense to season the inside of the onigirazu. Finally, every online recipe instructs us to wrap it tightly in plastic wrap for a couple of minutes so that the nori can adhere better. This works, but I’m skeptical that it is the single best method. More experimentation is needed to find alternative ways.


Making Onigirazu

IMG_4404 copy.jpg

The filling is prepped while the rice is cooking. Grilled vegetables (corn, sweet onion, zucchini, yellow pepper) and sausage, cucumber, and cherry tomato. I find it easier to eat if the ingredients are cut into smaller pieces.

IMG_4405 copy.jpg

One sheet of nori is placed on a piece of plastic wrap. The nori’s shiny side is facing down.

Hot rice is placed in a square shape. It helps to press down so that the shape is maintained for later steps.

IMG_4407 copy.jpg

It’s important to season the rice with salt (or furikake) and…

…sauce made with homemade mayonnaise, homemade miso, and shichimi. Anything can be used, and a good source of inspiration might be to ask yourself, “what do I like on sandwiches, burgers, hotdogs, tacos, onigiri, makizushi, or anything else resembling such foods?”

IMG_4409 copy.jpg

Begin stacking with the flatter filling items. I like to think about contrasting sweet, salty, rich, and acid. Grilled corn (sweet) and tomatoes (sweet, acid).

IMG_4410 copy.jpg

The richer ingredients of sausage and zucchini are added.

IMG_4411 copy.jpg

Finally, freshness is provided by the shredded shiso and other herbs and greens.,

IMG_4412 copy.jpg

Carefully mound more hot rice on top.

IMG_4413 copy.jpg

Bring in the opposing corners of nori and press lightly, holding for a moment for the nori to adhere to the rice.

IMG_4414 copy.jpg

Repeat with the other two opposing corners of nori. It takes some practice to fold it neatly like a wrapped present.

IMG_4416 copy.jpg

Tightly envelop with the plastic wrap, and then press down firmly. Let this sit for about one minute. This is the step that could use some rethinking.

IMG_4419 copy.jpg

Unwrap and use a sharp knife to cut into triangles because science has proven that triangles actually taste better than rectangles. Here, I poured my own Centennial IPA (using homegrown hops from 2017) in my Heater Allen glass. Located in McMinnville, Oregon, Heater Allen makes some of the very best lagers in the country.

Making Fermented Corn Relish

Fermented corn relish

Fermented corn relish

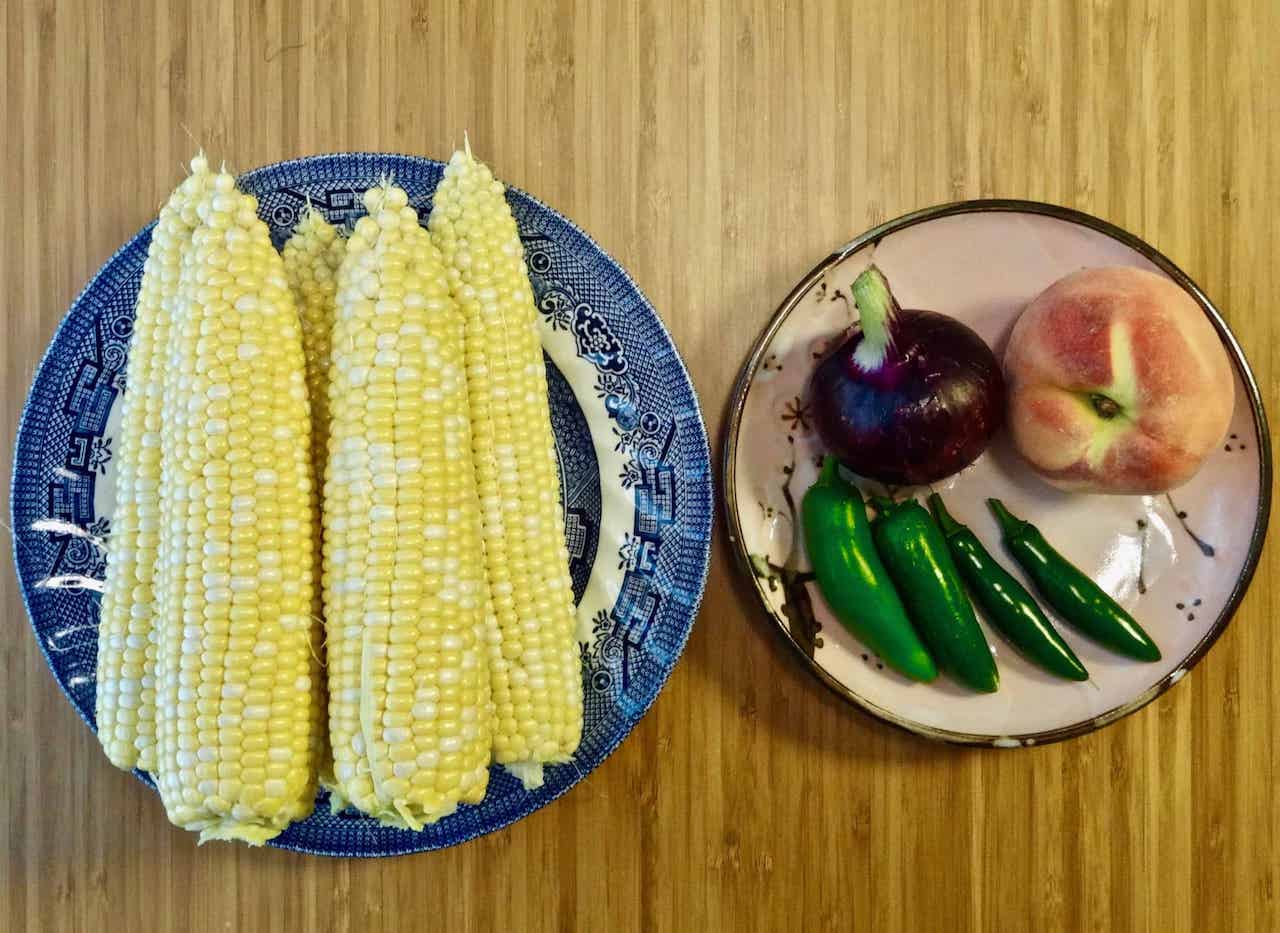
Grilled corn on the cob is one of my favorite summertime treats, but this fermented corn relish is equally delicious. Like many fermentation-related projects, I learned about this technique from Sandor Katz's definitive fermentation guide The Art of Fermentation. On page 215, Katz describes the traditional Native American method of fermenting corn on or off the cob in a brine. April McGregor, a Cherokee folklorist quoted in the book, recommends using a 5% brine (about 3 tablespoons salt to 1 liter water). For the last few years I have roughly followed Katz’s recipe from a 2012 New York Times article. Just like my sauerkraut, kimchi, and dill pickle method, I prefer to use percentages with weighed ingredients for precision, consistency, and control in adjusting to my personal preference. But this would be easy to make without measuring anything and simply adding salt to taste, and there is a lot of room for variation with herbs, fruits, other seasoning as well as the salt, heat, and acidity level. Of course, the highest quality ingredients will provide the best results. Here is the basic recipe from my first batch of 2017 using only things from my garden and the farmers market.

DSC03696.jpg
DSC03698.jpg

Fermented Corn Relish
5 ears corn (680g)
1 peach (170g)
1 red onion (120g)
2 jalapeno peppers, seeds included
2 serrano peppers, seeds removed
15g sea salt (1 tablespoon)

1. Cut kernels off corn cob. It’s easiest to invert a small bowl inside of a large bowl as a stand for the corn cob. Use a sharp knife to cut kernels, then scrape the pulp with a spoon or back of the knife. Chop peach and onion. Mix with salt and let sit at least 1 hour, then squeeze to release juices. I used 1.5% salt of the total weight of 970g.

DSC03701.jpg

2. Mince peppers and add to corn mixture. It’s important to taste chiles due to their variation in heat level. This time I decided to keep the jalapeno seeds and remove the serrano seeds. You can also just use sweet peppers.

DSC03705.jpg

3. Stuff into a jar and press down to submerge in juices. This batch didn’t all fit into a 1 liter mason jar so I used a second 1 cup jar. The airlock is not required. I fermented for 2 days at 75 - 80 degrees F room temperature, resulting in a good balance of salt, heat, acid, and fermented flavor. Colder temperature might need more time for fermentation so always taste to check progress. It will keep in the refrigerator for weeks and months, though I always eat it up before that.

DSC03703.jpg