My Favorite Shimedaiko Tightening Method
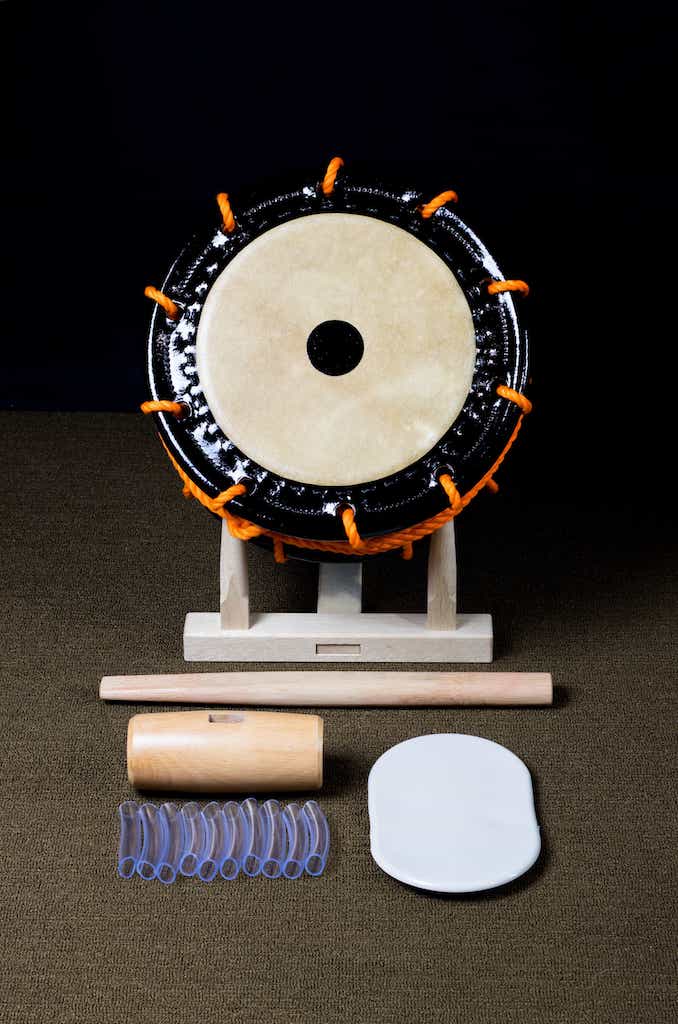
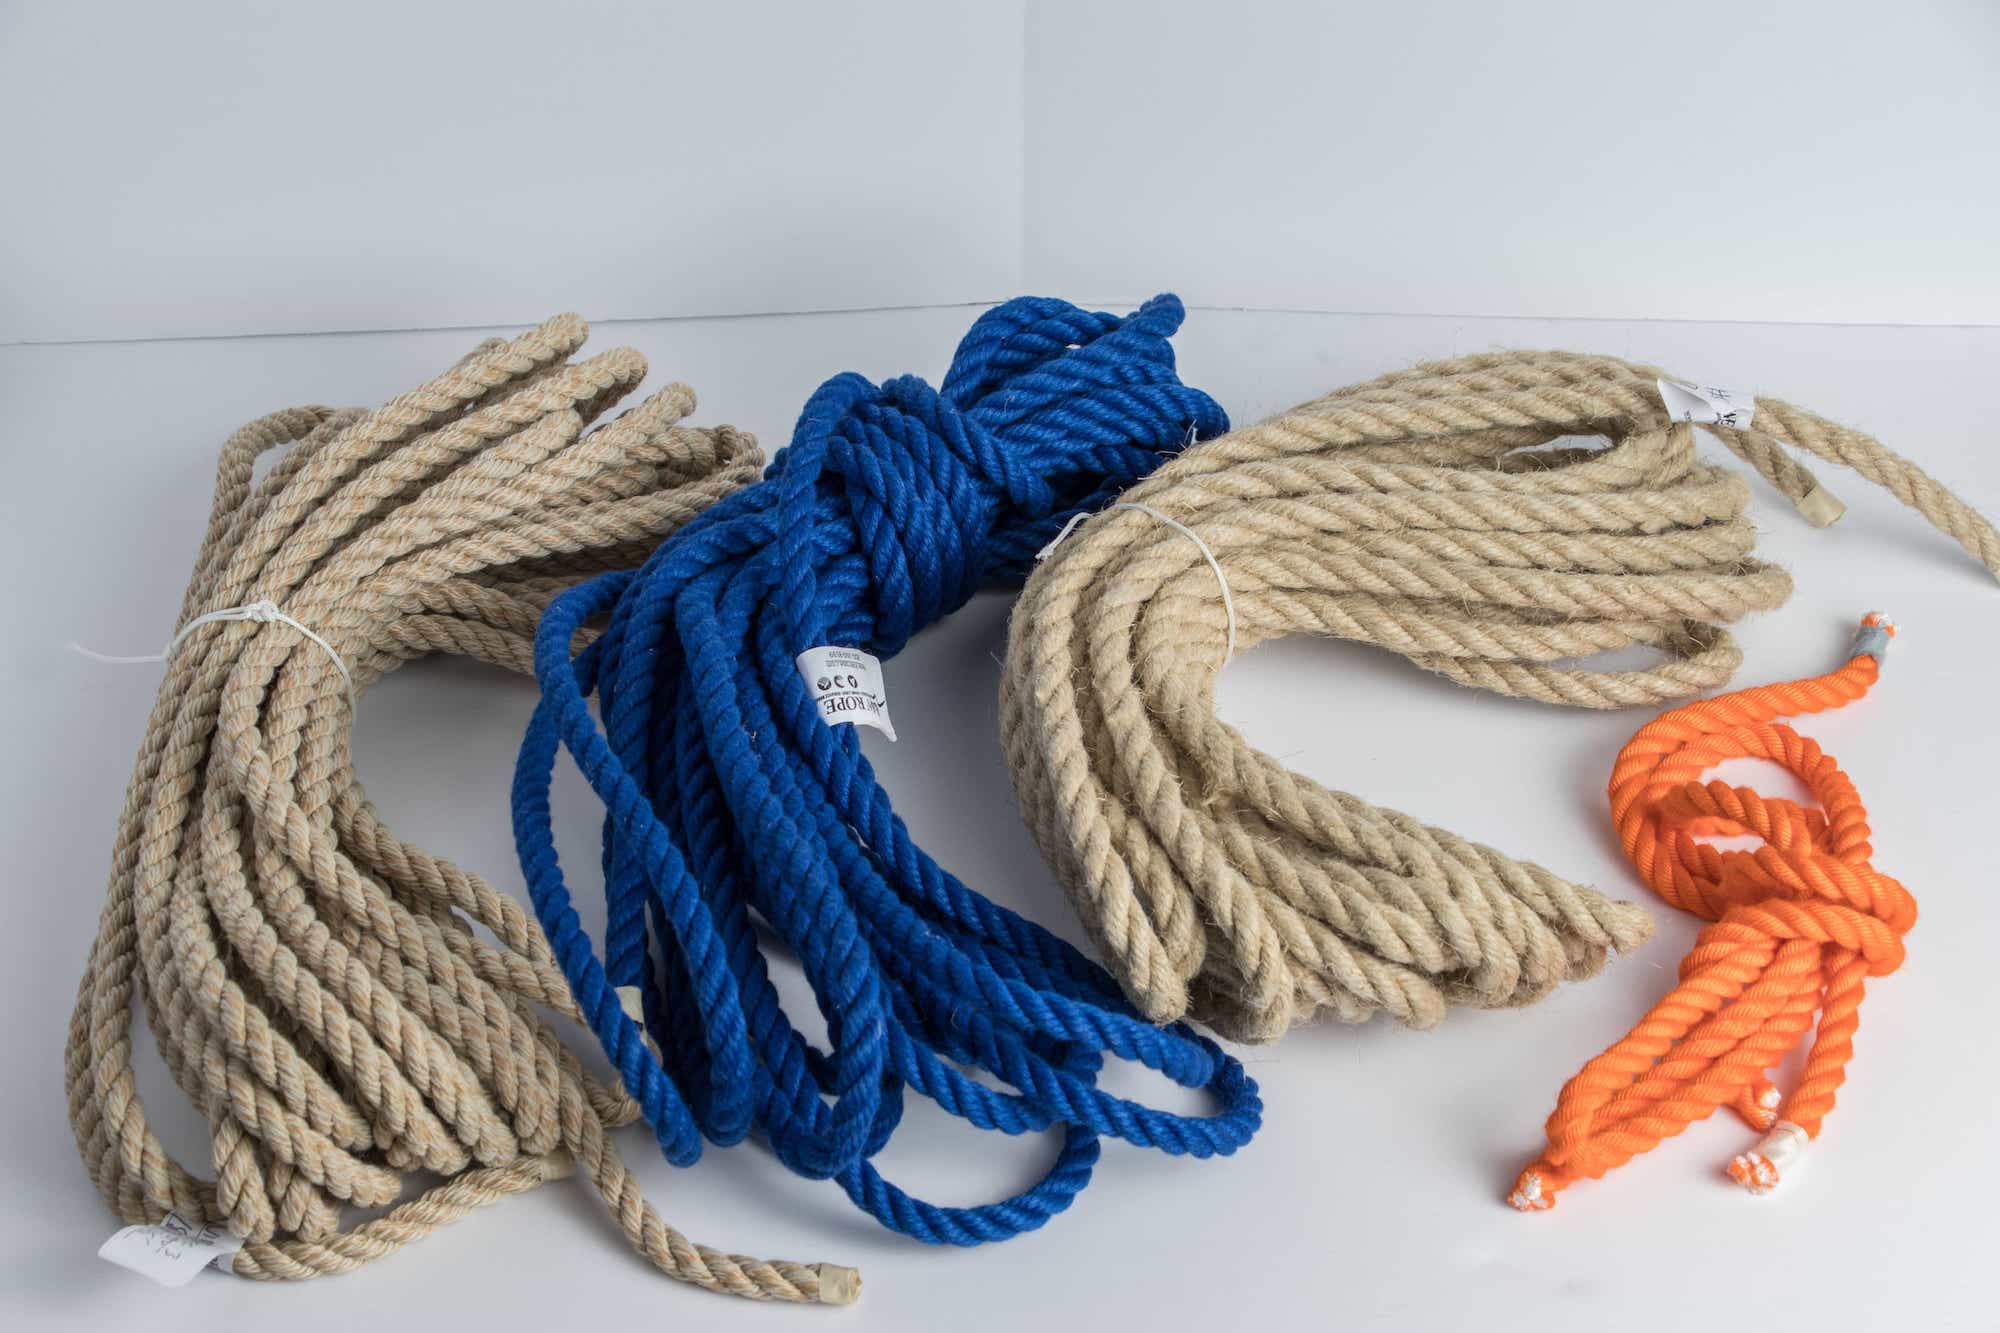
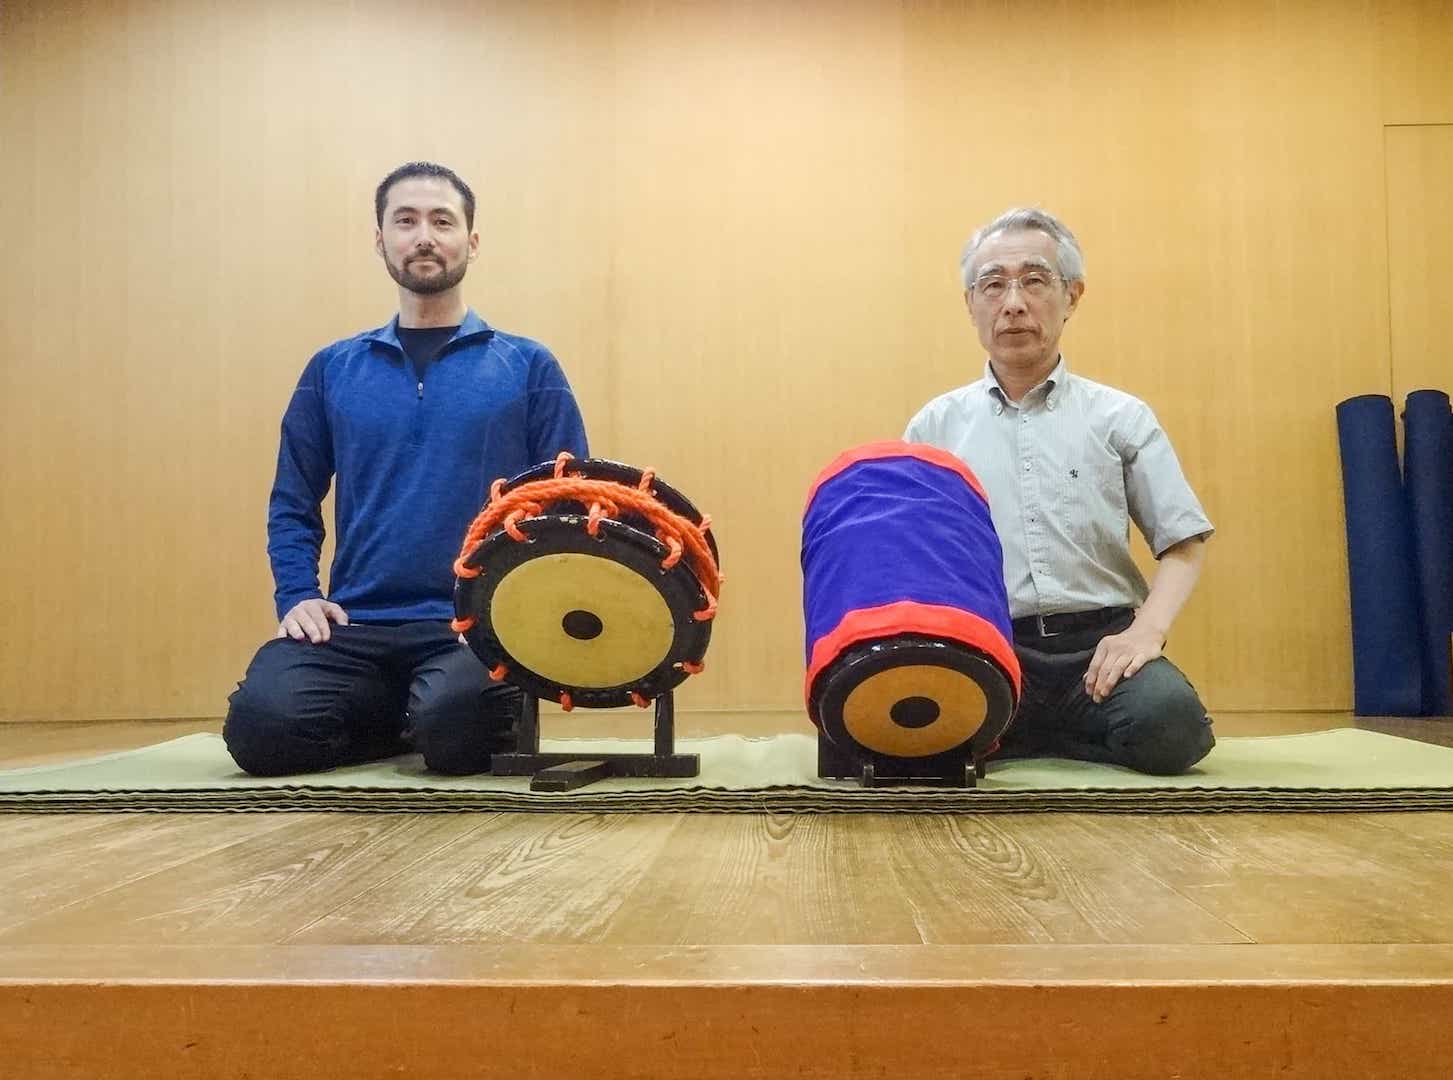
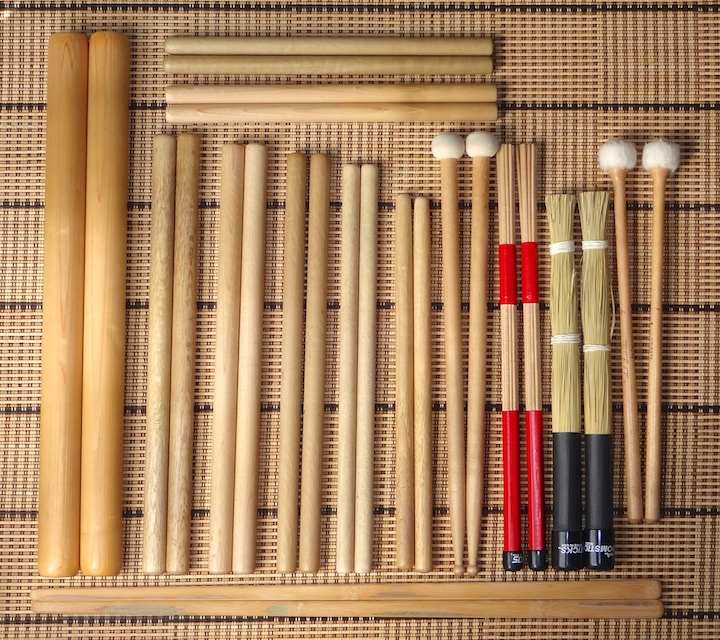
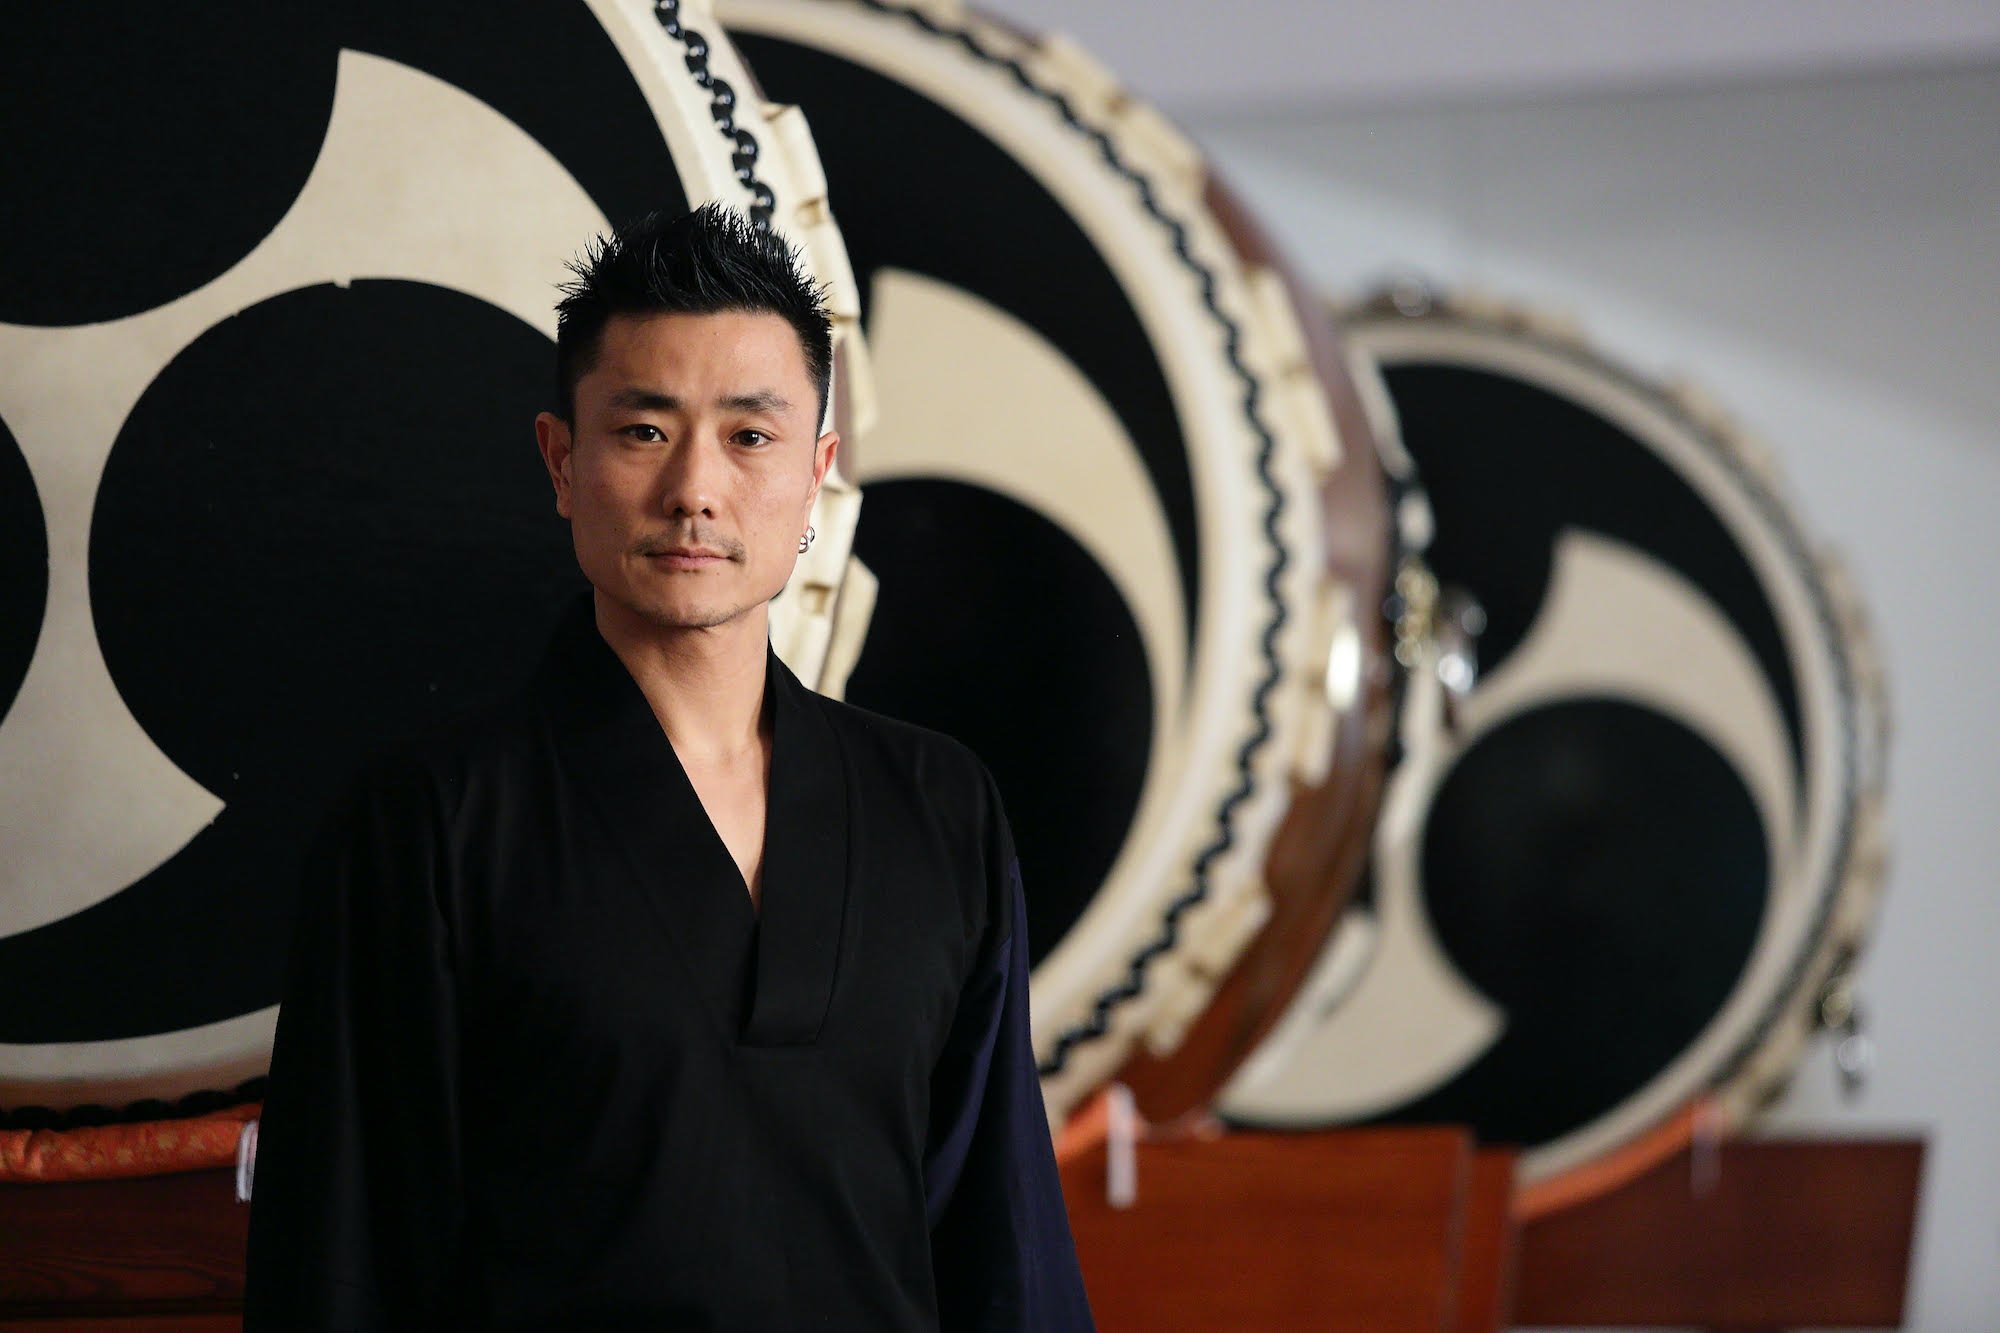
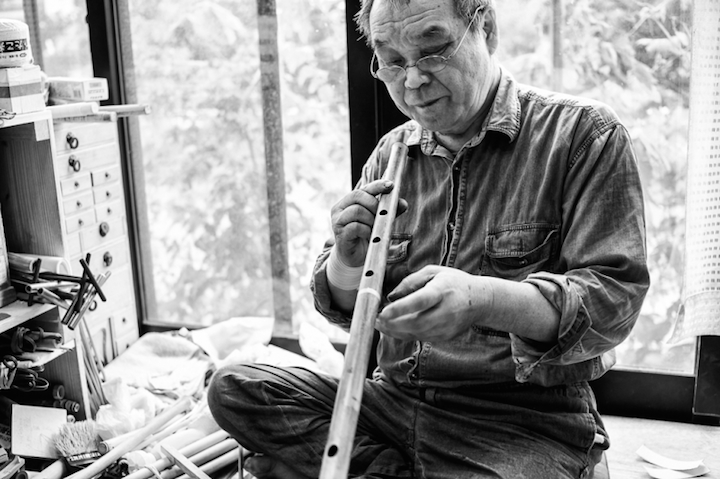
Edo Bayashi shimedaiko courtesy of Miyamoto Unosuke Shoten & tightening tools
I have used several different methods for tightening shimedaiko over the years, and my single favorite technique uses a kizuchi (wooden mallet). I first learned about it from Kenny Endo many years ago when I moved to Hawaii to study with him. Last year, during my Edo Bayashi intensive with Kyosuke Suzuki sensei in Tokyo, I was taught all the details for Wakayama Shachu’s version of this method. Suzuki sensei is always very open in sharing his knowledge, and his terrific teaching skills are always present, whether I’m learning Edo Bayashi, shishimai, or shimedaiko tightening. You can read more about the intensive here:
https://www.eienhunterishikawa.com/blog/my-edo-bayashi-year-2018
The biggest advantages for the kizuchi method are: you can tighten a drum by yourself, muscle power is not needed due to the use of leverage, there is no need to weaken the rope by hitting it, and there is minimal strain on your back. Last year I started offering instruction on this method, and it has been great to see people sharing my enthusiasm for tightening shimedaiko this way. The two most common problems I see with rope shimedaiko are not getting it tight enough and repeated uneven tightening resulting in the ‘clamshell’ effect. I have no doubt that learning the kizuchi method will help groups improve the sound and longevity of their drums.
The taiko pictured here is courtesy of Miyamoto Unosuke Shoten, an Edo Bayashi drum and stand made to Wakayama Shachu specifications. Next to it are my oak agebachi (43cm), a kizuchi head modified to fit the agebachi, vinyl hose pieces, and a plastic pad for protecting the drumhead. Thank you to Yoshihiko Miyamoto san for the continued support!
Here are ten pieces of advice about shimedaiko tightening that I learned from Suzuki sensei:
Play the lower-pitched side of the shimedaiko. It sounds fuller and richer.
Tie the rope to the playing side using a bowline knot (moyai musubi). This knot is included in my blog about atarigane knots.
Make sure the tate rope (tsuna) is evenly tightened before going on to the next step. If uneven, the drum will clamshell in the long run.
For new drums, use slitted pieces of hose to protect the rim as you use the agebachi.
Use a kizuchi (approximately 7 x 15cm head, 40cm handle length) to get the drum tight through the use of leverage. You can make it yourself or order custom-made mallets from my friends Abby or Chris. Contact me for more information.
Protect the drumhead when using the kizuchi.
To save time, find the middle point of the rope and pull the doubled rope through.
At the end, the rope should wrap around the drum 3 times, tying the very last knot at the same place as the very first bowline knot.
Place the knot side on the bottom when you place it on the stand.
Always loosen the drum after playing. The advantages are: better sound, longer-lasting heads, any unevenness will not become permanent, and it provides valuable tightening practice to improve your skill.