How to make yuzu kosho

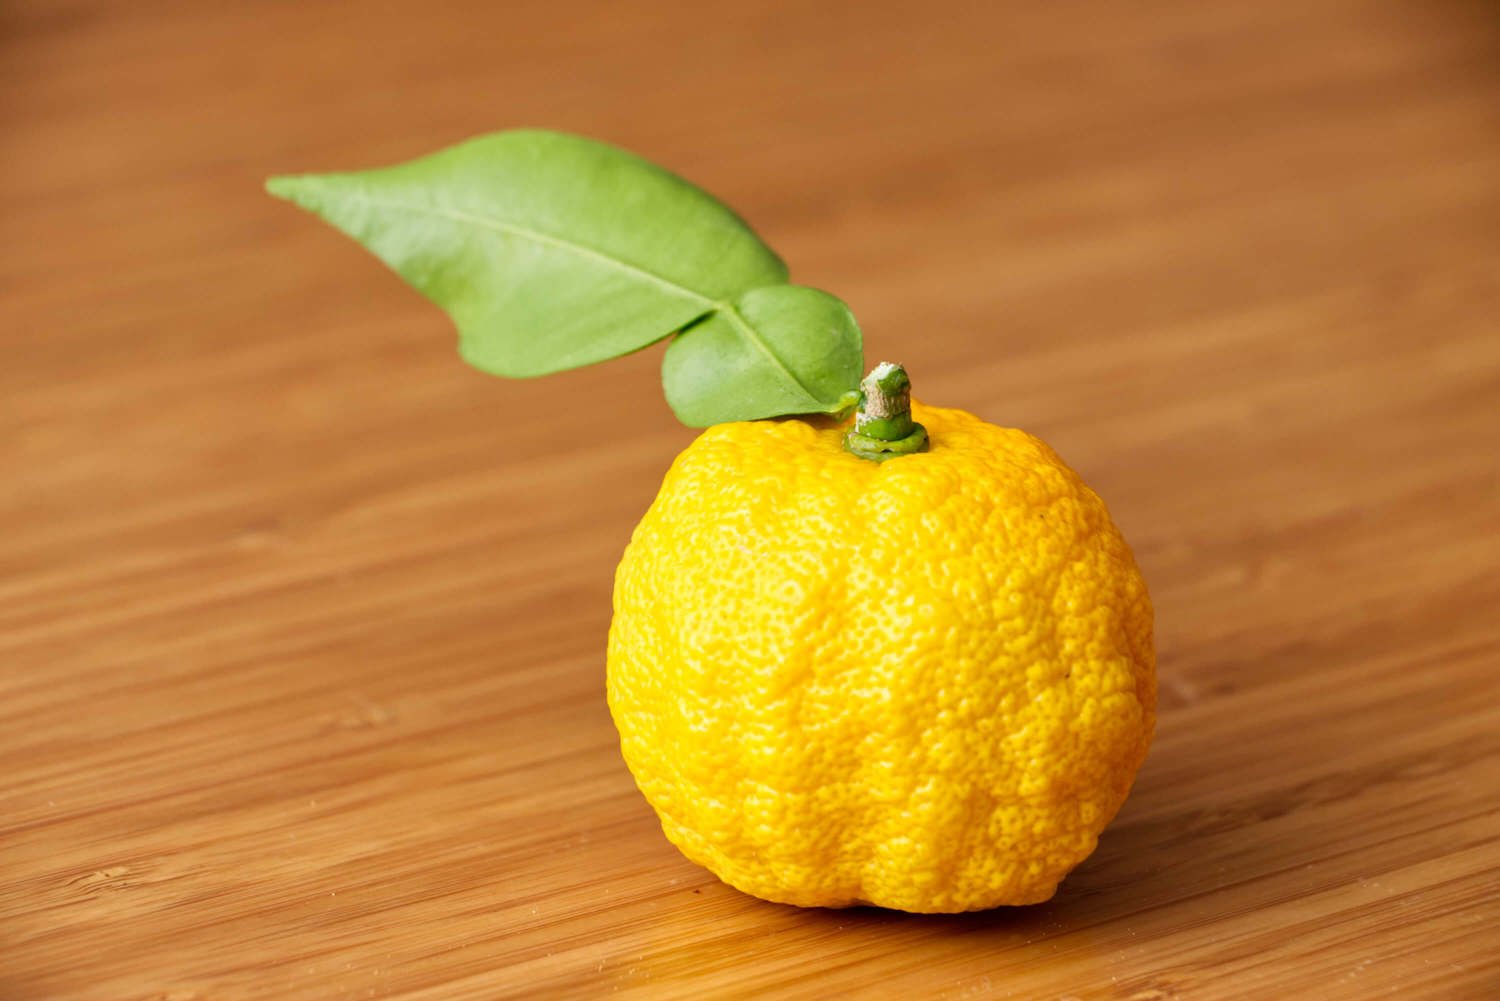
Is there a citrus fruit more amazingly intoxicating than yuzu? It’s my favorite by far, and I don’t think it’s only because I grew up with a huge yuzu tree in the back yard. I often see aroma descriptors that combine lemon, grapefruit, and orange but to me they don’t quite convey the magic of yuzu. Outside of Japan, they are hard to find, expensive, and typically not fresh and vibrant, so my solution was to grow it at home. After buying a small potted yuzu tree at the local nursery 3 years ago, it finally produced around 20 fruits this year. I can’t overstate how precious these yellow fruits were as they slowly grew from flower to pea-size to lime-size and finally turning yellow in late fall.

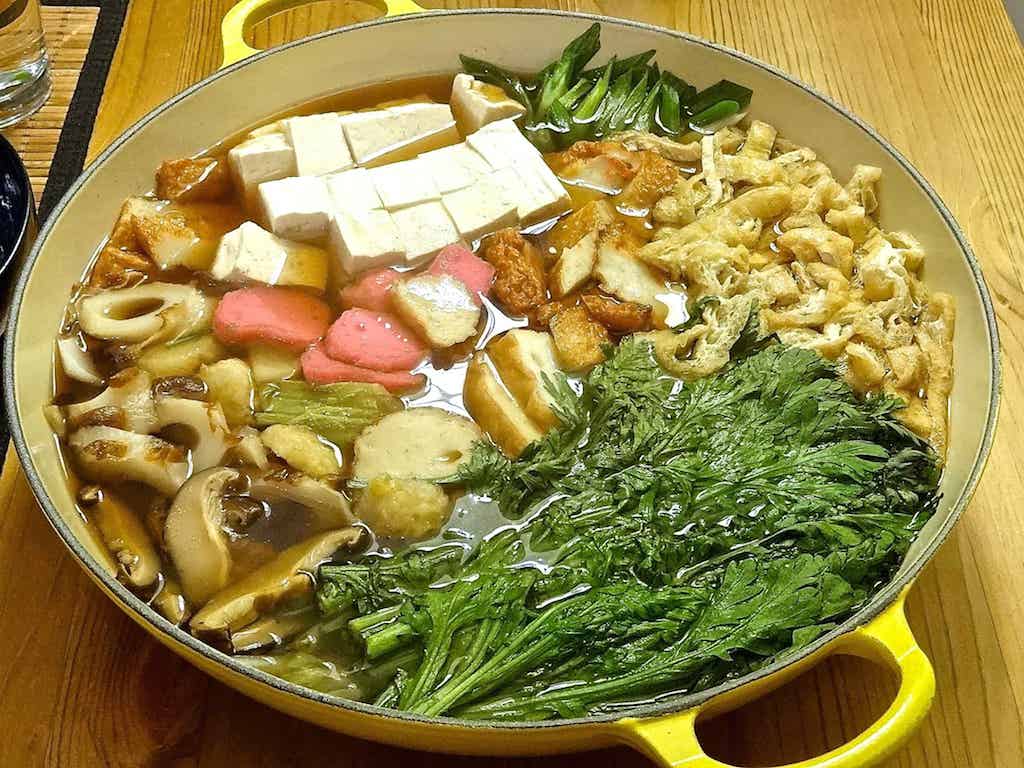
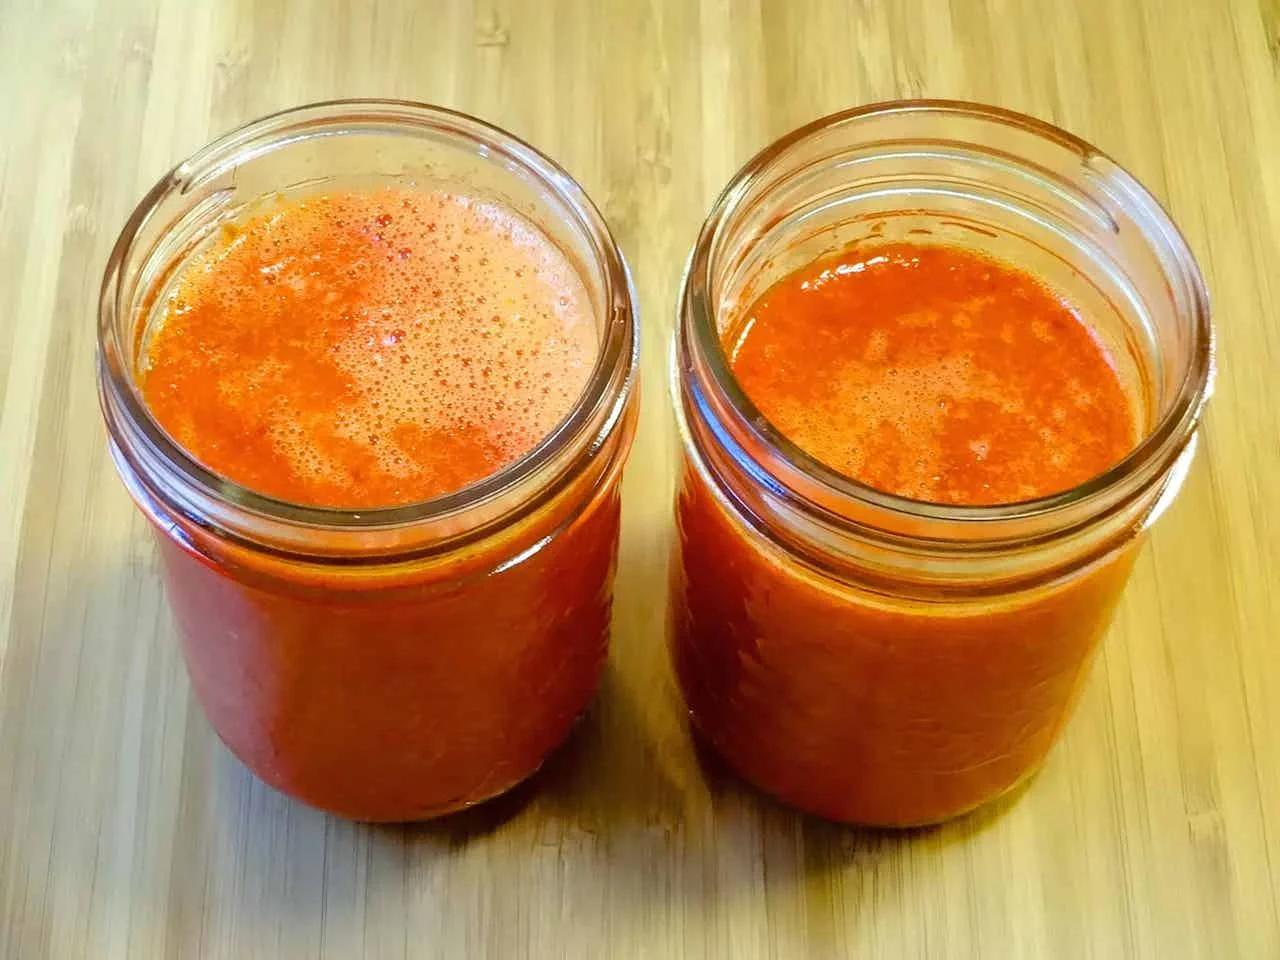
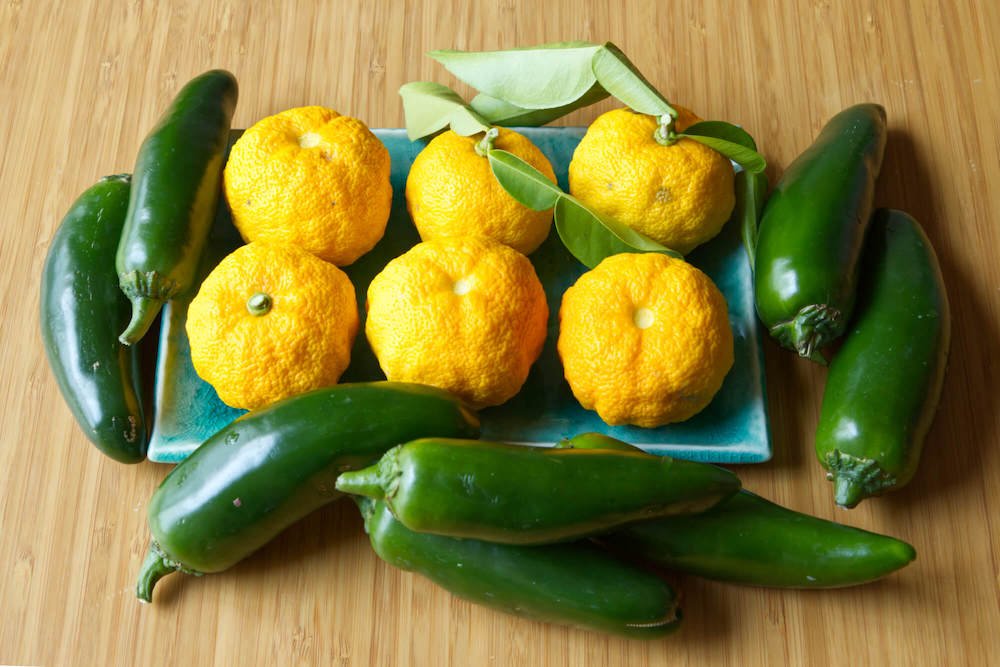
Yuzu peel is great on so many things like udon, soba, nabemono, pickles, salad, and pretty much anything. The juice mixed with equal parts shoyu makes a fantastic ponzu for dipping anything. I decided to make yuzu kosho to take full advantage of the fresh fruit by stretching it out with green chiles and preserving it with salt for longer storage. I found various recipe in books and online with a wide range of methods and ingredient ratios, but most only contain 3 ingredients. I decided to use equal parts yuzu peel and jalapeno with 10% salt by weight. This salt amount is on the lower side of the recipes I saw but I think it’s more than enough. I would use less salt if eating the yuzu kosho while fresh, but more salt if the goal was longer storage in the fridge.

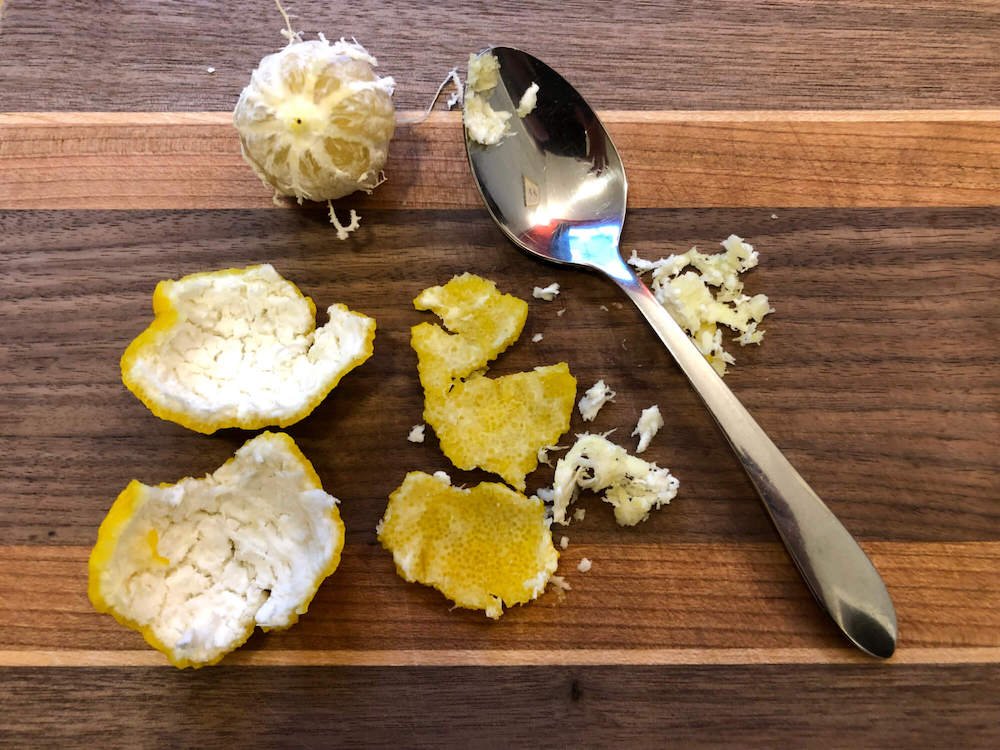
While many recipes use a food processor, I decided to make it in batches in my biggest mortar and pestle. For this method, it’s important to mince the yuzu peel and chiles as finely as possible. I learned about a great way to maximize the yield of yuzu peel without getting the white pith on this MIKLIA recipe where you peel it by hand and use a spoon to gently remove the pith. It works great and I will always process yuzu peel this way in the future.

This recipe turned out to be very delicious, but I would prefer a more pronounced chile flavor and heat. In late December I wasn’t able to find the variety of chiles that are available in summer and early fall so jalapeno was the only option I had. The had virtually no heat so my yuzu kosho was more mild than the typical versions in Japan where green or red togarashi chile are often used. I think a blend of chiles such as serrano, togarashi, habanada, habanero, and cayenne would add a lot of fruity and spicy character. Next year, I will try to work on the timing of my yuzu ripening with the availability of home-grown chiles. I am satisfied with this ratio of yuzu, chile, and salt.

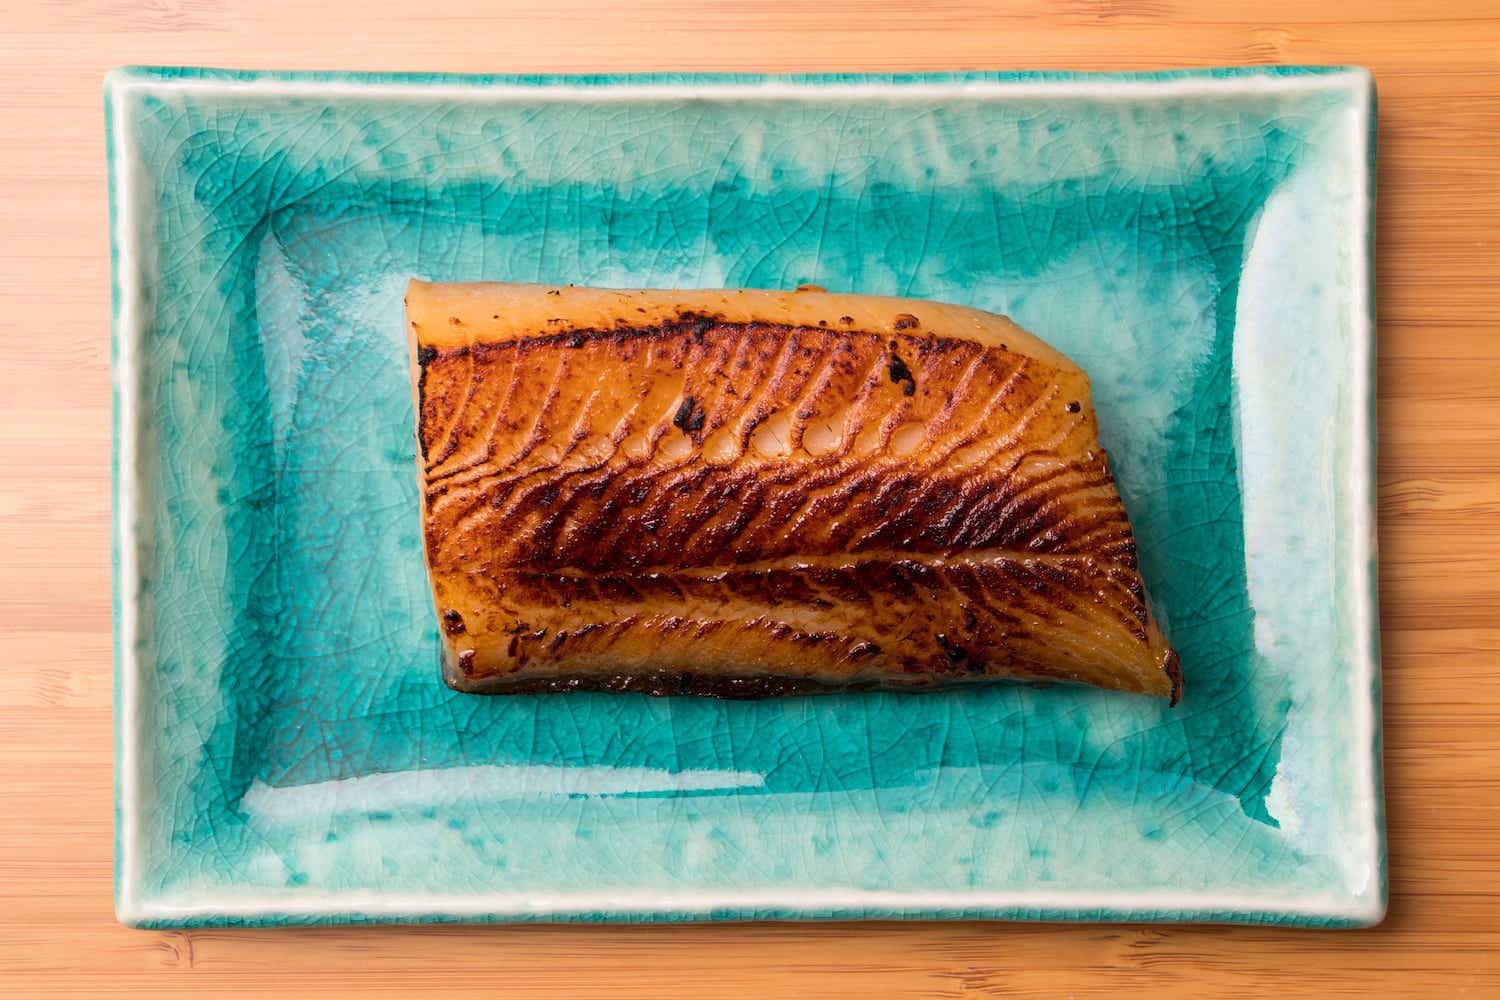
Yuzu kosho is delicious when added to noodles, hotpot, sashimi, tofu, soup, tenpura, and many other foods. I added some to natto and it was spectacular. Of course you can purchase shelf-stable jars of yuzu kosho at an Asian grocer with the understanding that the home-made version is something completely different. If yuzu is unavailable, I think it’s worth trying the recipe with a blend of other citrus. I might try 3 meyer lemon, 1 grapefruit, and 1 navel orange (or blood orange) as a starting point. Or make them separately and blend after to find the ratio you enjoy. Have fun mixing your yuzu kosho into anything you like, although I would personally not put it into the bathtub.


Yuzu Kosho
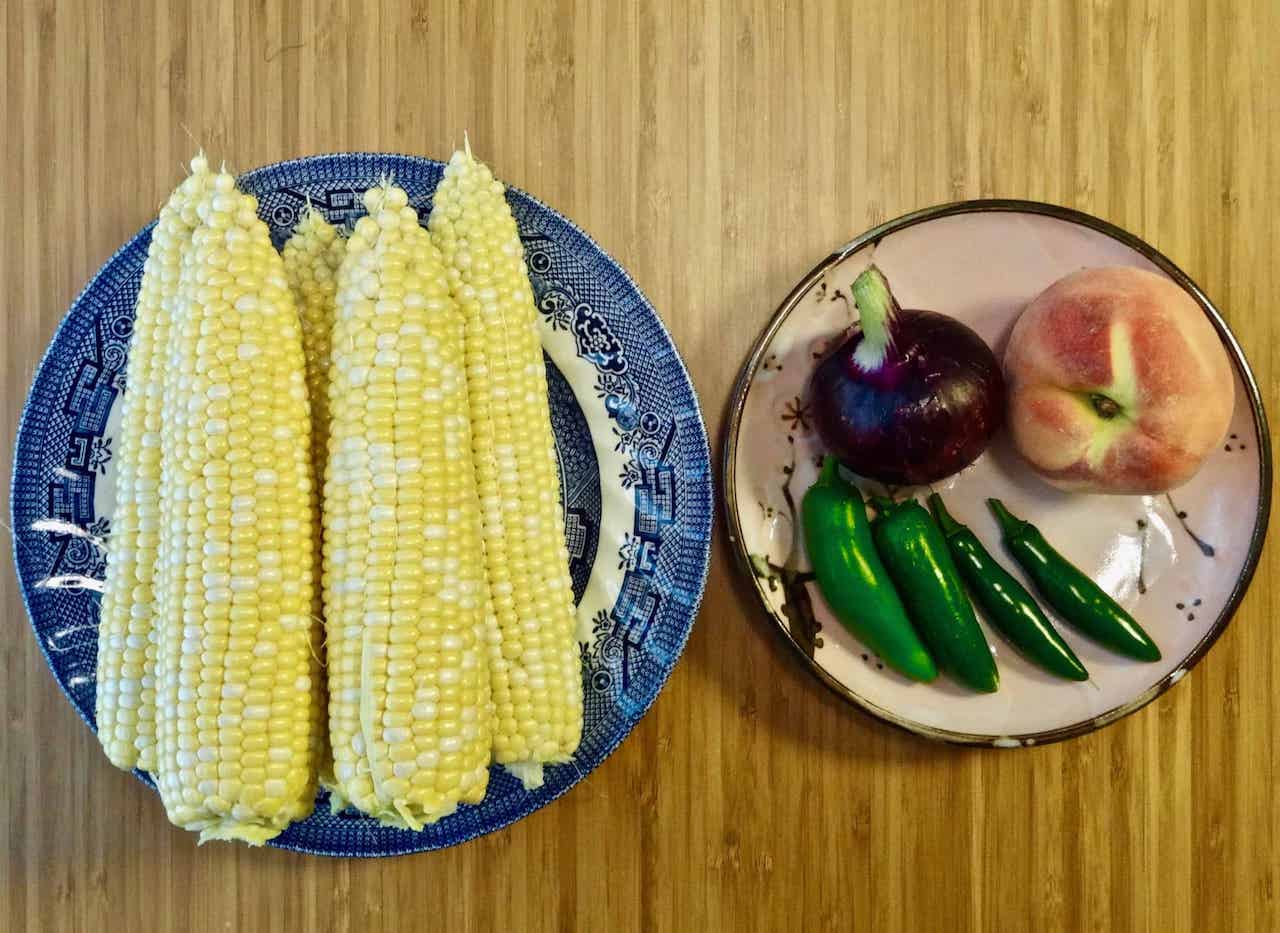
150g yuzu peel, fine mince (around 8 medium)
150g jalapeno, fine mince (around 6 large)
30g sea salt (10% of total weight of yuzu and jalapeno)

  1. Peel yuzu by hand and remove pith with a spoon, then mince finely.

  2. Remove seeds from jalapeno chiles and mince finely.

  3. Combine with salt and pound into a paste in mortar and pestle (in batches depending on amount).

  4. Store in fridge or freezer.

Making Fermented Corn Relish

Fermented corn relish

Fermented corn relish

Grilled corn on the cob is one of my favorite summertime treats, but this fermented corn relish is equally delicious. Like many fermentation-related projects, I learned about this technique from Sandor Katz's definitive fermentation guide The Art of Fermentation. On page 215, Katz describes the traditional Native American method of fermenting corn on or off the cob in a brine. April McGregor, a Cherokee folklorist quoted in the book, recommends using a 5% brine (about 3 tablespoons salt to 1 liter water). For the last few years I have roughly followed Katz’s recipe from a 2012 New York Times article. Just like my sauerkraut, kimchi, and dill pickle method, I prefer to use percentages with weighed ingredients for precision, consistency, and control in adjusting to my personal preference. But this would be easy to make without measuring anything and simply adding salt to taste, and there is a lot of room for variation with herbs, fruits, other seasoning as well as the salt, heat, and acidity level. Of course, the highest quality ingredients will provide the best results. Here is the basic recipe from my first batch of 2017 using only things from my garden and the farmers market.

DSC03696.jpg
DSC03698.jpg

Fermented Corn Relish
5 ears corn (680g)
1 peach (170g)
1 red onion (120g)
2 jalapeno peppers, seeds included
2 serrano peppers, seeds removed
15g sea salt (1 tablespoon)

1. Cut kernels off corn cob. It’s easiest to invert a small bowl inside of a large bowl as a stand for the corn cob. Use a sharp knife to cut kernels, then scrape the pulp with a spoon or back of the knife. Chop peach and onion. Mix with salt and let sit at least 1 hour, then squeeze to release juices. I used 1.5% salt of the total weight of 970g.

DSC03701.jpg

2. Mince peppers and add to corn mixture. It’s important to taste chiles due to their variation in heat level. This time I decided to keep the jalapeno seeds and remove the serrano seeds. You can also just use sweet peppers.

DSC03705.jpg

3. Stuff into a jar and press down to submerge in juices. This batch didn’t all fit into a 1 liter mason jar so I used a second 1 cup jar. The airlock is not required. I fermented for 2 days at 75 - 80 degrees F room temperature, resulting in a good balance of salt, heat, acid, and fermented flavor. Colder temperature might need more time for fermentation so always taste to check progress. It will keep in the refrigerator for weeks and months, though I always eat it up before that.

DSC03703.jpg

Making simple sauerkraut at home

For anyone who thinks that sauerkraut is not delicious, I would urge you to try making it yourself at least once.  Like most things, homemade is quite different from store bought.  For the rest of us who love the stuff, it's fun and rewarding to make.  And it couldn't be simpler.  My fermentation guru is Sandor Katz, who has extensively researched and written about fermentation traditions around the world in his two indispensable books, Wild Fermentation and The Art of Fermentation.  I highly recommend both.

The most important factor for the best sauerkraut is the quality of the cabbage.  Fresh, organic cabbage from the farmer's market is best (unless you grow it yourself - the kraut made from my garden's cabbage was the best I've ever had).  Because we're relying on the natural bacteria (lactobacillus) already on the cabbage, organic makes a lot of sense, and the same is true for freshness.  Another detail is the salt ratio.  I use a scale to weigh the salt at 2.5% of the weight of the cabbage because I have one and it's the best method for batch-to-batch consistency.  Of course you can salt to taste and it will probably be just fine, but weighing allows you to make salt adjustments to suit your preference.  I use unrefined sea salt (Korean sea salt in this batch) because it tastes better and the minerals (calcium) help keep the cabbage texture crunchy.  The final element is fermentation time, which depends on bacteria vitality, salt level, fermentation temperature, and personal taste preference.  This batch was fermented for 5 days where the room temperature was in the low to mid 60s F.  The acidity is medium low and it has a slightly fruity aroma and notes of horseradish on the palate.  The airlock is not necessary at all but I use it because it's fun and I have a lot of them lying around.  The lid is Tattler and I drilled a hole to fit the rubber stopper that holds the airlock.  The jar is the 1.9 liter Ball, the largest I can find that takes the standard wide-mouth lids.  This jar would hold at least 300 grams more cabbage than what I used.  I also have a little glass weight holding the cabbage under the liquid.  Here I used a mix of green and red cabbage, but any cabbage is fine - savoy, napa, or any other greens like kale, mizuna, etc.  A mandolin can make the cutting easy, but for me the task is just as fast with my very sharp knives.  Playing with spice additions is fun too - juniper, caraway, lavender, coriander, and such.  Don't forget to label!  Painter's tape is great for that.


mix the cabbage and salt, let sit at least 1 hour for the juices to release

mix the cabbage and salt, let sit at least 1 hour for the juices to release

Purple Sauerkraut
1300g shredded cabbage (1 red, 1/2 green)
32.5g sea salt (2.5% of the weight of cabbage)

squeeze the cabbage to get enough liquid out to cover the cabbage

squeeze the cabbage to get enough liquid out to cover the cabbage

airlock is fun but not at all necessary a glass weight helps keep the cabbage under the liquid

airlock is fun but not at all necessary
a glass weight helps keep the cabbage under the liquid

pet the kitty if he's in a friendly mood

pet the kitty if he's in a friendly mood

it came out red (magenta) but it was purple when I labeled it it tastes really good!

it came out red (magenta) but it was purple when I labeled it
it tastes really good!