Playing with Vinegar: Making, Infusing, and Recipe Ideas

Lavender vinegar
I have been having fun experimenting with vinegar over the past several weeks. As a home fermenter of beer, cider, mead, wine, and sake, acetobacter (acetic acid bacteria that makes vinegar) is something I’m careful not to expose to these yeast fermentations. In the presence of oxygen, this hardy bacteria converts ethanol into acetic acid, which has its own distinct characteristics different than acids found in yogurt (lactic), lemon (citric), and green apples (malic), and wine (tartric, citric, malic). It’s an interesting exercise to search for words that accurately describe the differences between these acids as they are usually broadly categorized as sour, or tart. Even at low concentrations, vinegar’s acidity is often felt at the back of the throat and reminds me of how highly carbonated drinks can feel prickly as you swallow. It can be made from a variety of base ingredients and is included in a huge range of condiments we use everyday including pickles, mayonnaise, vinaigrette, ketchup, mustard, hot sauce, chutney, barbecue sauce, relish, and so on. Vinegar has the great ability to lift and brighten any food by balancing fat, richness, sweetness, or blandness with acidity. Below are some ways I have been playing with vinegar.
Making Vinegar
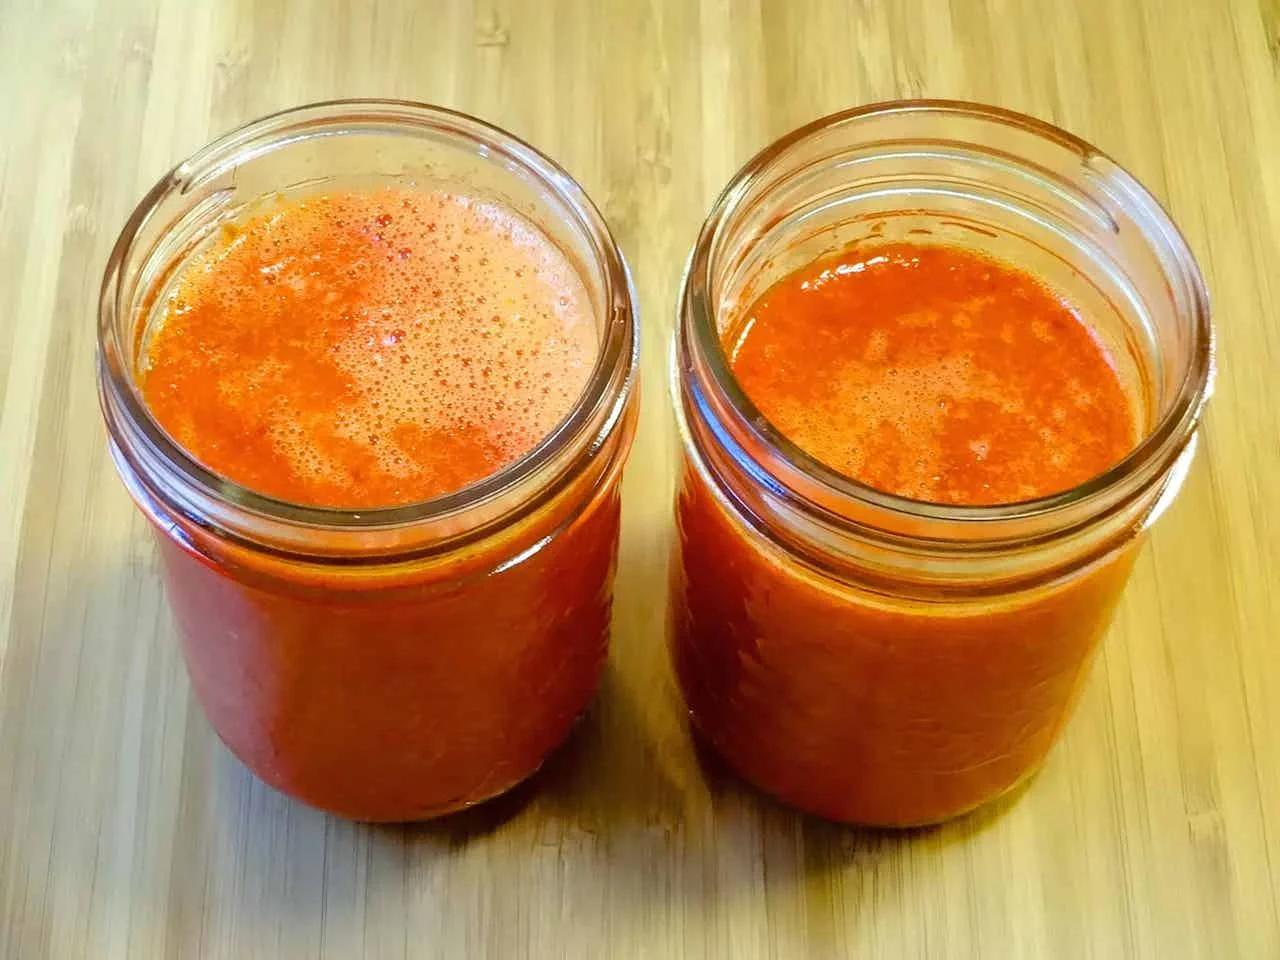
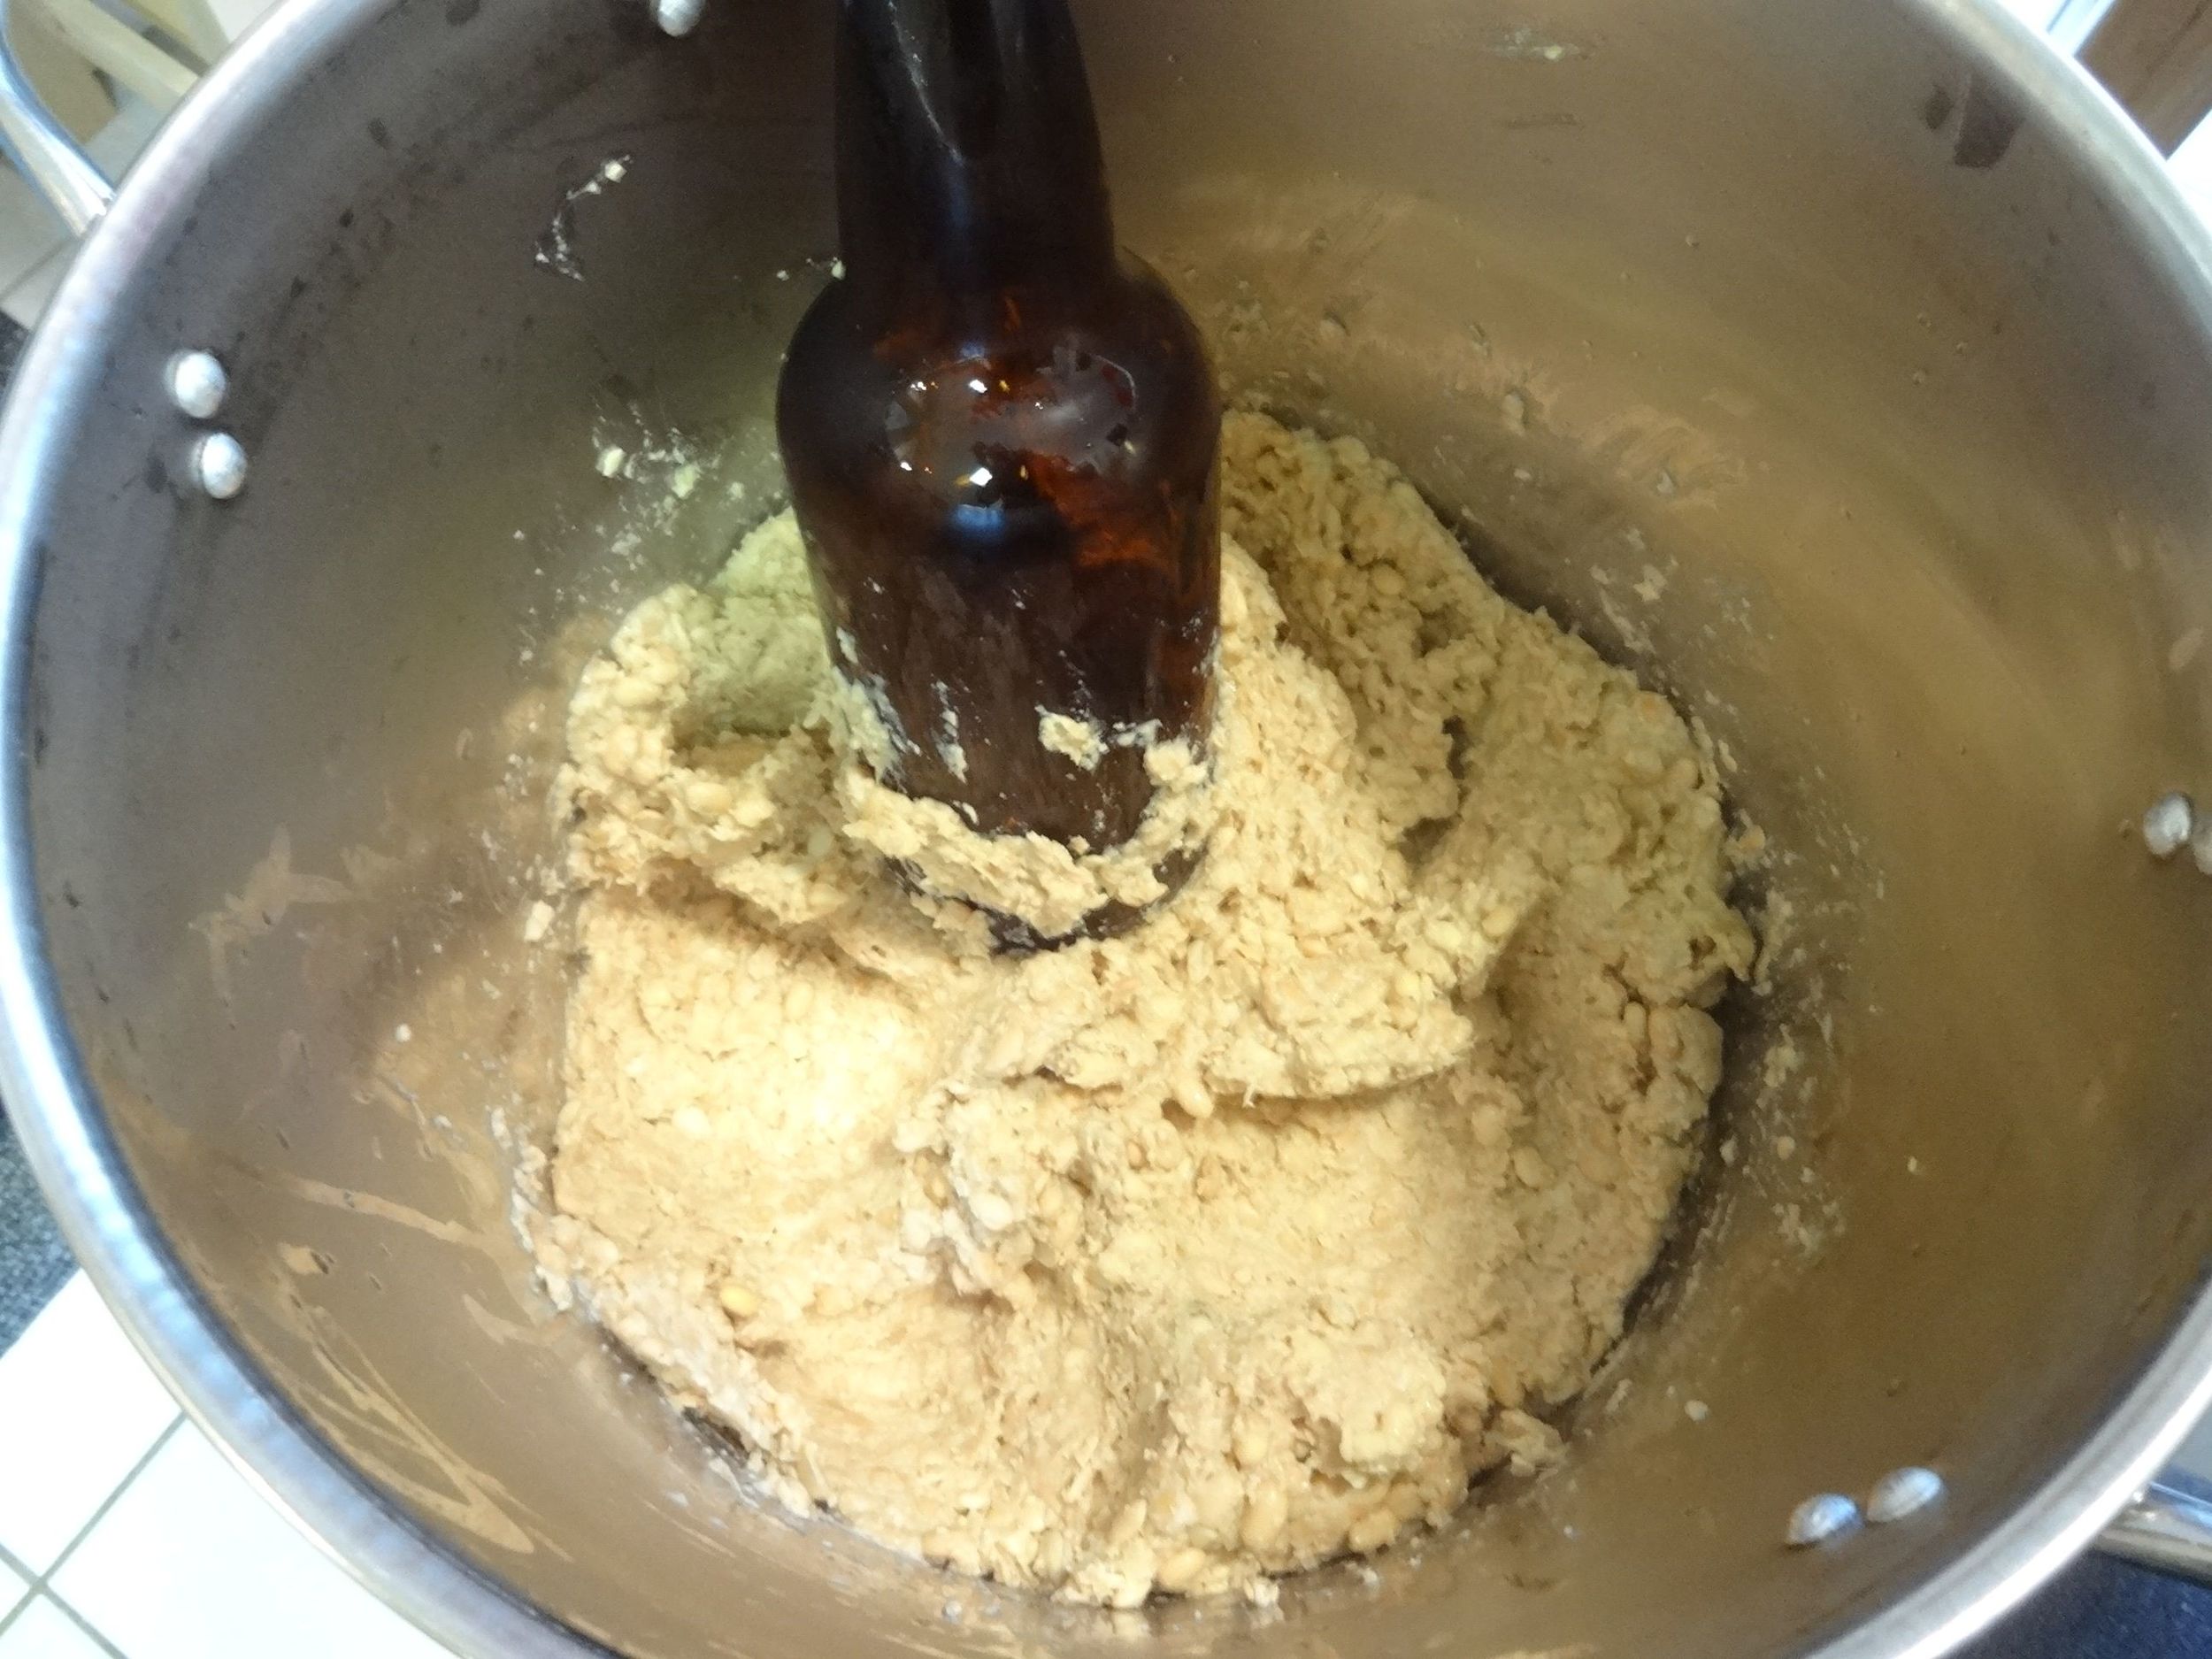
I had the opportunity to watch a live online vinegar-making presentation by Pascal Baudar where he demonstrated his simple process. Behind him was an impressively packed shelf which held bottles of vinegars and other colorful things he was making, and I felt inspired to try creating my own. The typical advice is to start with a beer or wine and make sure the ABV (alcohol by volume) is in the 4% - 8% range. Most beer is fine as is, but wine and sake will need to be diluted down by adding water. I had some unpasteurized apple cider vinegar in the pantry so I added about 20% raw vinegar to 80% homemade hard cider (around 6% ABV) in a mason jar and covered with a layer of paper towel secured with a rubber band. After three weeks at room temperature, the vinegar tasted great and I bottled it. That vinegar developed a pellicle, or mother, so I cut it in half and started other vinegars with it. Currently I have a porter vinegar, ESB vinegar, and rose wine vinegar fermenting in the kitchen. Because the paper lid is breathable, there is a vinegar aroma that is noticeable during fermentation. I don’t mind it, but others might want to find a spot away from daily activity.

Making vinegar with homemade porter and store bought rose wine
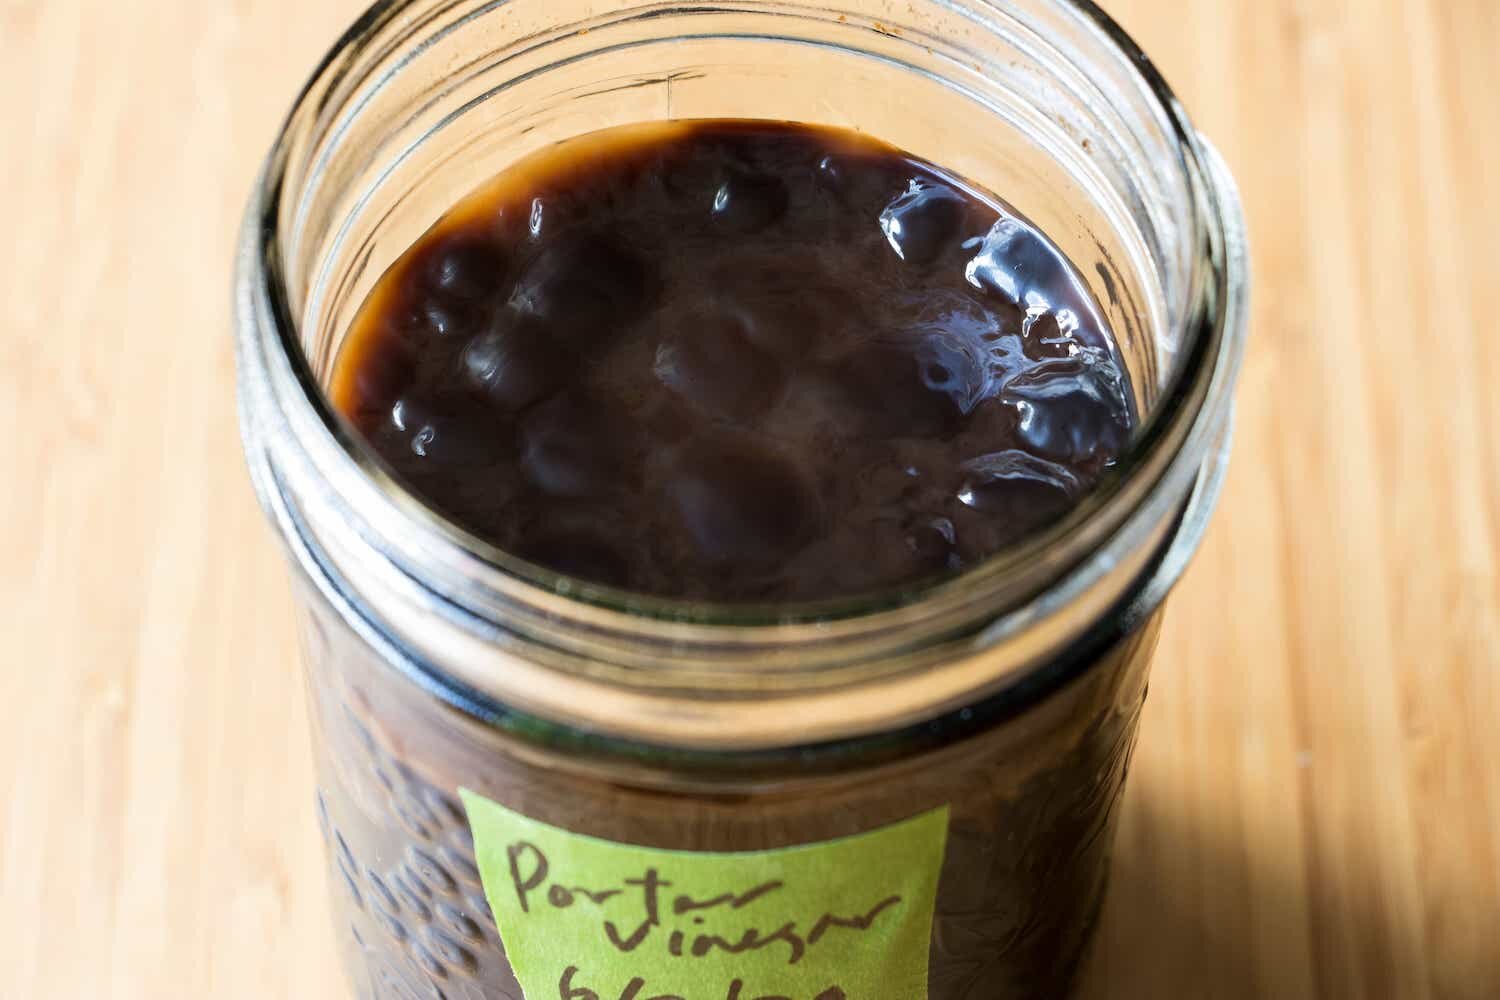
Great mother on my porter vinegar

Very mild and versatile vinegar for infusing
Infusing Vinegar
I recently bought a great book called Vinegar Revival by Harry Rosenblum. There is a lot of useful information in it, especially the section on infused vinegars. I already had a gallon of rice vinegar at home so it was as simple as adding ingredients to some vinegar and letting it steep for different lengths of time. The dashi vinegar was particularly eye opening.
2 cups vinegar
1 oz shredded konbu
1/2 cup packed katsuobushi
Simmer the vinegar and konbu for 3 minutes, remove from heat, add katsuobushi and let stand for 2 minutes. Strain and bottle.
This vinegar was unexpectedly delicious and I have found many uses for it. Some other infusions I have made are rhubarb and strawberry, lavender, and earl grey tea. They all have slightly different methods and they result in very aromatic and interesting vinegars. I ordered a 12 pack of clear 12 oz bottles online and they are exactly the right size for my one-pint experiments.

Strawberry Rhubarb, Cider, Dashi, and Earl Grey vinegars

Very aromatic lavender vinegar

Vinegar infused with strawberry and rhubarb

Vinegar Revival book

Strawberry-rhubarb shrub
Shrub and Drinking Vinegar
One of the easiest and tastiest ways to enjoy a variety of vibrant vinegars is to make a quick soda. I have settled on a 1 - 1 ratio of vinegar with honey or agave nectar. It helps to whisk them together before adding soda water because these ingredients don’t automatically combine. It’s worth experimenting with the ratios and other flavors to find your preferred versions.
1 1/2 tablespoon strawberry-rhubarb vinegar
1 1/2 tablespoon honey (or agave nectar)
1 can chilled soda water (12 oz)
Whisk together vinegar and honey in a bowl and pour into a pint glass. Add some soda water and mix, and then add the rest. Add a 2 - 3 ice cubes. Garnish optional.
Many people have heard that drinking vinegar is good for our health, and that’s great, but this drink is actually very refreshing and satisfying. The key is to use some interesting vinegar because the flavor carries through very well after mixing. It would be interesting to try some other types of honey too. Earl grey and buckwheat honey sounds like a good shrub for autumn after an afternoon of raking leaves and such, paired with apple or pumpkin pie.
Finally, one use of vinegar left me underwhelmed - su natto (vinegar natto). This is a recent health fad in Japan where it's said to benefit people on a diet. I tried it for the first time by mixing 50g natto with 1 tsp rice vinegar and a bit of shoyu. This was more than enough vinegar for my taste although many online Japanese recipes call for more. I can't say I'm a fan of this combo because the acidity covers up the desirable natto flavors of nutty richness and dark chocolate. The vinegar converts the nebaneba stringiness into foam, which looks interesting but definitely weakens the stickiness. If you try it, let me know if you liked it.
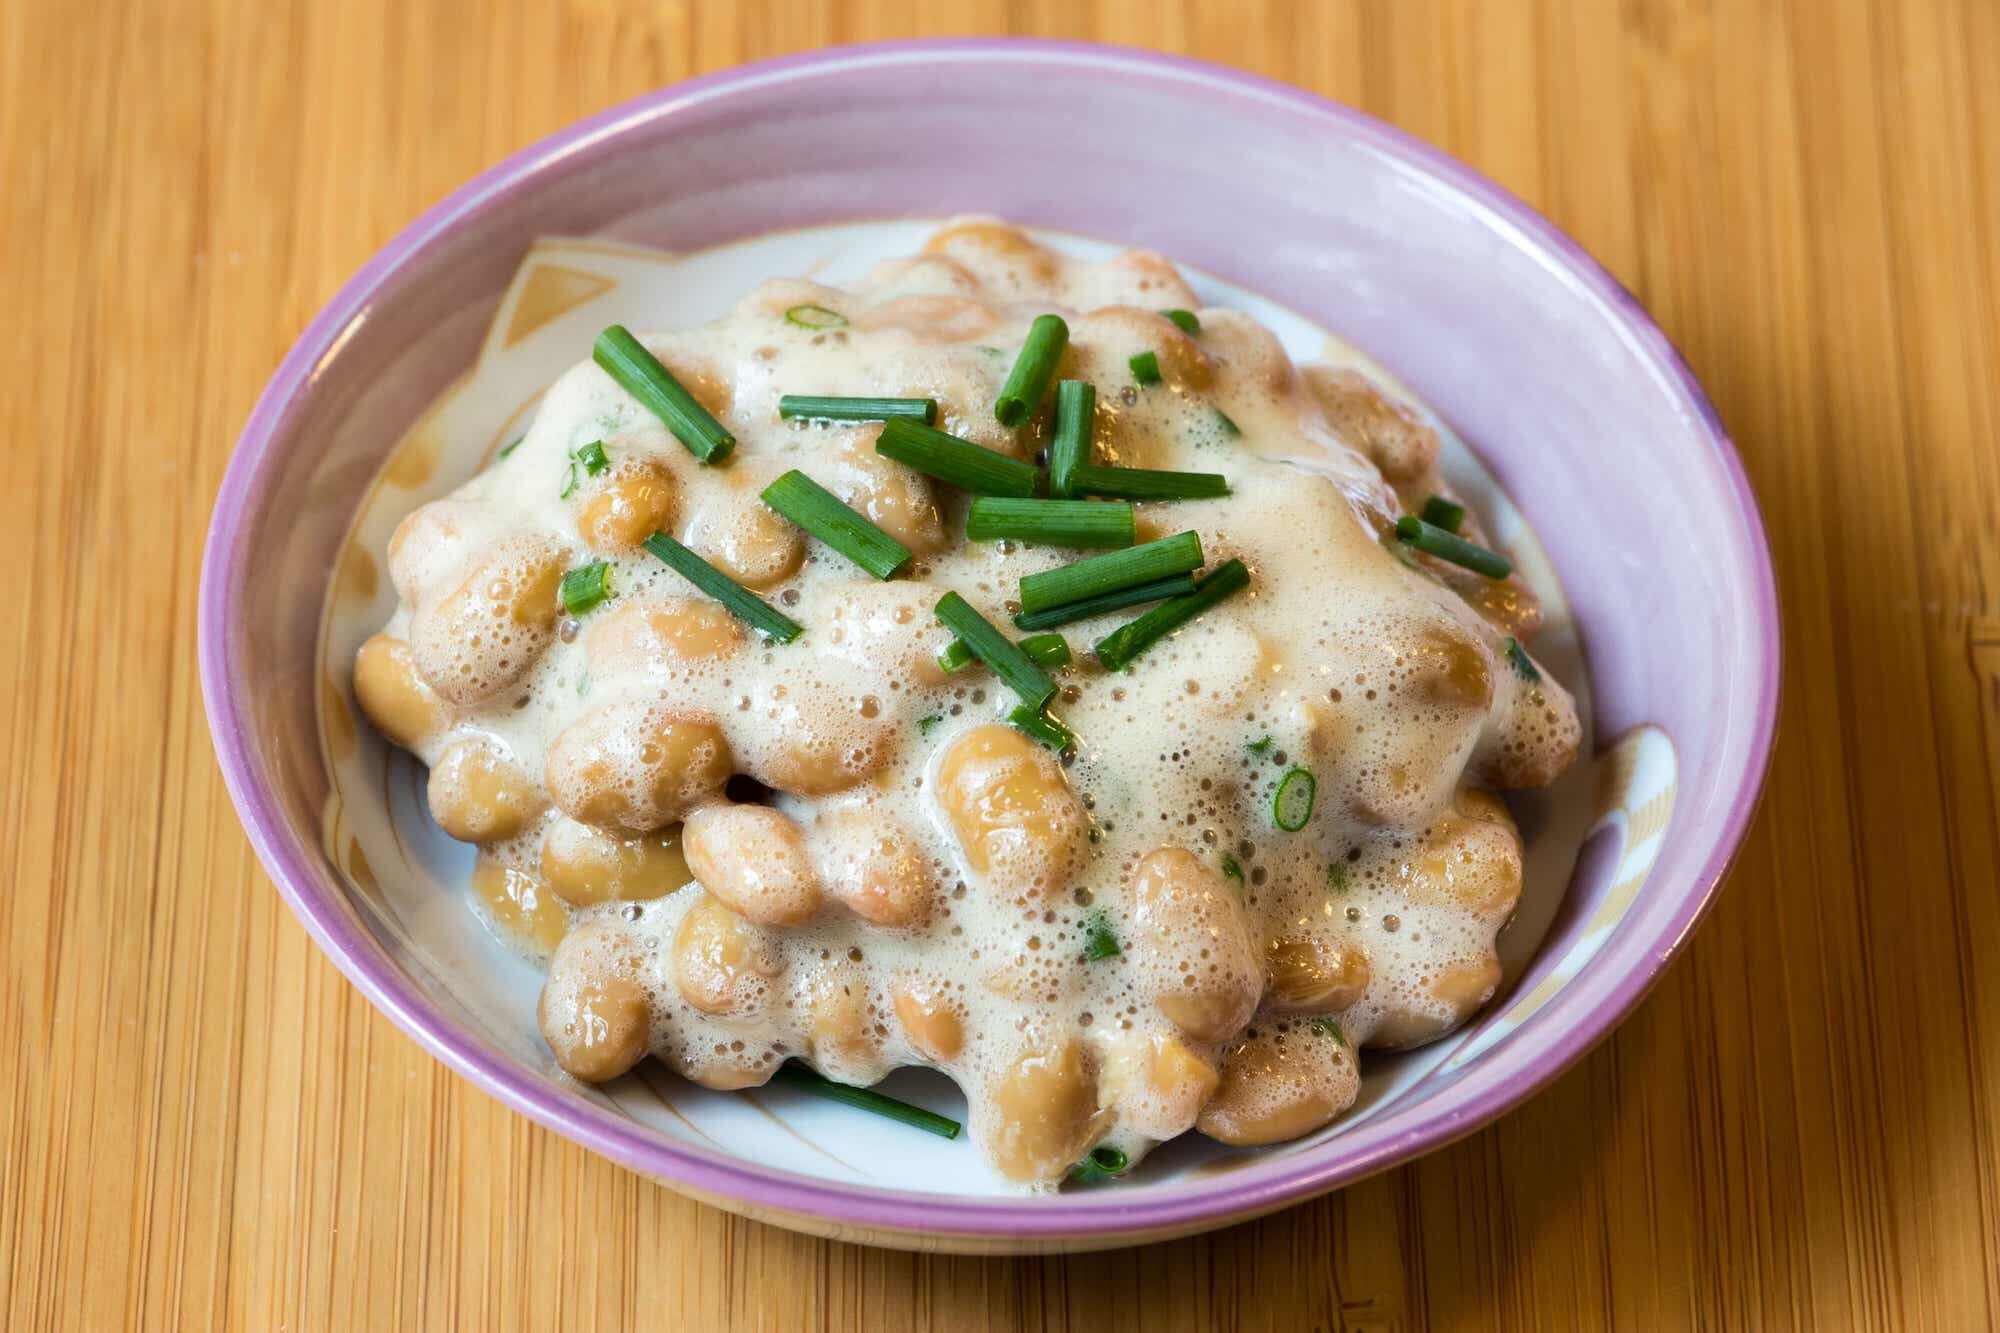
Vinegar natto