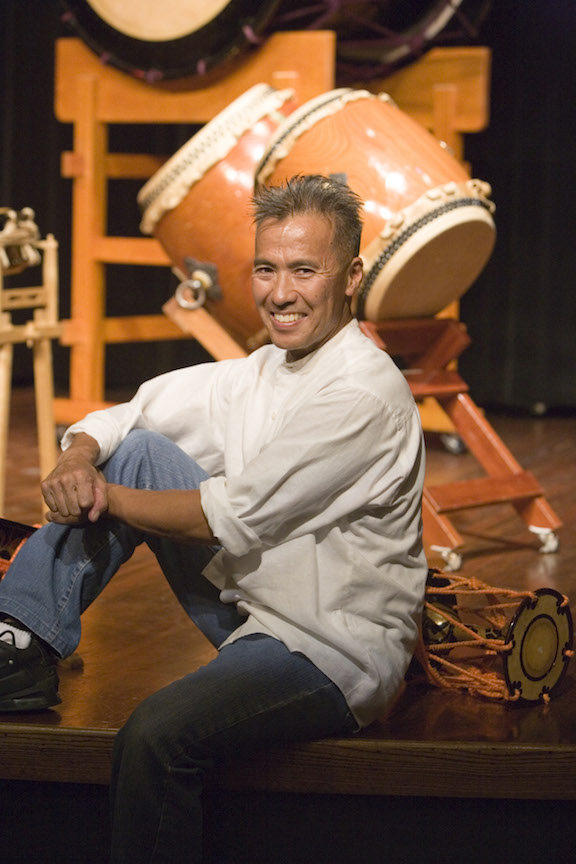
A recap of my 5-state Midwest teaching tour

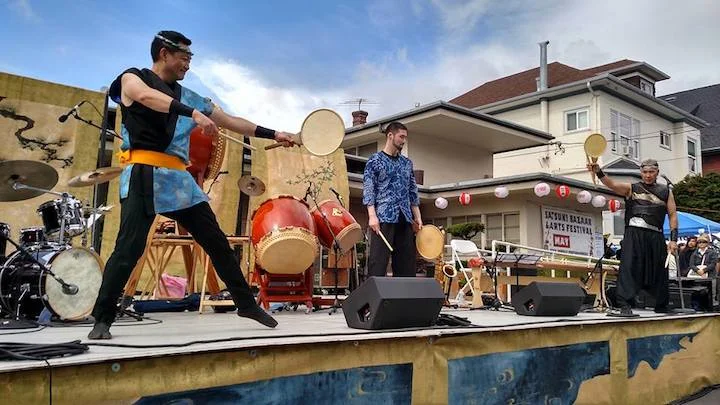
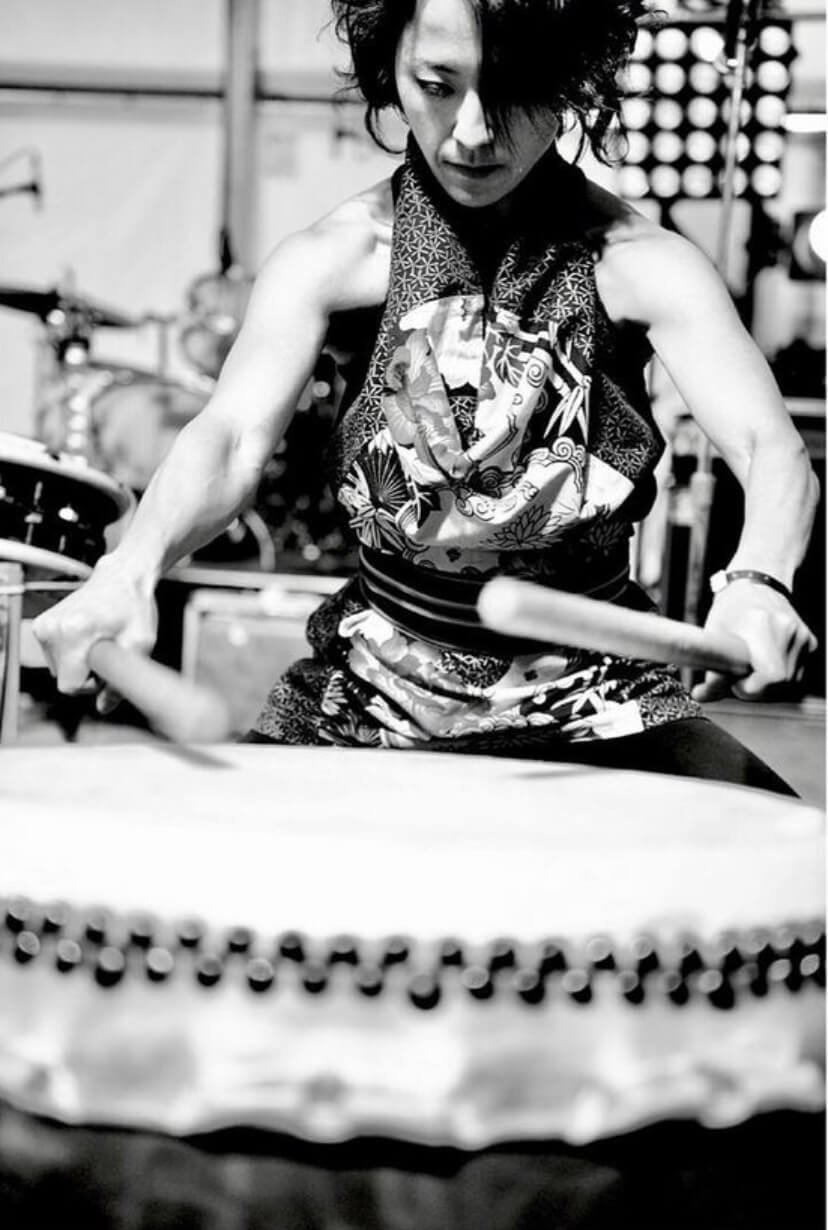
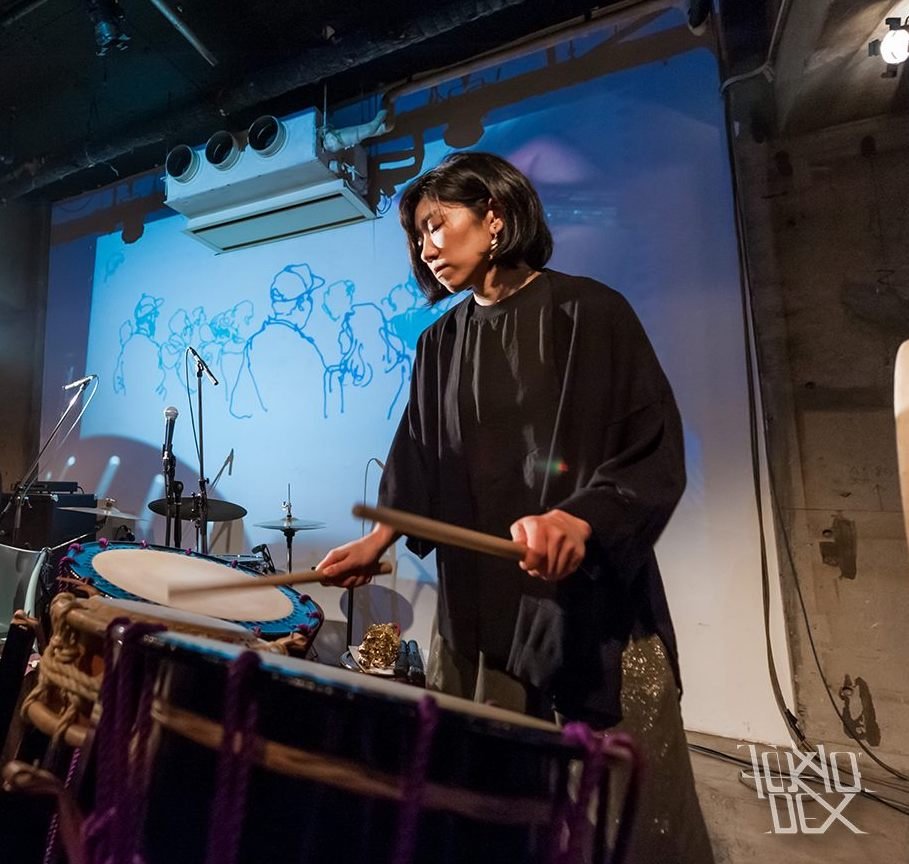
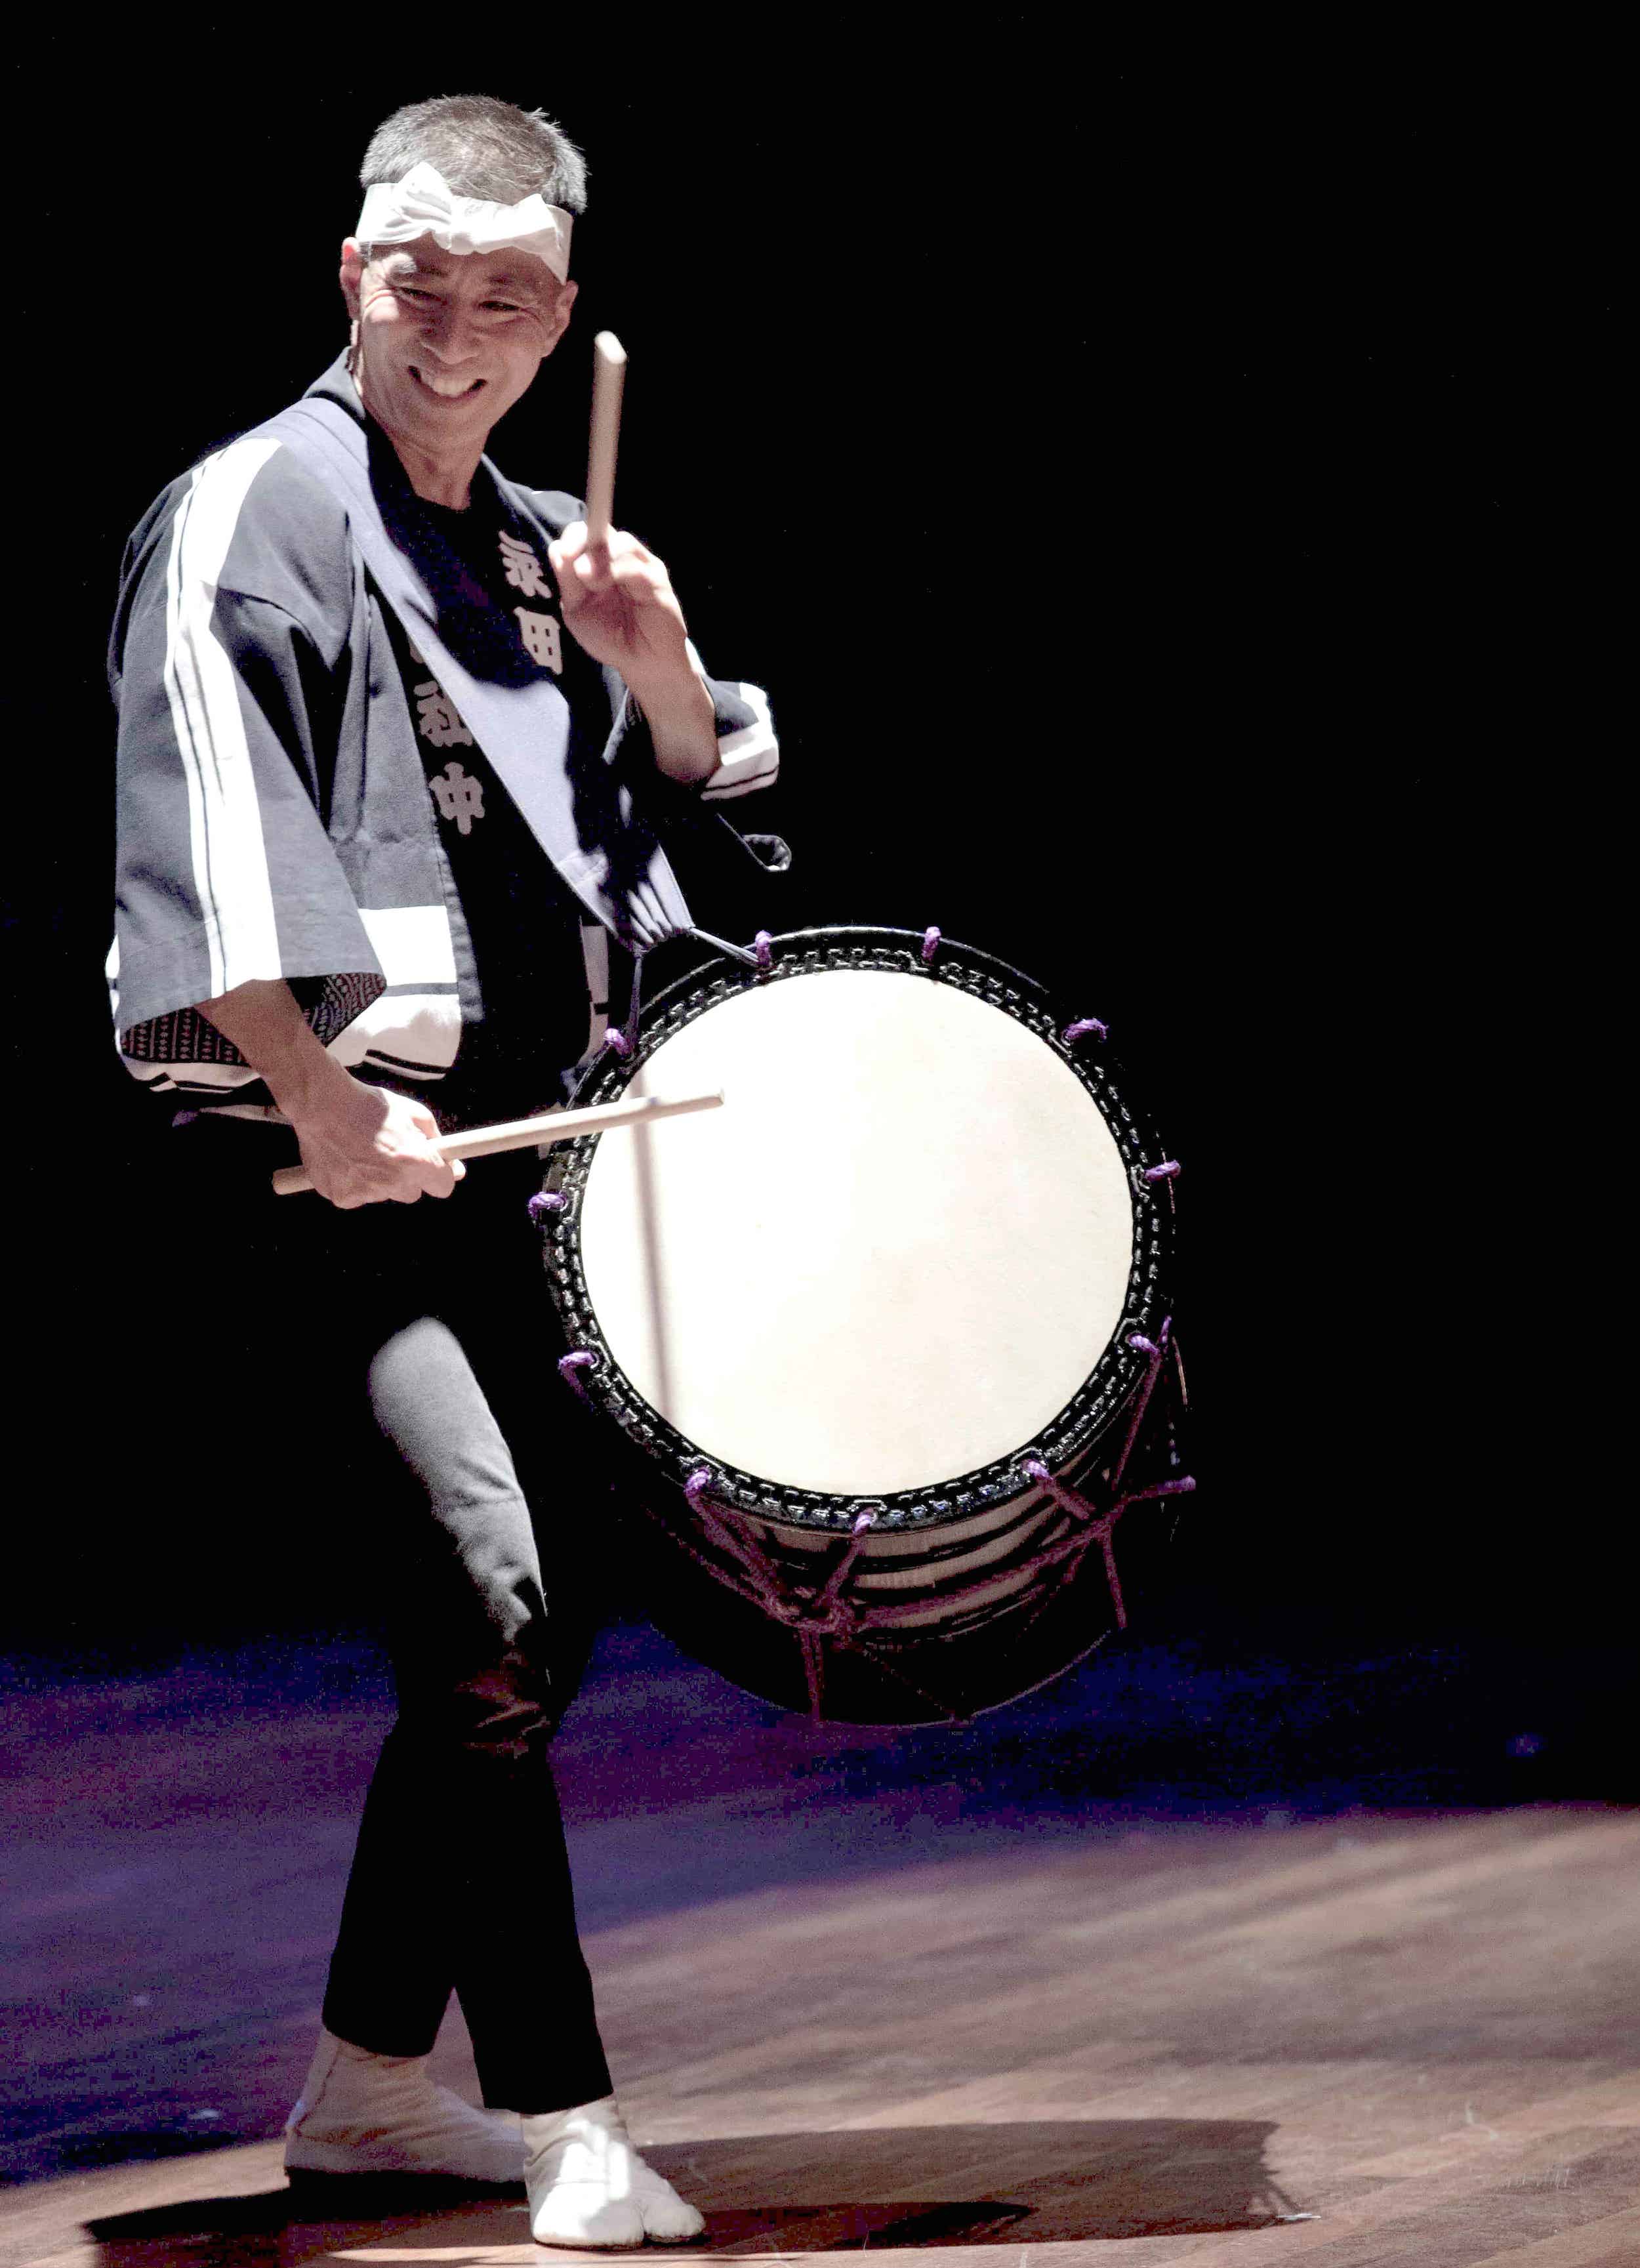
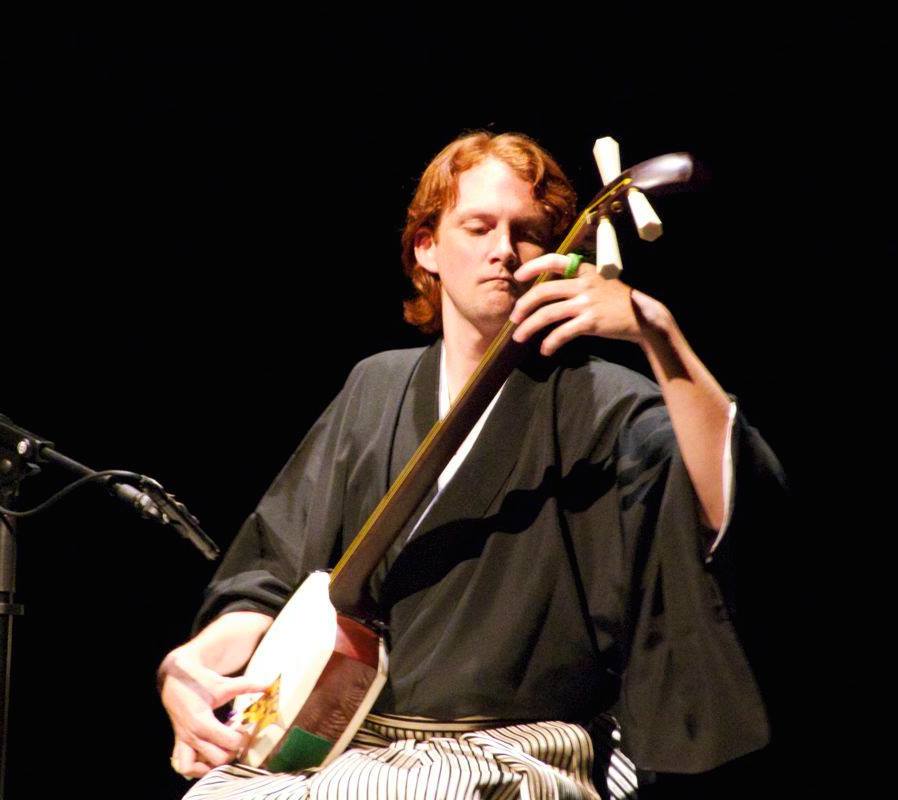
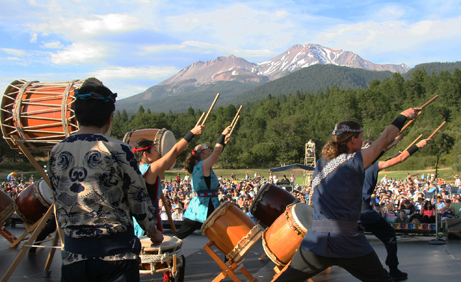
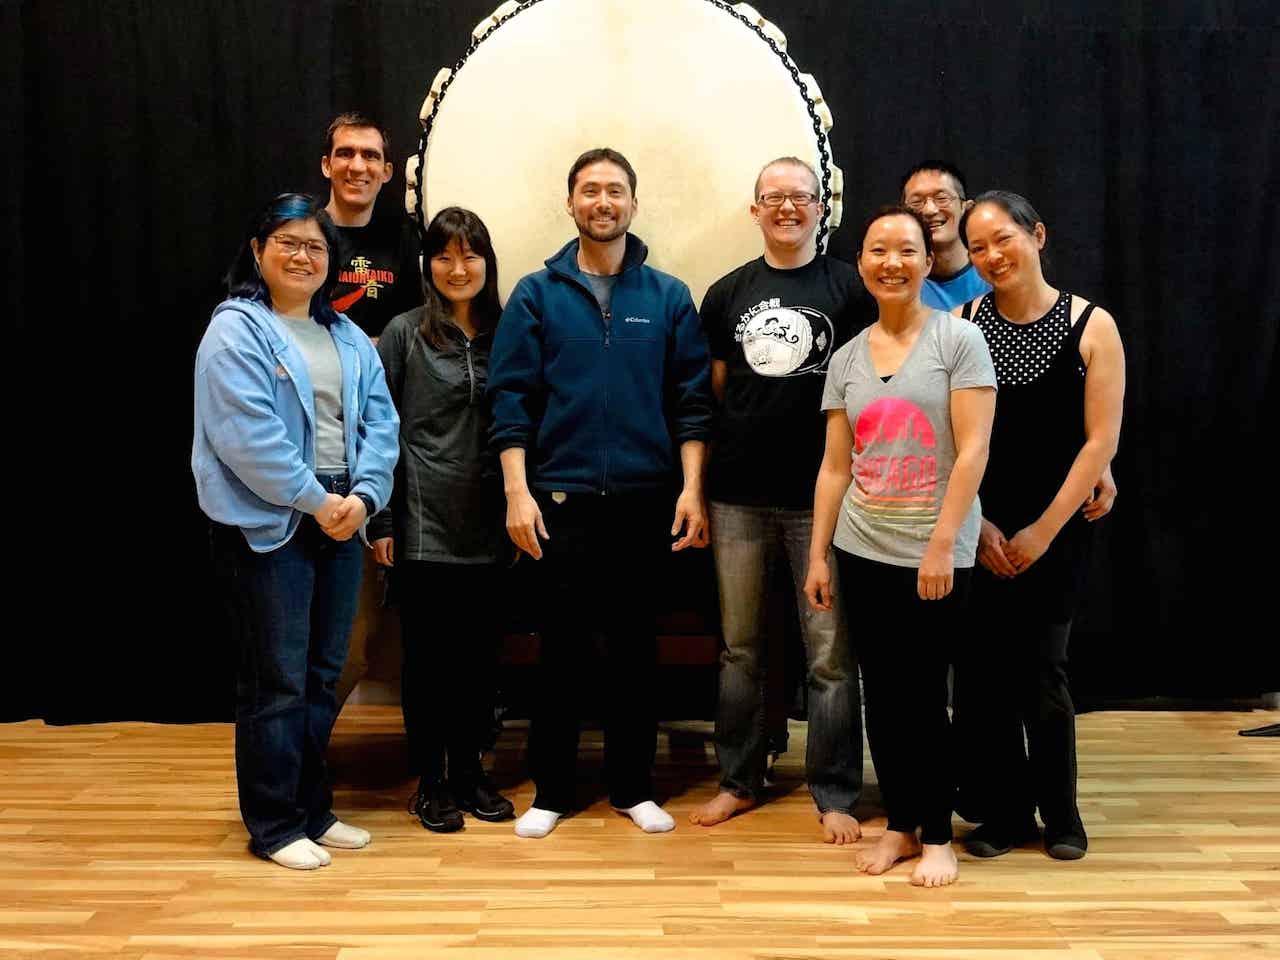
Ho Etsu Taiko in Chicago
There are a lot of great things happening within the US Midwest taiko scene. My recent teaching tour took me through five states over a two-week period and each stop was full of positive energy and warm hospitality. I worked with groups which have existed for anywhere between a few years and thirty plus years, and it seems like the region is making more and more cross-state connections - hopefully planting the seeds for a future Midwest Taiko Gathering. I especially enjoyed seeing the various styles of each group and truly appreciated the heightened emphasis on musicality. Hopefully I'll be back soon!

Soten Taiko in Des Moines
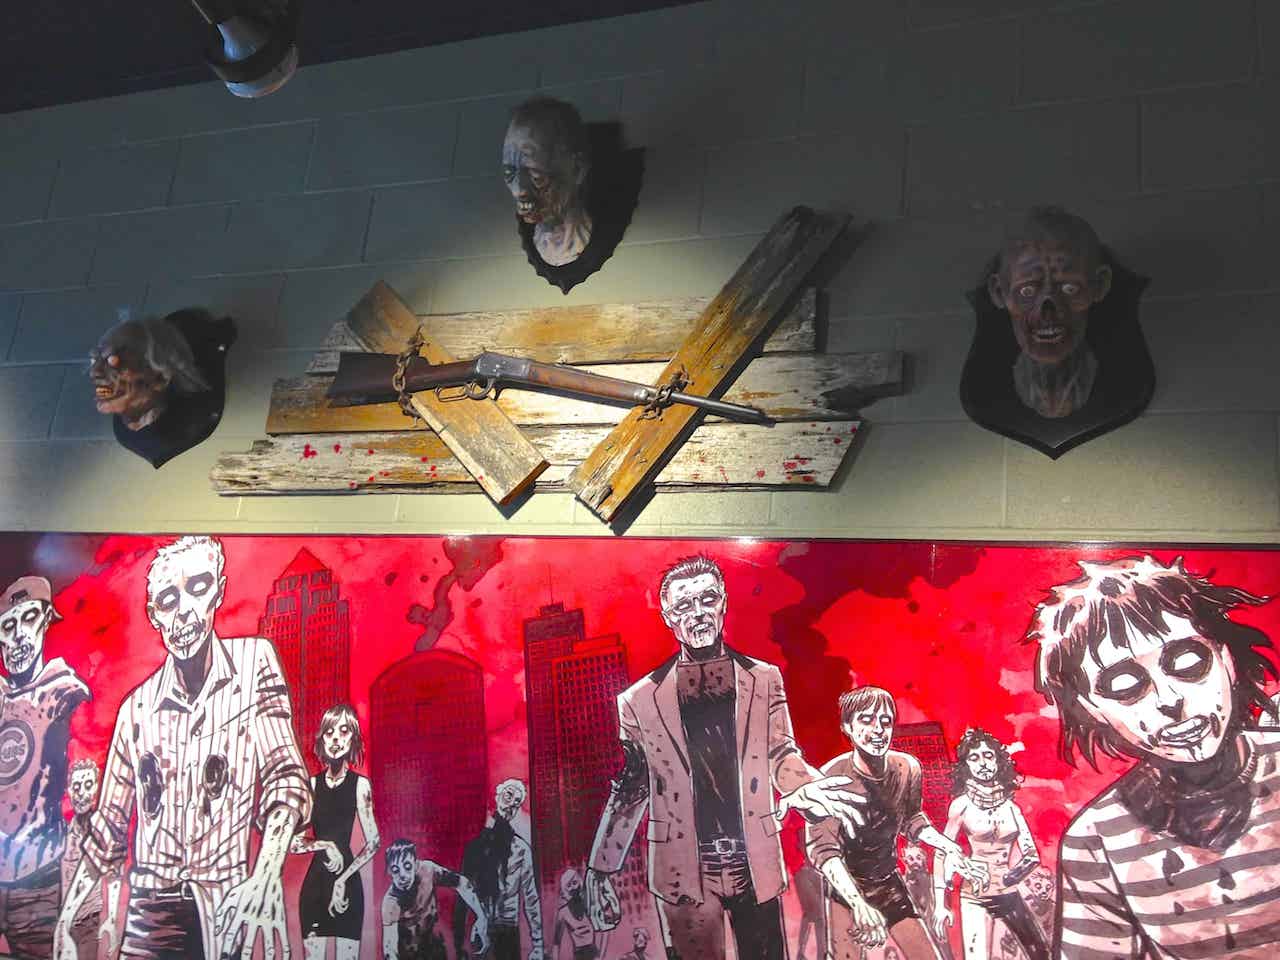
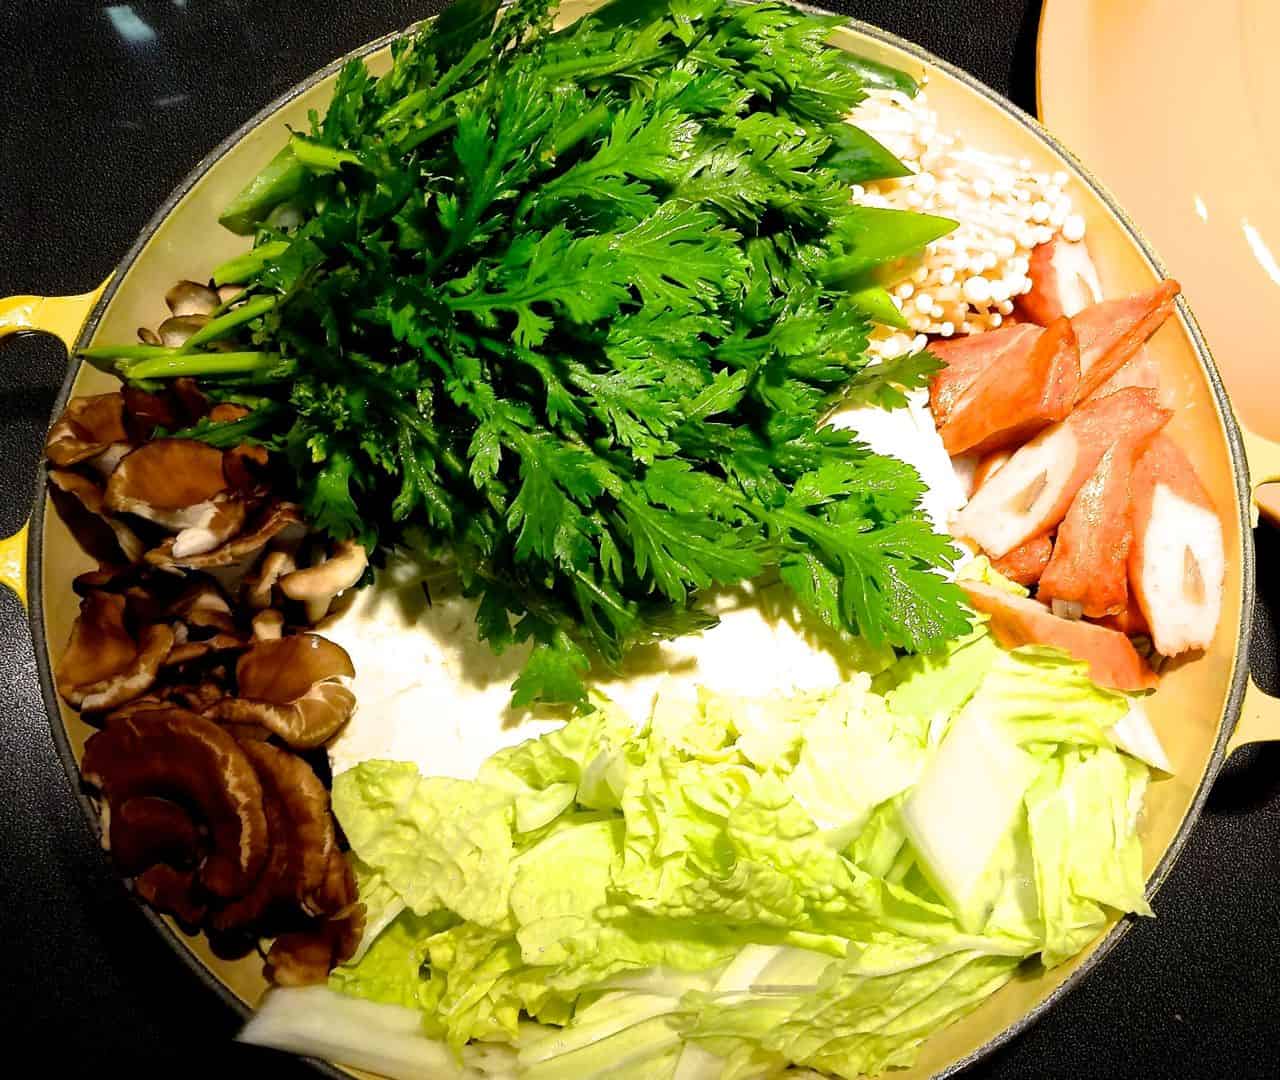
My first stop was in Des Moines, Iowa to work with my friends at Soten Taiko. The members took me straight from the airport to the famous Zombie Burger where we enjoyed great burgers and shakes while completely surrounded by everything zombie. The fun continued during the shinobue private lesson (where I was shown 2 beautiful shishi gashira they perform with) and the Soten Taiko workshop covering ensemble playing concepts. Dinner was another peculiar place where pizza was topped with Chinese-restaurant dishes like beef stir-fry and crab rangoon, all surprisingly tasty. The next day I drove north to Minneapolis in a rental car after having a fantastic breakfast at the local French bakery where I had one of the best almond croissant in recent memory. Many thanks to Ben, Mary Jane, Amanda, Tanis, and all of the Soten Taiko members!


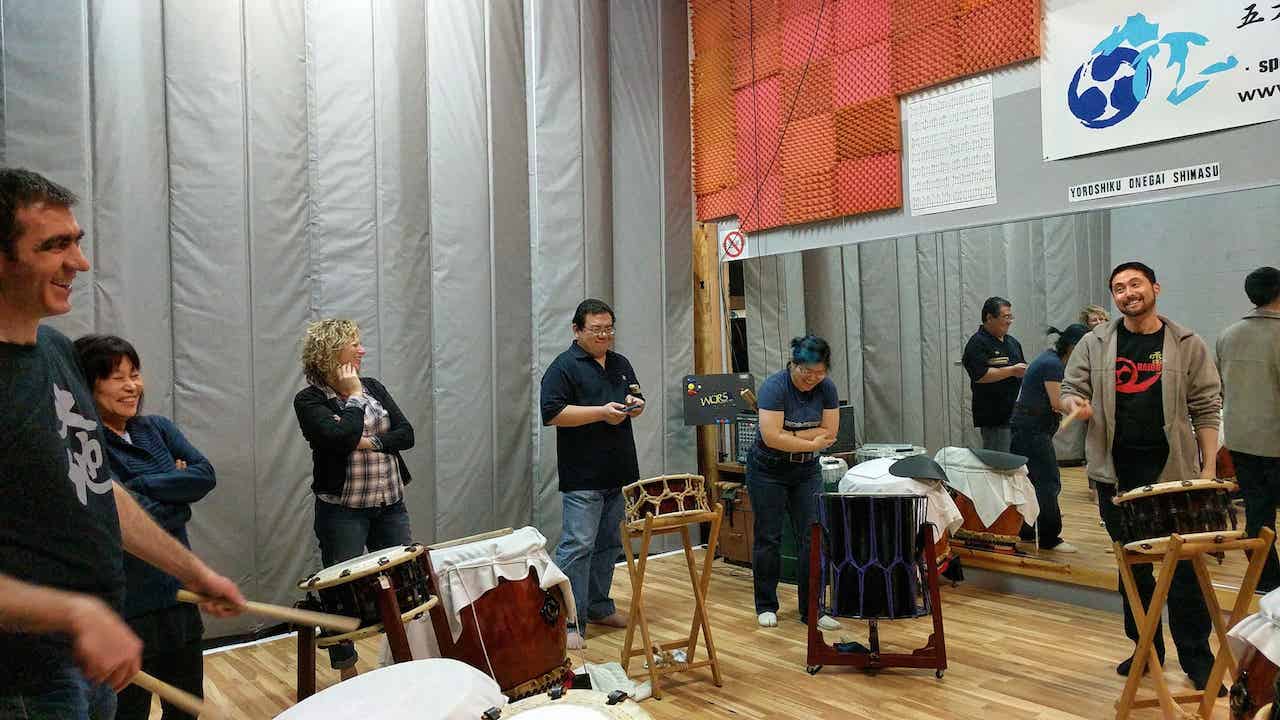
Edo Bayashi masterclass
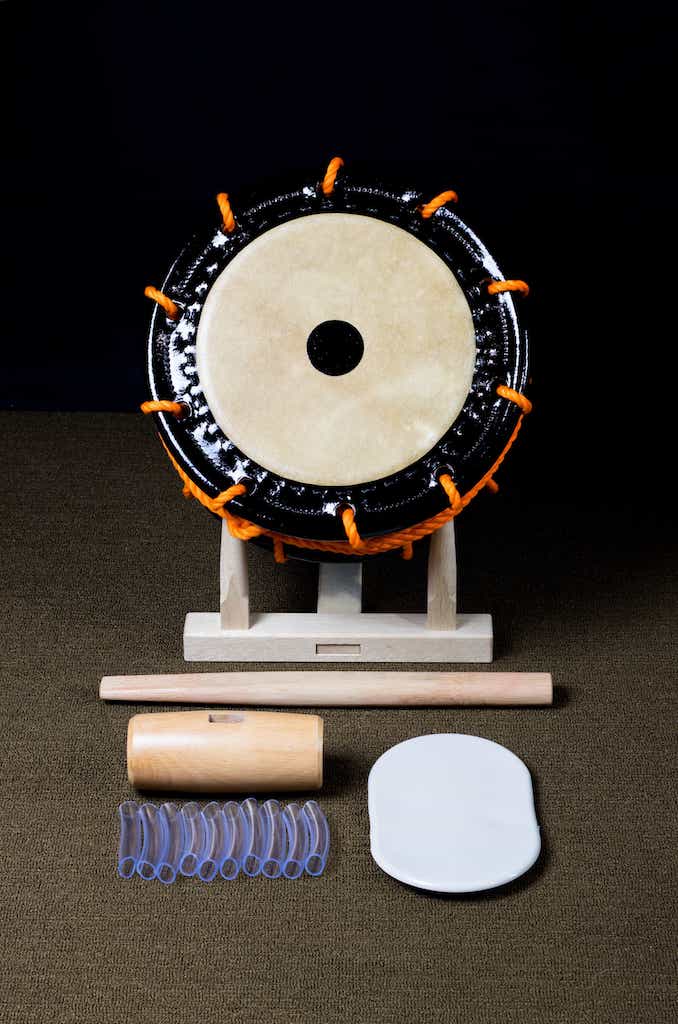
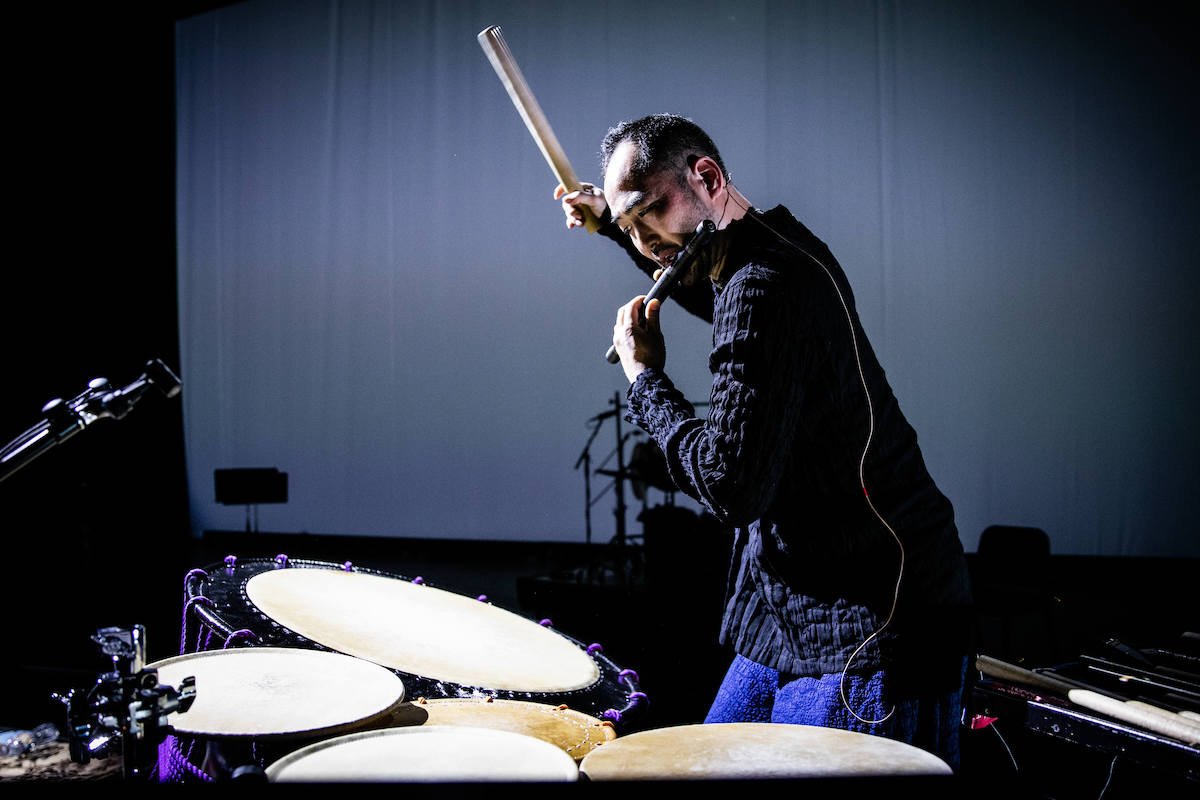
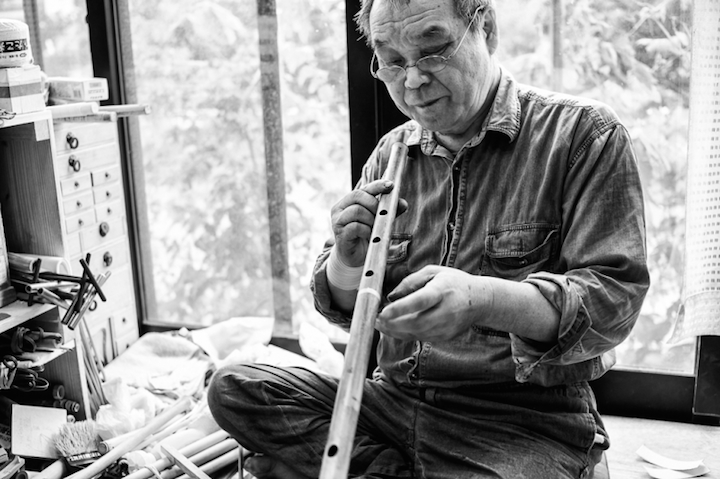
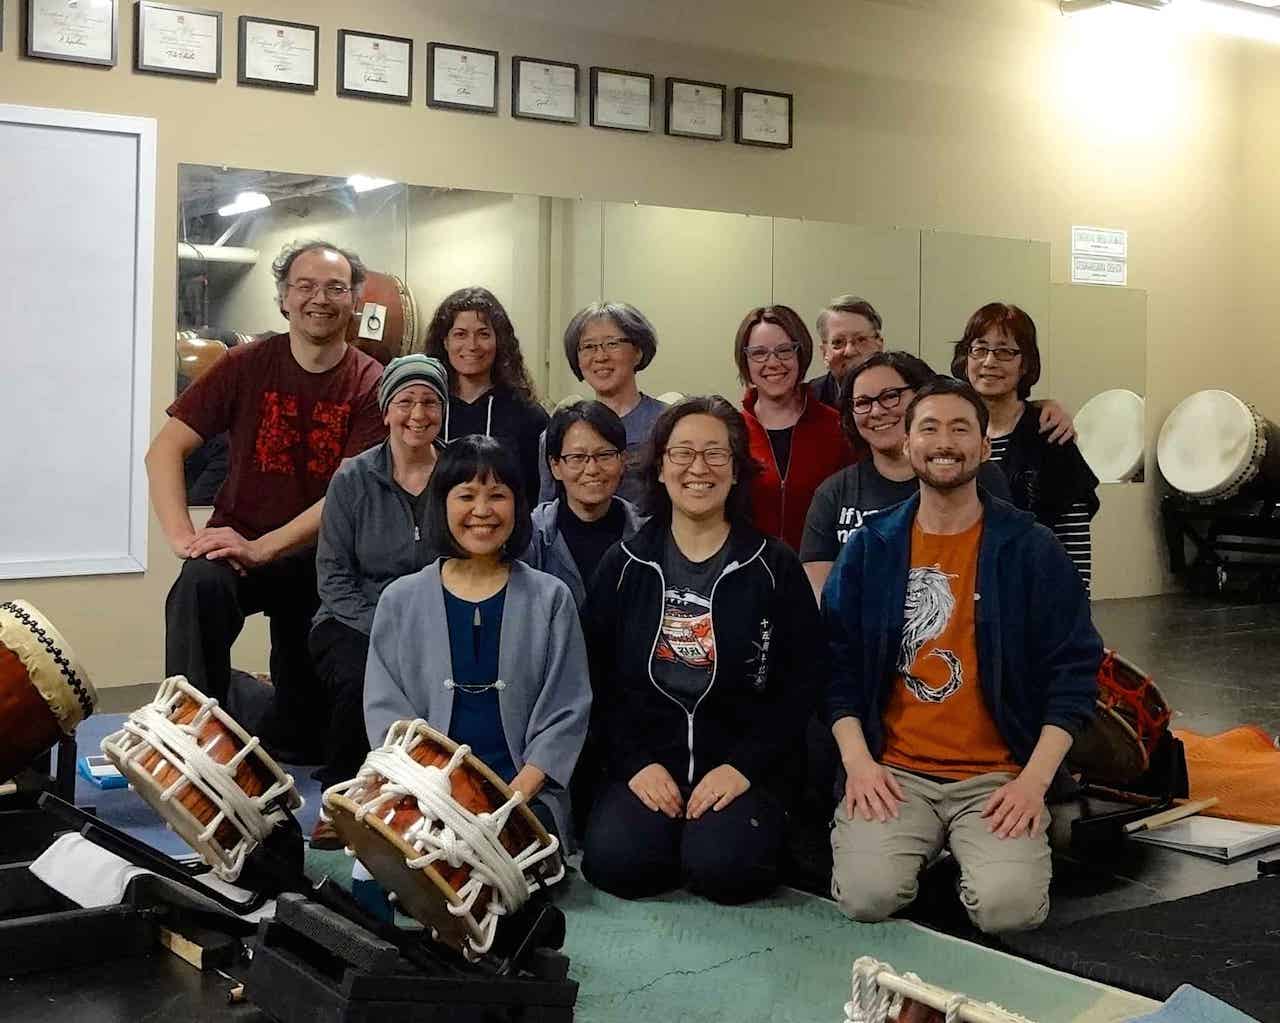
I was really looking forward to returning to Minneapolis where I first met the Mu Daiko team in 2005 when I traveled there as a member of the Kenny Endo Taiko Ensemble. It was a blast seeing old photos from that time, reminding me of my initial admiration for Mu Daiko's wonderfully distinctive original compositions played at our joint concerts. This recent visit was organized by my friend Iris Shiraishi who is doing fantastic work with her projects Ensemble MA and TaikoAlive. While it was fun teaching workshops on intermediate shinobue and small drum technique, I was particularly thrilled to lead an Edo Bayashi masterclass for the class Iris runs. She and some other members have a history of studying with Kyosuke Suzuki sensei, and this session served as preparation for his visit in August following the North American Taiko Conference. It was also inspiring to get private lesson requests for shinobue, atarigane, and Edo Bayashi – things I would like to see more of out there. Happily there was some free time to check out a nice brewery, a good coffee roaster, and even a fantastic little drum shop that makes their own line of drums called Northeast drum co. I played the walnut mini kit and was shocked at how good it sounded. Thank you so much to Iris, Alex, Arlene, and all of the Ensemble MA and Mu Daiko members for the warm and enthusiastic hospitality!

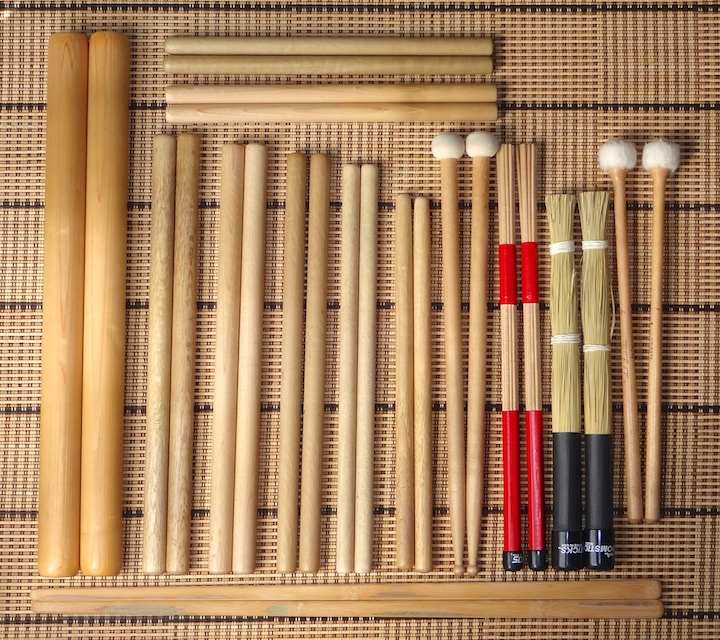
Small drum technique

Intermediate shinobue

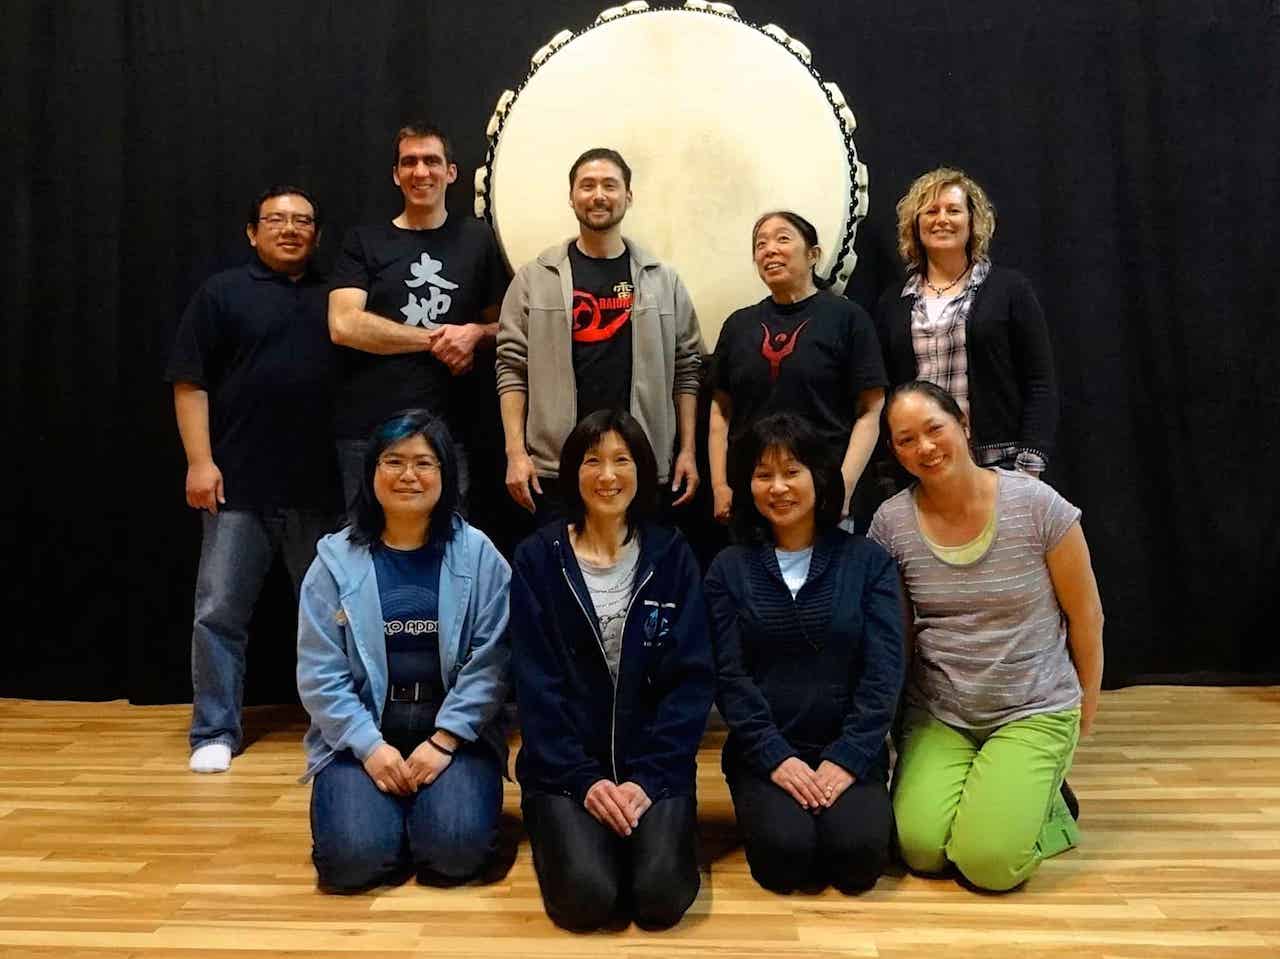
The Drum Loft
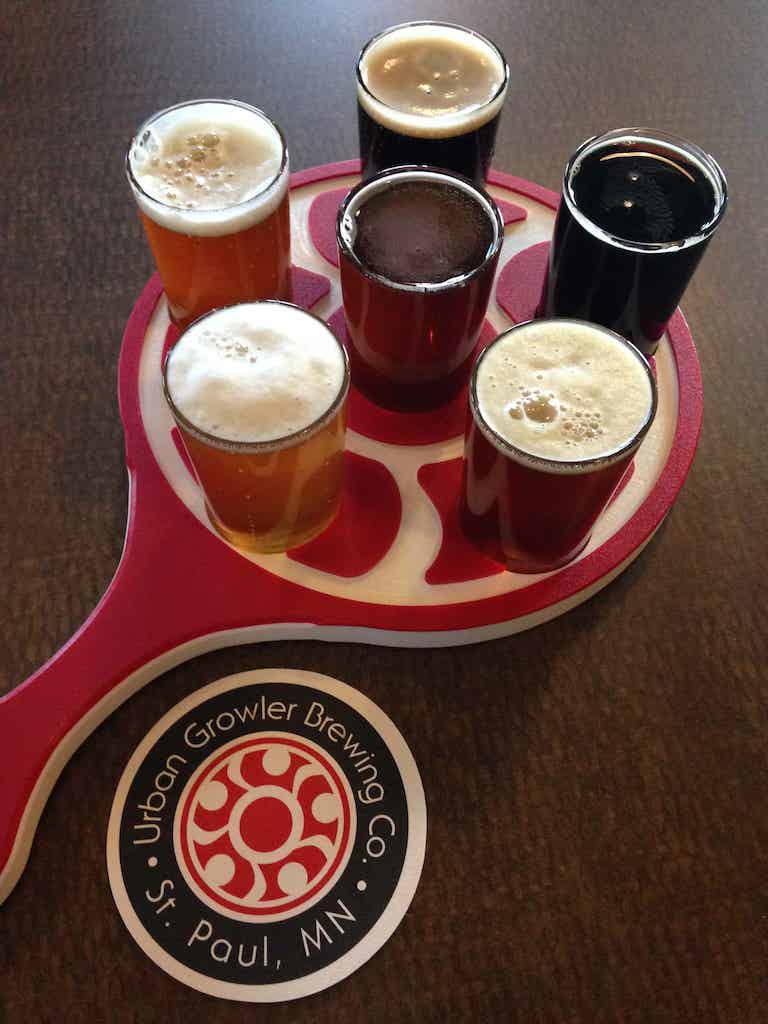
Urban Growler Brewing

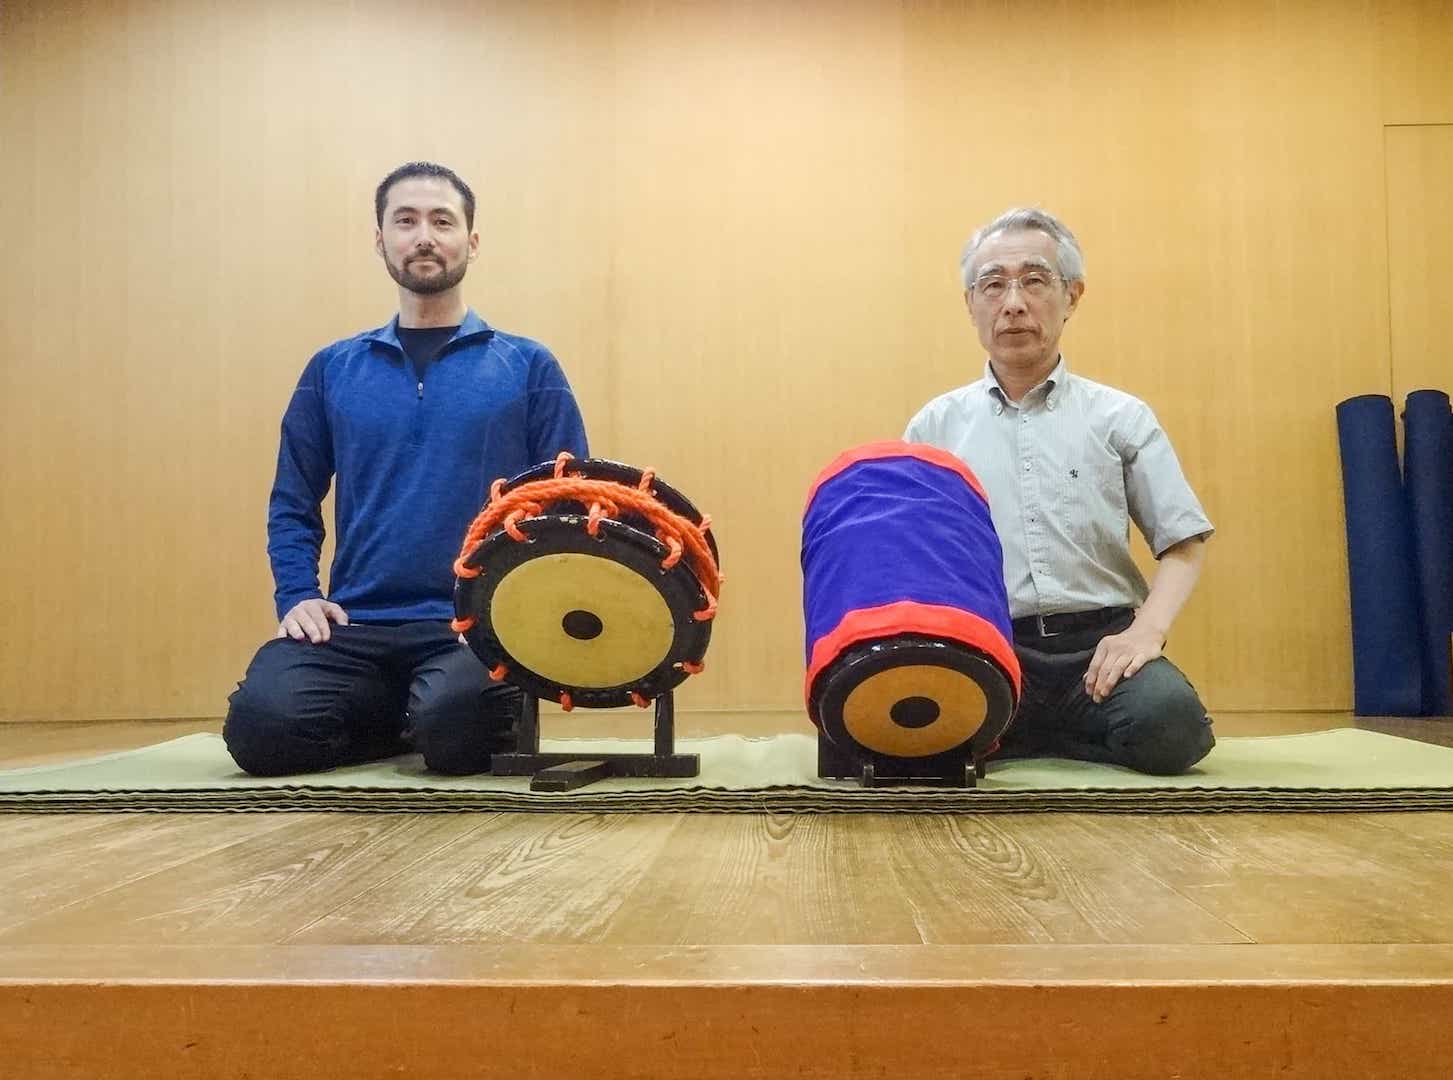
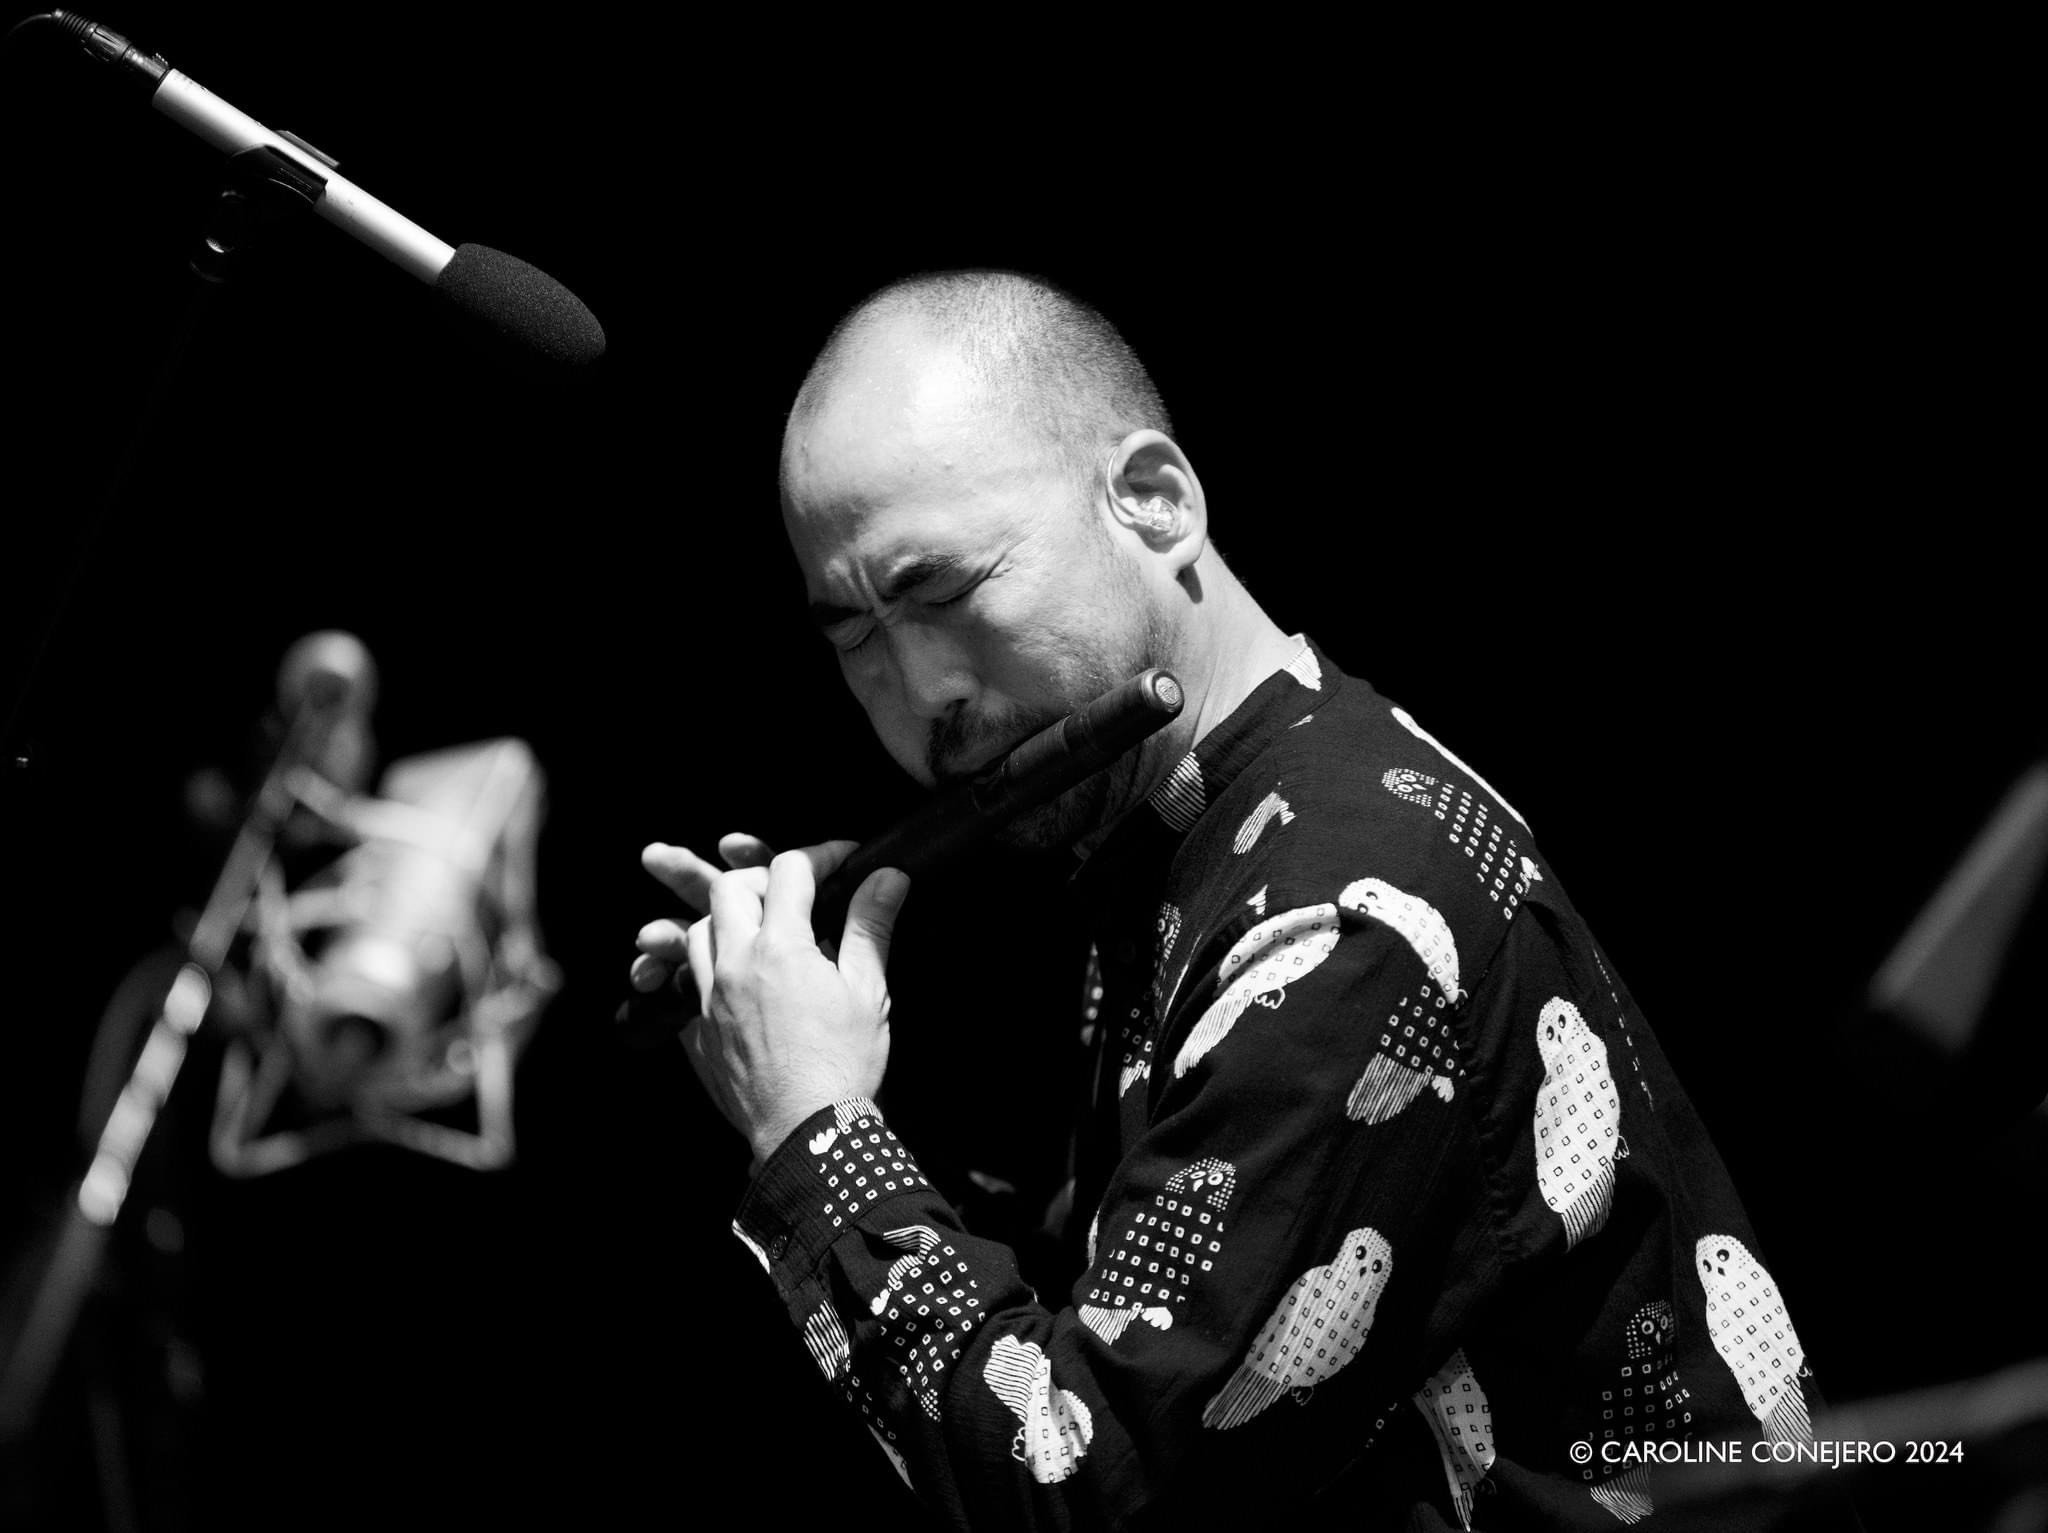
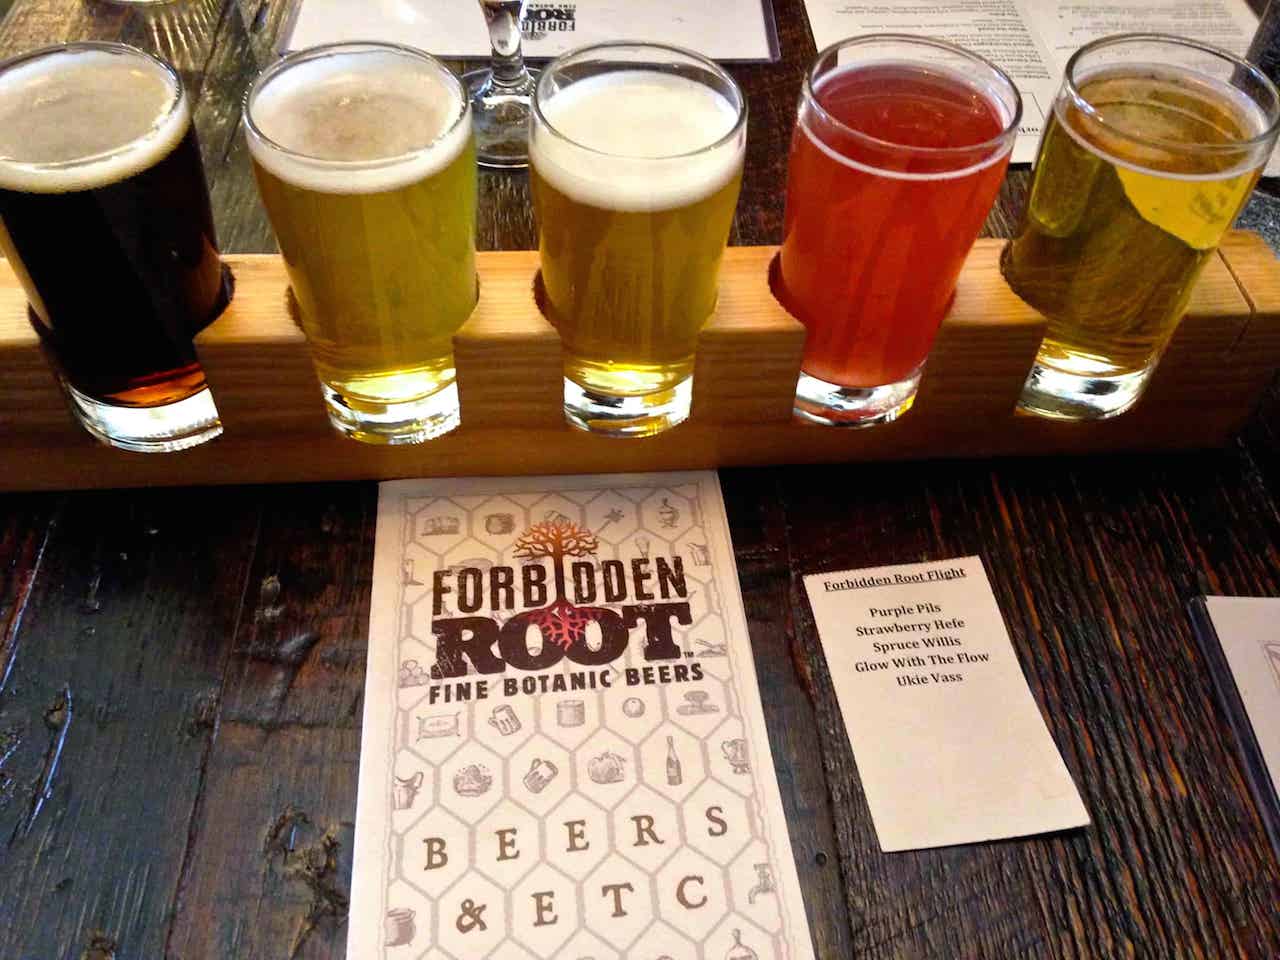
My next stop, Ho Etsu Taiko in Chicago, was the originator of this tour. My interview with artistic director Jason Matsumoto covers how we met, including the newly-released joint live album with On Ensemble recorded a year and a half ago. Ho Etsu is one of my favorite groups not only because the members are a joy to hang out with but also because they are creating interesting original material that fits the group's style and vision. It's exciting to think of the possibilities to come from their forward motion, and absolutely Ho Etsu is a group we should be keeping an eye on. In addition to workshops on small drum technique and Edo Bayashi, we took some pieces from the repertoire and explored ways to make the music speak with more clarity and artistic intension. Among the many great meals, the unusual beers at Forbidden Root were especially memorable. I also finally made the pilgrimage to the old Deagan building where I met Andres, the master tuner, repair technician, and owner of Century Mallet Instrument Service. As a Deagan vibraphone owner, I have ordered parts from them for many years, and visiting this historic place was just as incredible as I had imagined. A huge thank you to Jason, Johes, Midwest Buddhist Temple, and all of the Ho Etsu members for a remarkable time together!

Initially I had planned on driving to my next location of St. Louis, but Expedia informed me that I could fly there for less time and expense than driving a rental car. When nobody in Chicago or St. Louis had heard of the tiny airline called Air Choice One, I knew there was a chance for an adventure. It turned out fine – a leisurely flight on an eight-seat prop plane with five other passengers and two pilots a few feet away. It was a windy day, causing the little plane to blow around, but having so much visibility inside made it quite an enjoyable ride. This was my second time visiting St. Louis Osuwa Taiko and I was delighted to see their brand-new shishi gashira. We covered the taiko part for Edo Kotobuki Jishi on the first day and conducted a workshop called Pulse & Ensemble Playing on the second. This is one of the few groups where I can exchange stories and share experiences regarding the original Osuwa Daiko in Nagano, Japan. Although I never had the chance to meet Daihachi Oguchi sensei, I am friends with his grandson and current leader Makoto Yamamoto, having visited their historic location in Okaya as well as presented an Osuwa Daiko concert in Vancouver, BC. Before taking my afternoon flight, I was able to visit an interesting brewery called Urban Chestnut where a self-guided tour tells about the brewery's environmentally conscious operations. Thank you very much to Andrew, Soon, and everyone at St. Louis Osuwa Taiko!

My ride to St. Louis

Urban Chestnut Brewing
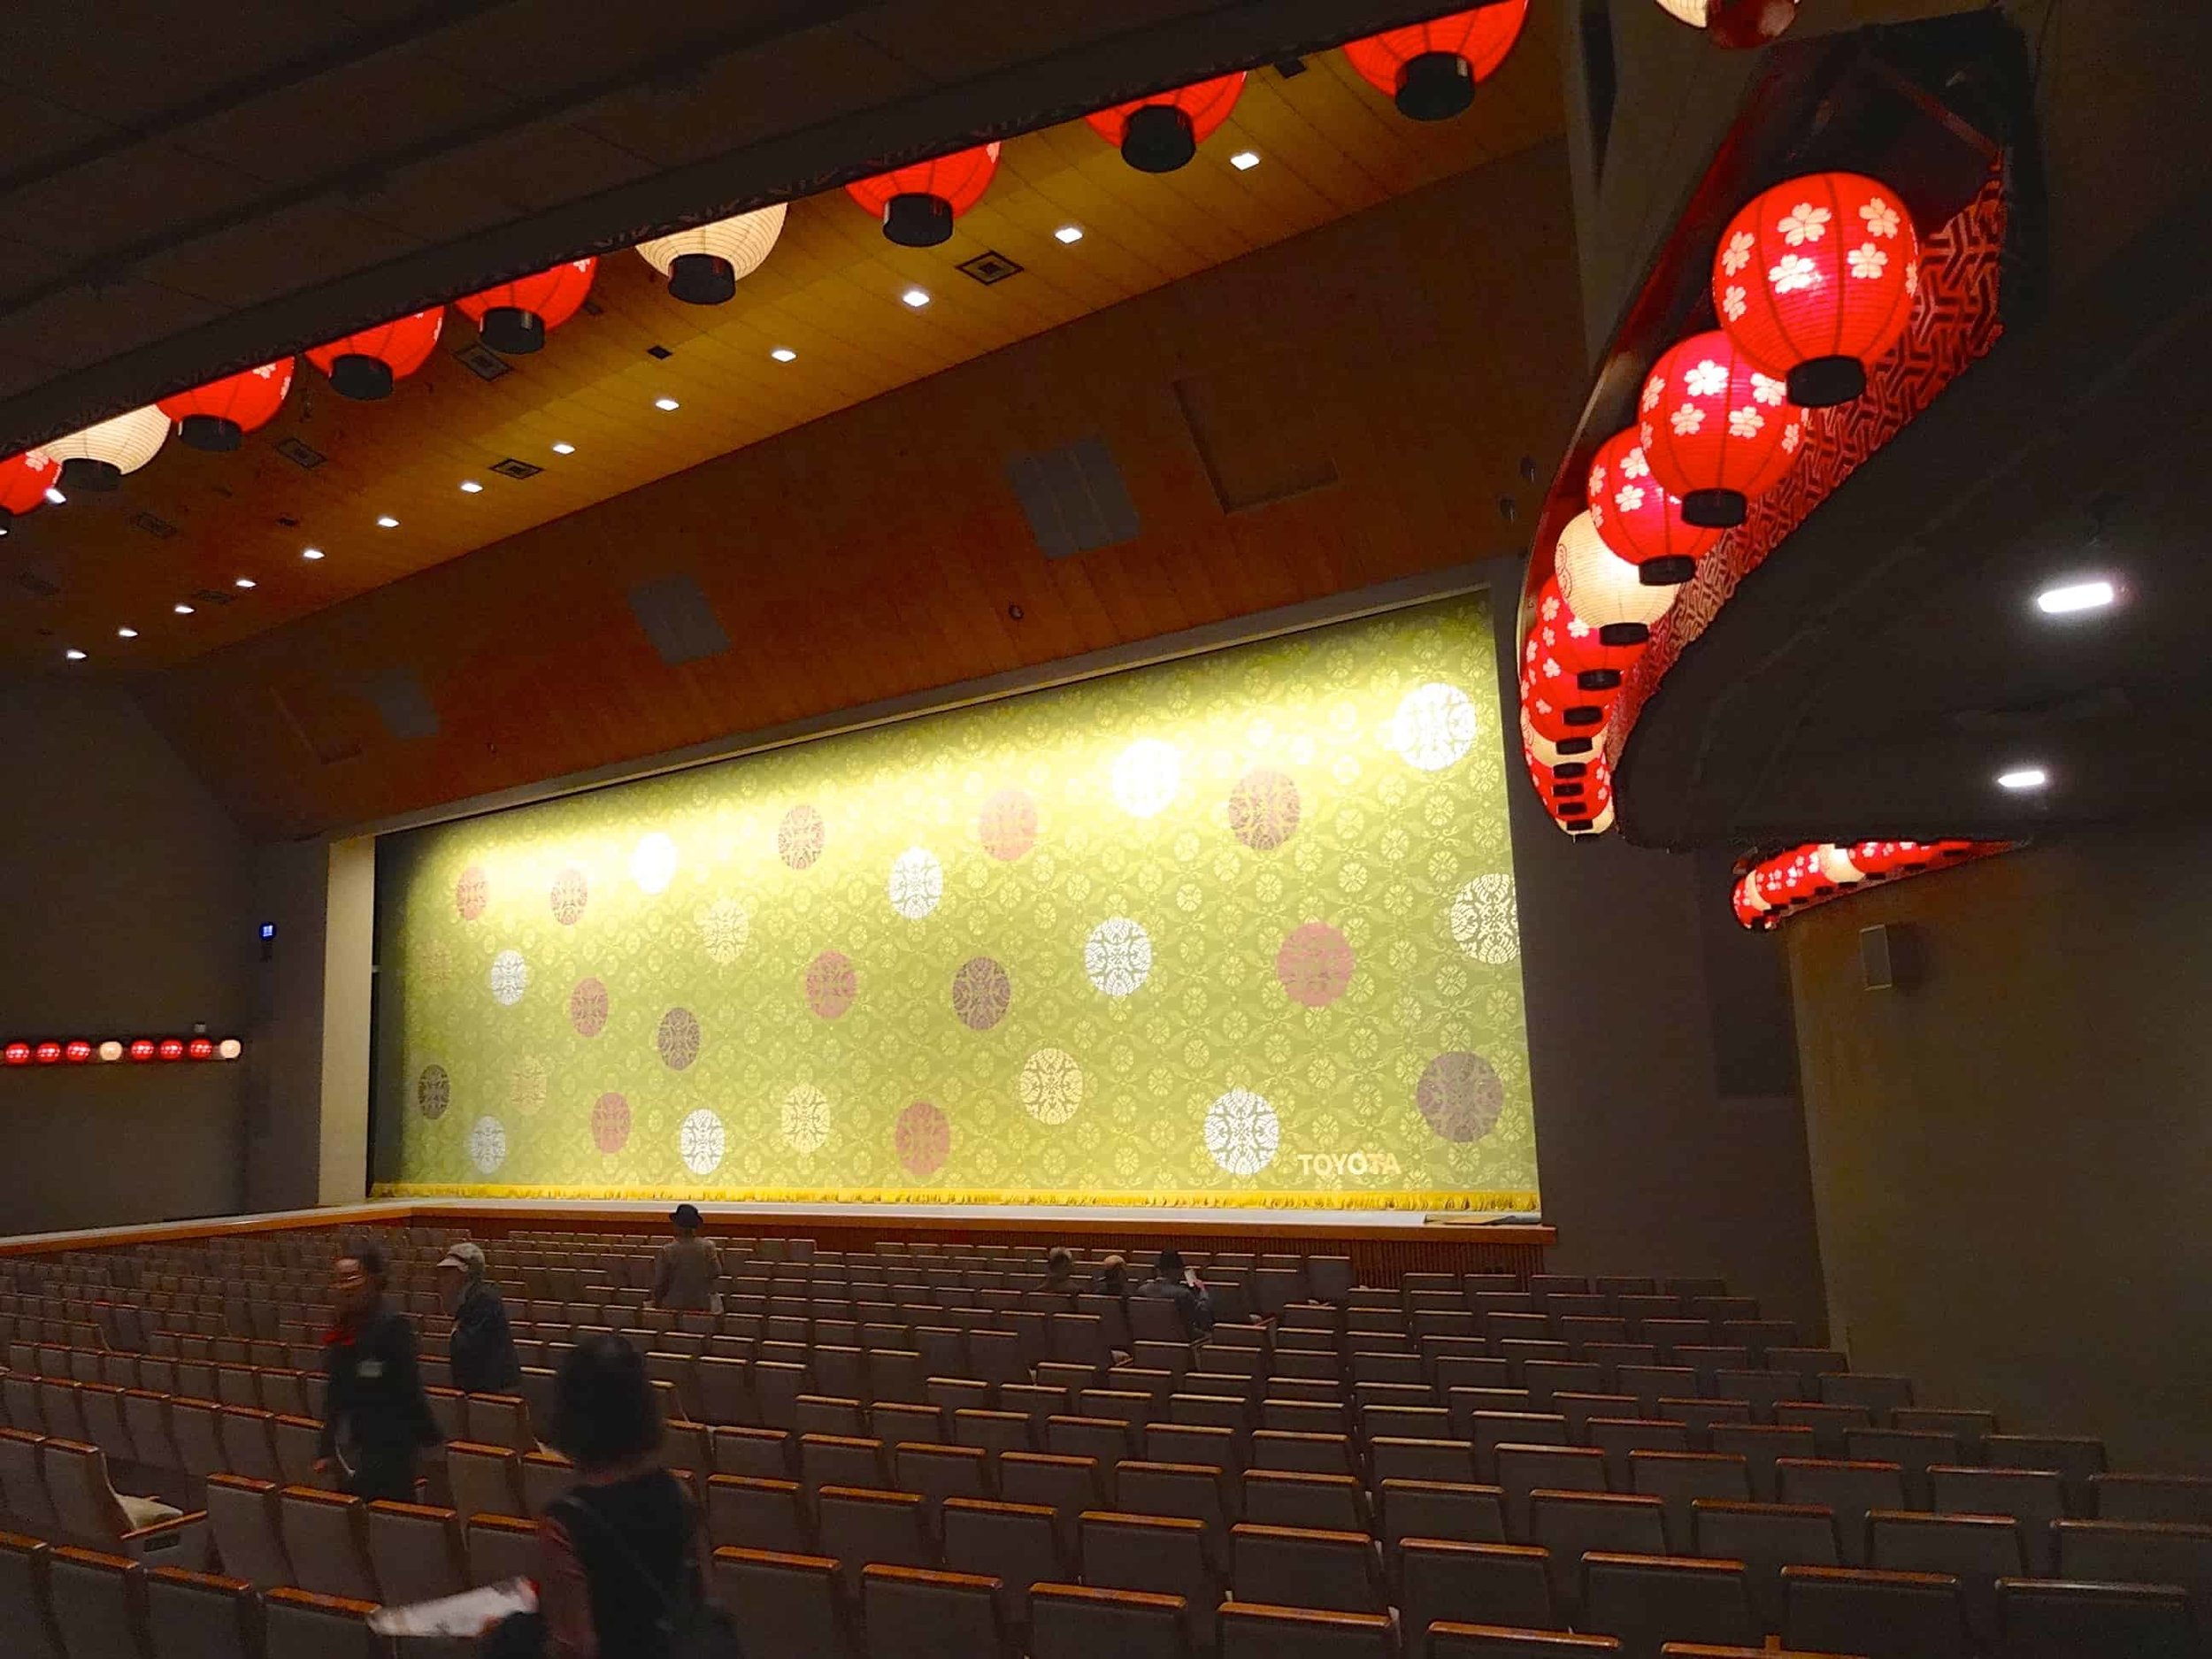
Great Lakes Taiko Center
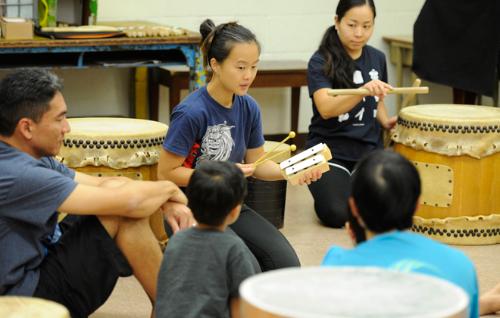
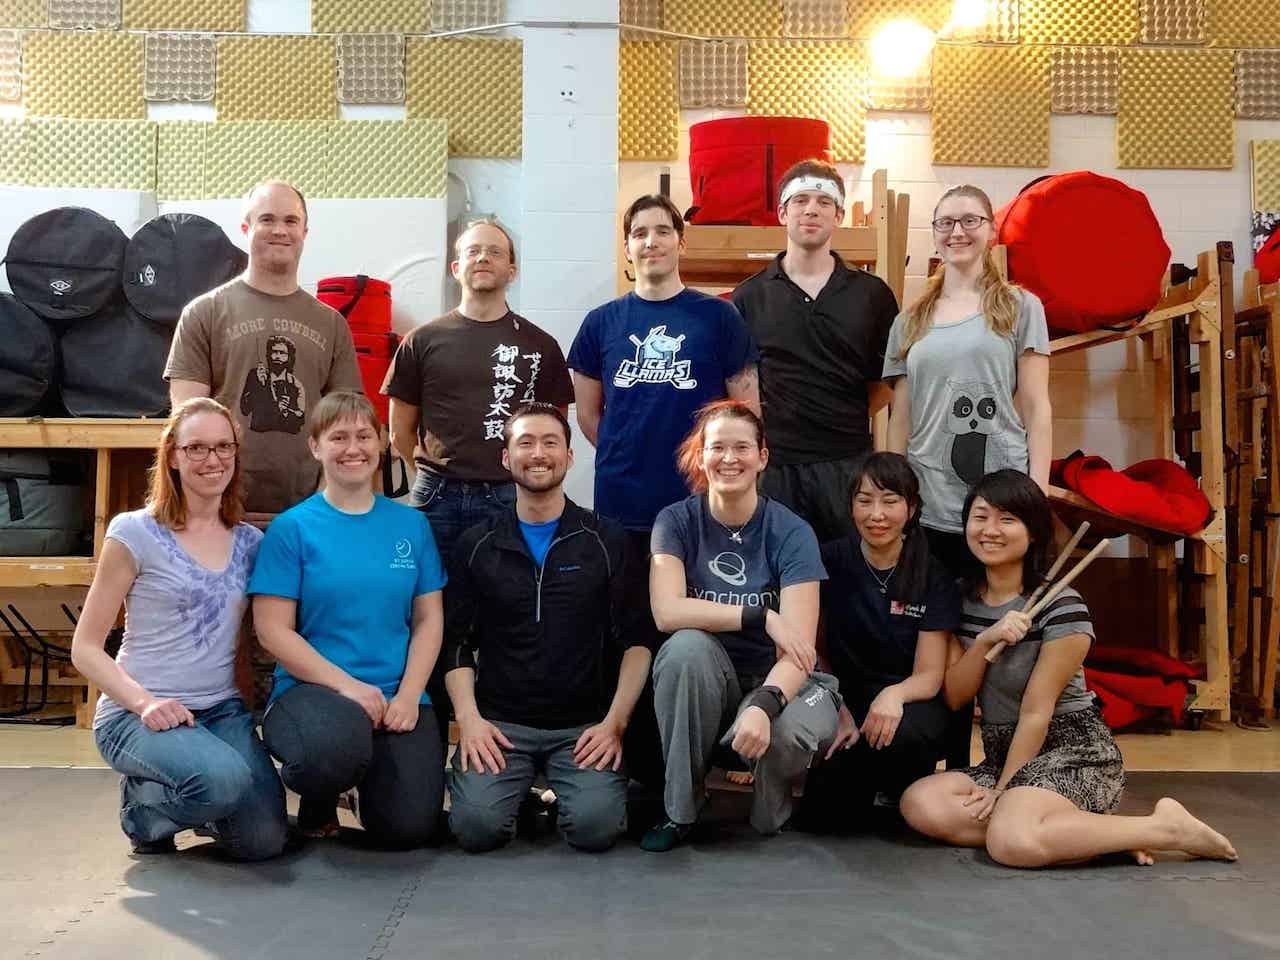
My final stop was new for me – Great Lakes Taiko Center in Novi, Michigan. For several years I had been hearing from friends about Brian Sole and his taiko school located in this somewhat unexpected location. Having earned my undergraduate degree at Central Michigan University, I was familiar with the geography and knew there weren't many taiko players in the state when I lived there, which is why I was so impressed with how much Brian has done in a relatively short amount of time. From the nice studio and quality instruments to the large-scale annual concert and student recital featuring guest artists from Japan, everything is well organized and very professional. The school's community ensemble Go Daiko and Brian's professional group Raion Taiko seem to get steady work and deliver excellent performances. It was a pleasure to teach in the clean and quiet space with plenty of drums, huge mirrors, a powerful PA system, and notation for warm-up exercises posted on the walls. I admired how everyone participated in the workshops with full vigor, and I even witnessed the single most virtuosic note-taking display in my 20+ years of teaching. (Thank you Eileen!) I also taught private and group lessons on small drum technique, shinobue, and katsugi technique. There were many good meals including the famous Detroit style pizza at Buddy's, but Bento 39 (sankyu) was the place I was eager to try as I had heard about this unlikely little spot serving amazing Japanese comfort food. My katsu curry plate easily met my hyped-up expectations. An enormous thank you to Brian, Eileen, Jianin, and everyone at Great Lakes Taiko Center for making this marvelous visit happen!
Ji playing workshop
Great Lakes Taiko Center
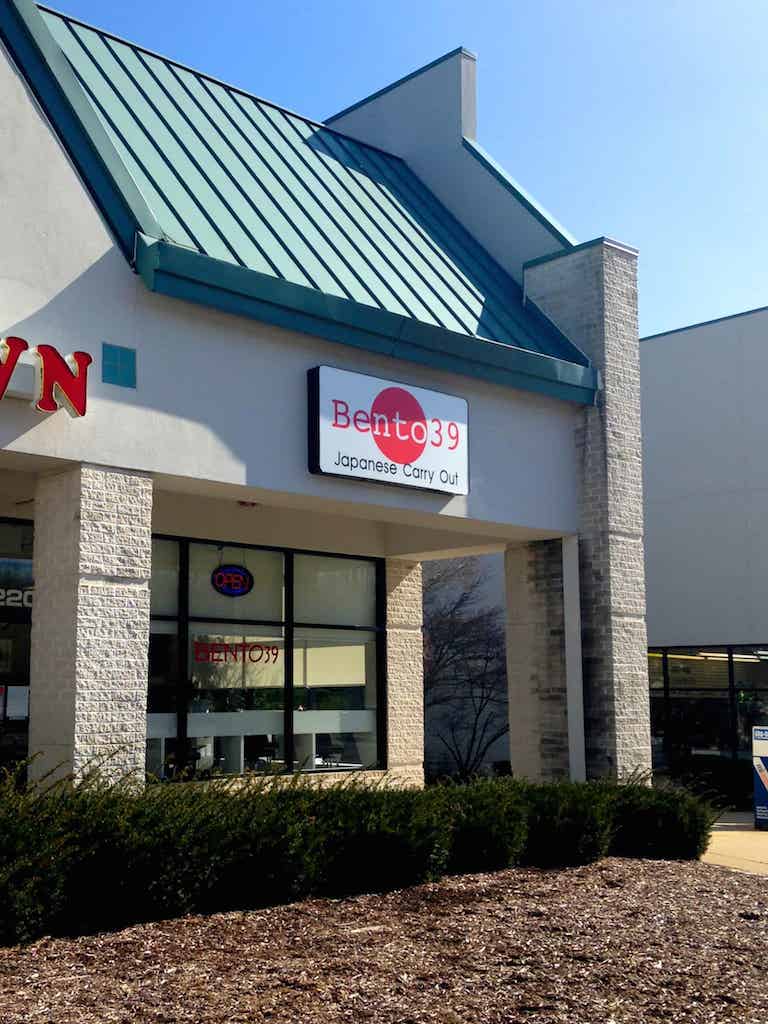
Bento 39

Katsu curry