Top 9 Apps I Use and Recommend

There are many great apps available these days. Of the dozens I have tried out over the years, a handful of apps have proved to be essential in my practicing, teaching, and music creation. It’s not surprising that almost all of these are paid apps, as higher quality is more likely when we pay for a product. Below is a list of nine apps that I find most valuable and highly recommend to all musicians. Feel free to contact me with any questions you might have about this topic or would like to schedule a lesson where I can help you get the most out of these kinds of practice methods.


Screen Shot 2021-05-04 at 2.26.15 PM.png

1. Time Guru Metronome - this is an incredibly valuable tool to help strengthen our inner sense of tempo control. The main feature is the option to randomly mute the metronome clicks based on the percentage we choose. By starting out at a manageably low percentage (10 - 20% mute) and working your way up to a more challenging percentage (60 - 80% mute), you can boost your ability to keep a steady inner pulse by gradually reducing your dependence on a constantly audible click. I also appreciate the capability for complex odd time and mixed meter programming. It’s only a couple of dollars to practice with this guru and I would pay ten or twenty times that amount without hesitation.


Screen Shot 2021-05-04 at 2.25.19 PM.png

2. Anytune - this is another indispensable tool for my daily practice and teaching. It allows you to independently change the tempo and pitch, which is extremely useful for transcribing music and playing along with any recording - two very important practices for consistent musical growth. I also heavily rely on the ability to add markers to the audio waveform, allowing me to quickly move the playhead to any marker with one key stroke. I can’t say it any better than the 5-star reviewer on the app store screenshot where it says, “Perfect - I use it everyday in my music practice.”


Screen Shot 2021-05-04 at 2.27.55 PM.png

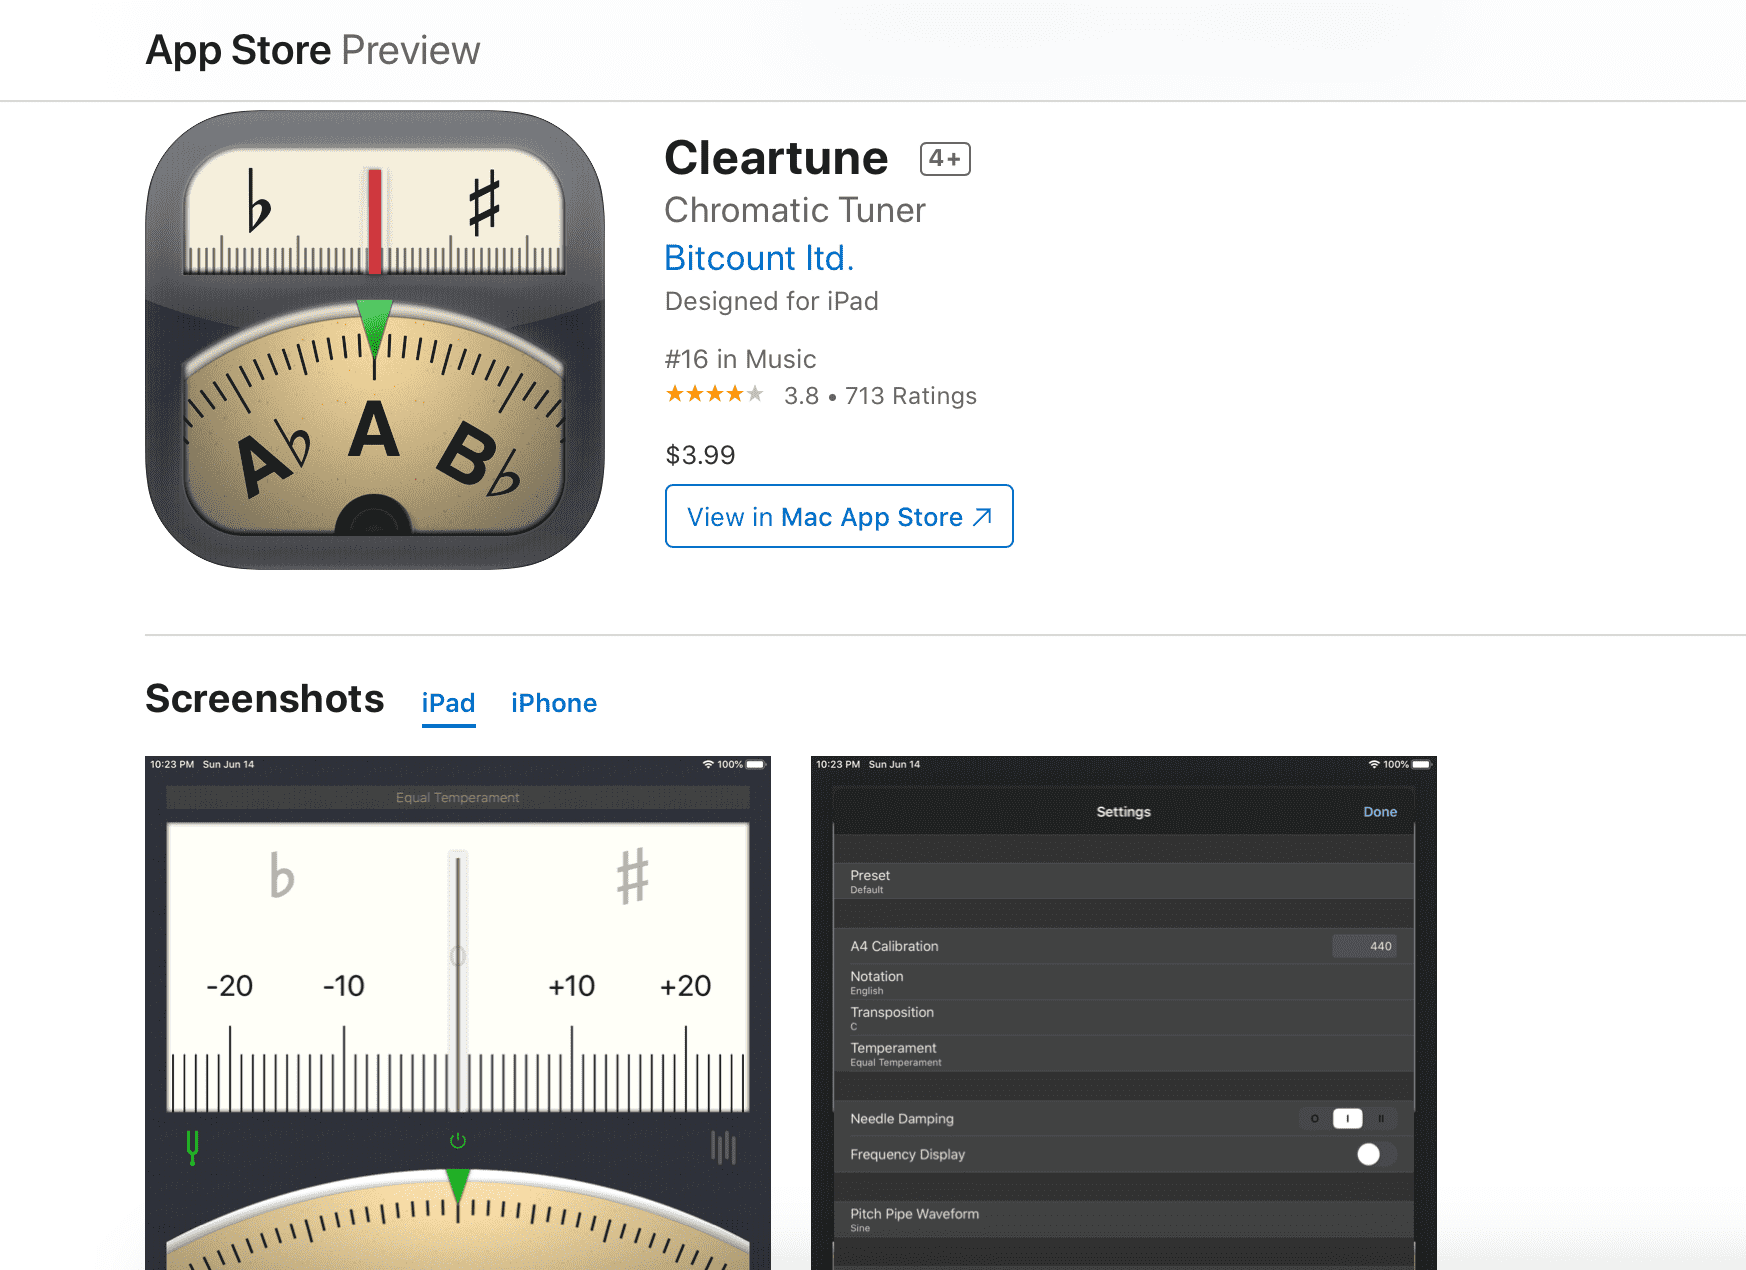
3. Cleartune - this is a very simple and user-friendly tuner app that I have been using for years. Just like a metronome gives us an accurate reference for steady tempo, a good tuner is essential for providing us the truth about our pitch. If the music is sounding out of tune, a tuner can quickly clear up questions such as “am I out of tune?” or “is my instrument out of tune?” or “is the other player or instrument out of tune?”


Screen Shot 2021-05-04 at 2.29.38 PM.png

4. SuperMetronome - starting in my high school years, I practiced constantly with my Yamaha drum machine, which allowed me to choose beats from dozens of music styles as well as to program my own patterns. As helpful as that tool was, this app is ten times more powerful in the features available to us. There are many pre-programmed beats, sounds, and genres, and everything can be edited to accommodate your exact needs. I can’t believe how many great tools are found in this very intuitive user interface. It’s super amazing and I use it all the time in my practicing and teaching.


Screen Shot 2021-05-04 at 2.28.51 PM.png

5. Gap Click - this is a brand new metronome app by the fantastic drummer and educator Benny Greb. It’s a very simple app that allows you to quickly program an A B click pattern. For example, bar 1 plays quarter notes and bar 2 plays eighth note upbeats. In the past, I would manually program such patterns into existing apps like the ones listed above, but now I can start practicing within seconds of opening this app. Like his teaching, Benny Greb’s app is clear, focused, and includes zero extraneous material. I wish this tool existed a long time ago but I’m glad this gap is now filled.


Screen Shot 2021-05-04 at 2.31.44 PM.png
Screen Shot 2021-05-04 at 2.32.02 PM.png

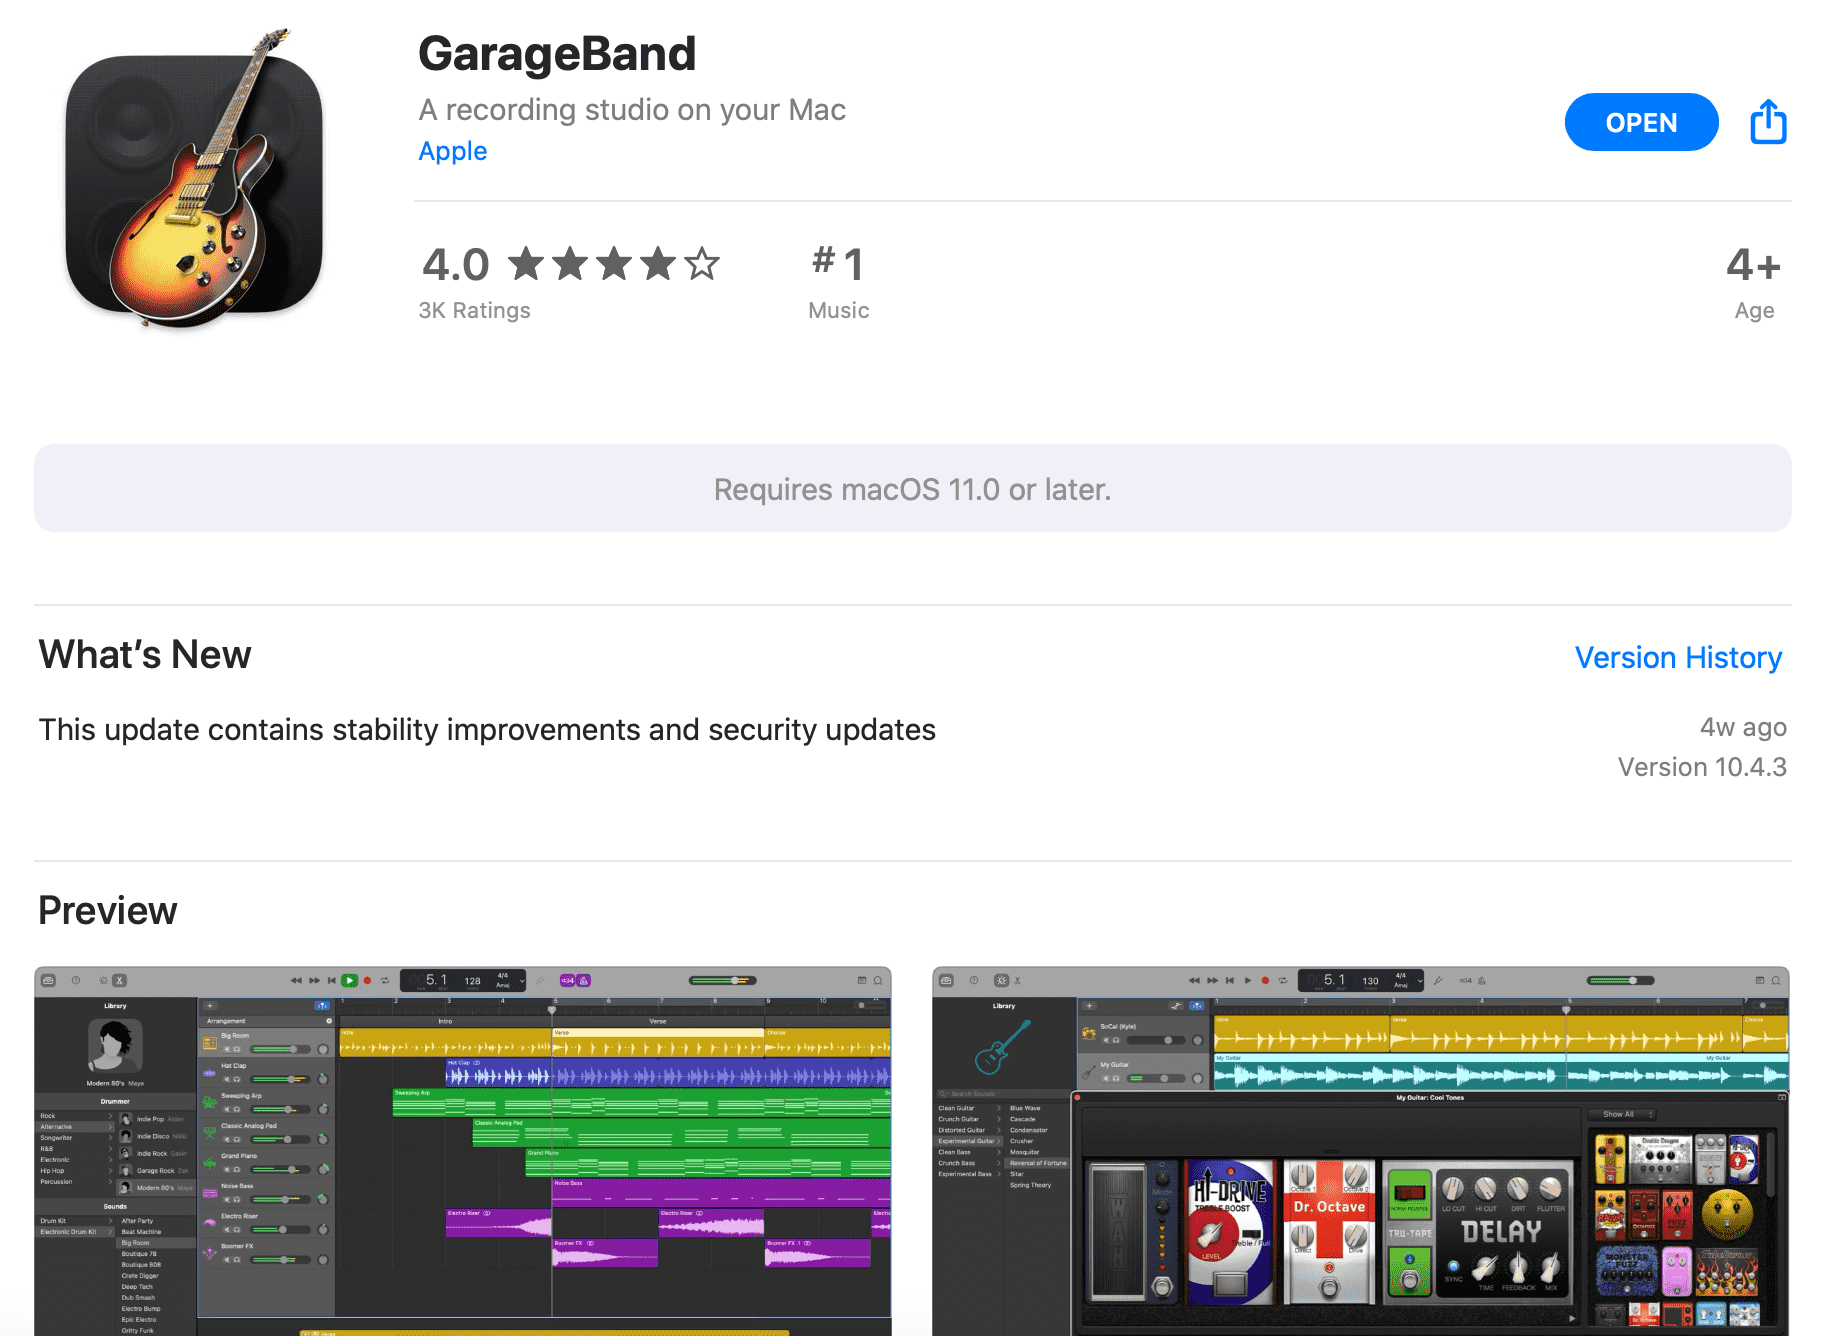
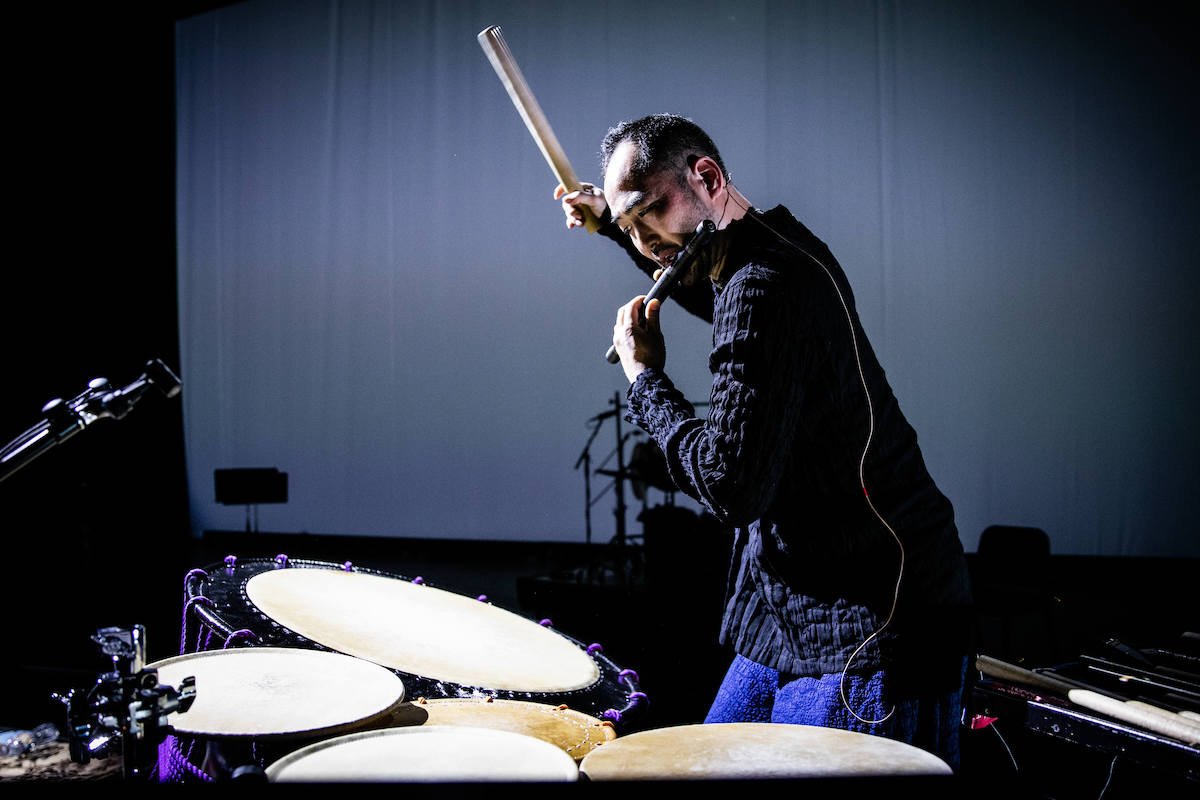
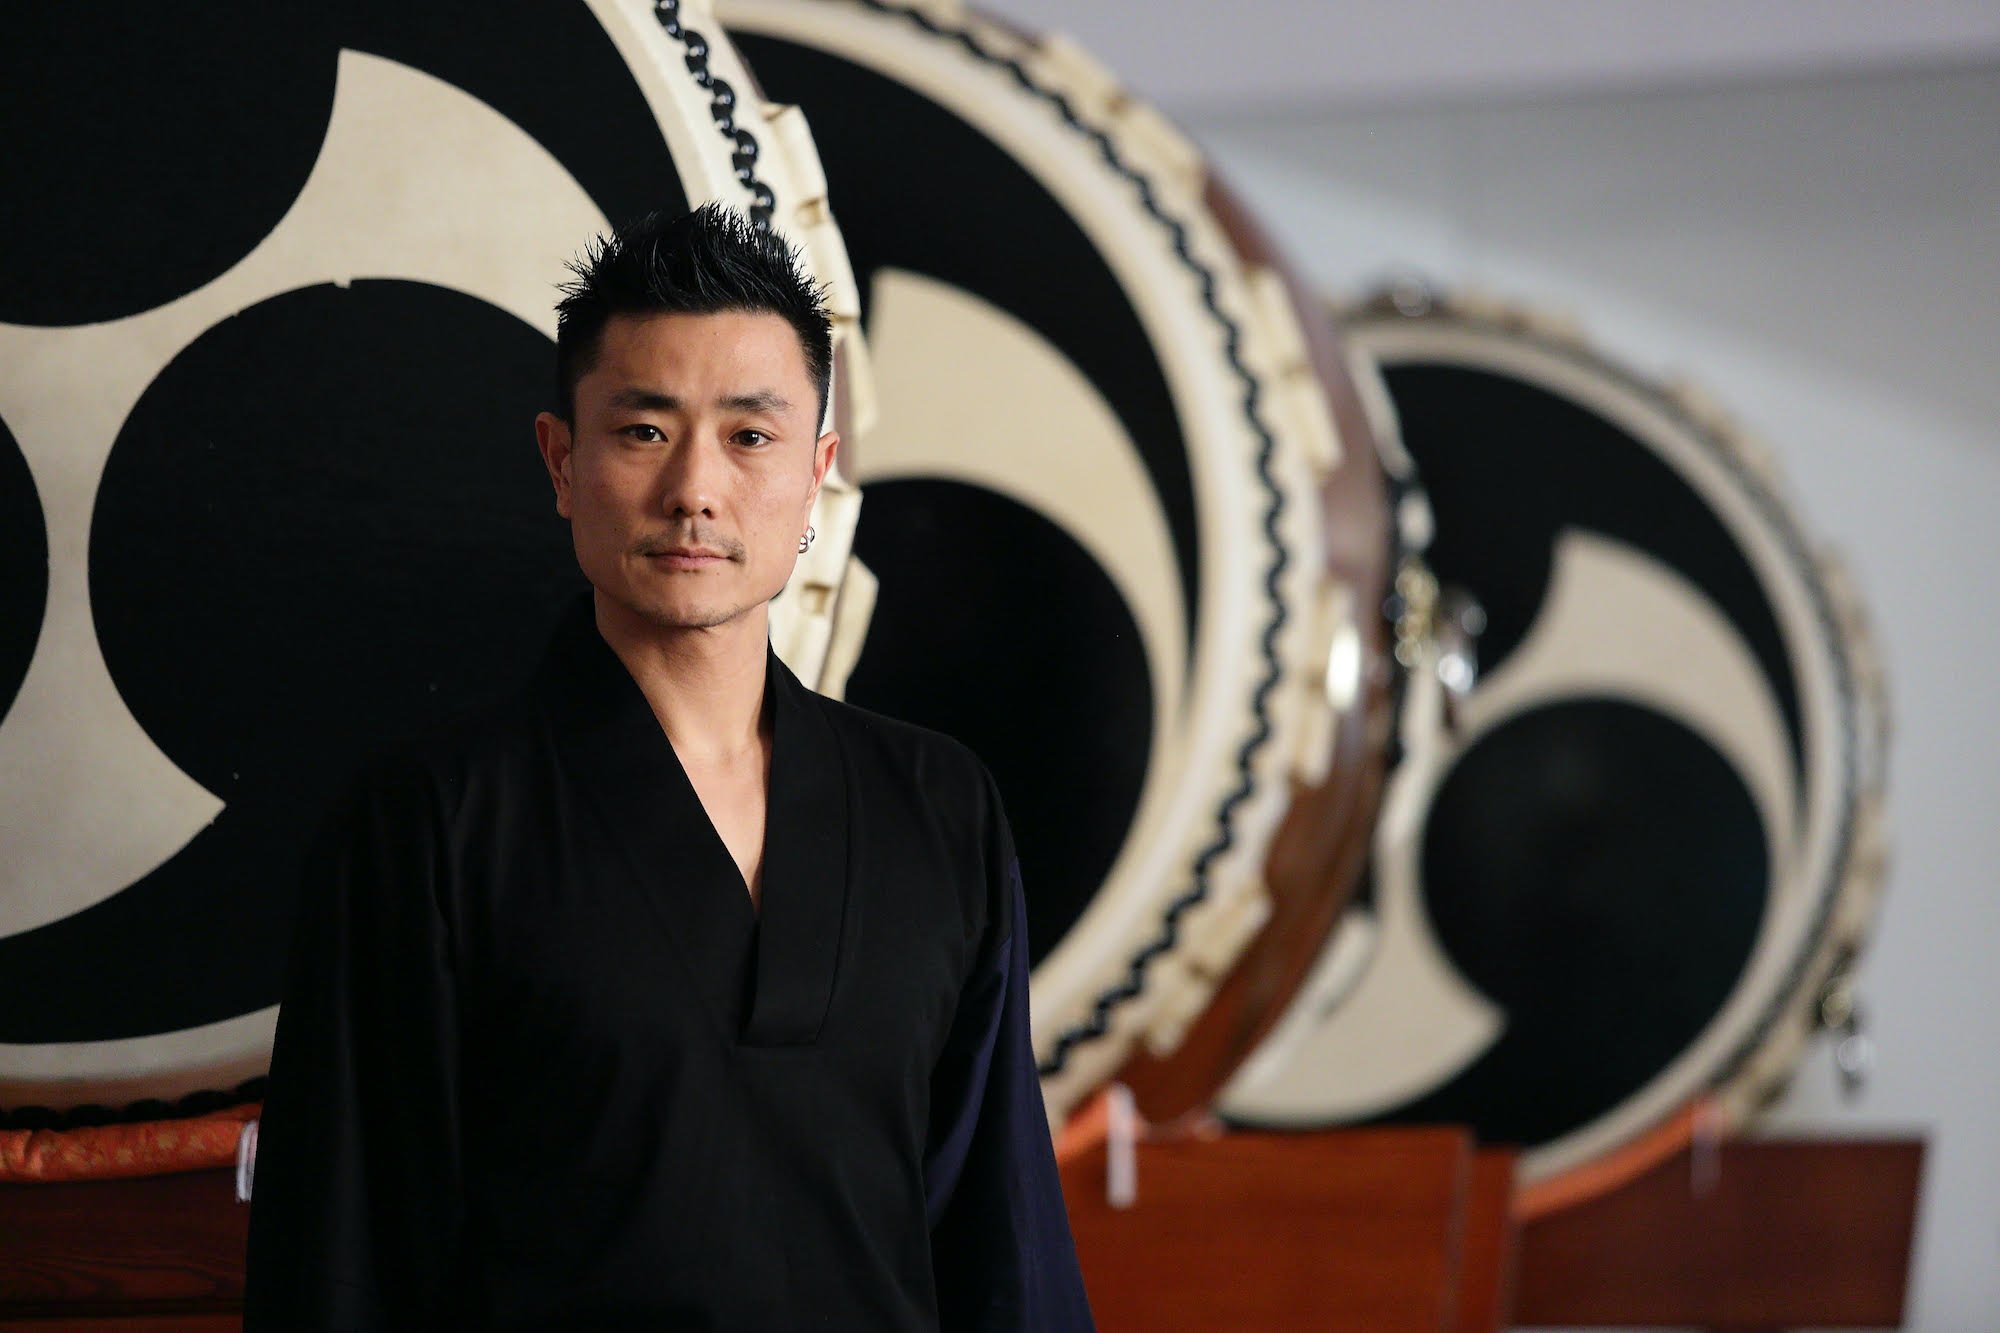
6. Logic Pro - yes, this is a DAW (Digital Audio Workstation) for music recording, editing, and production. Logically, I use it for that purpose too, but it is equally important to my practice routine for a few reasons. First, it allows me to record myself along with any other audio and listen back for things which need to be worked on. Second, it has been invaluable for creating my own play-along tracks. Many times, I will have a piece of music that needs to be worked on and I will quickly create a backing track which can be looped. For example, I did this when I needed to practice playing a drum solo over some unusual hits in my piece Vents. Third, it helps you put together ideas for composing or arranging music and later allowing you to export demos for people you are working with. Fourth, I use it for producing music such as the audio recording and mixing for my recent video collaborations on Haseru (Masa Ishikawa) and TaTom (Patrick Graham).

The first three uses are very easily accomplished on the free app Garageband, which I used for years before upgrading to Logic Pro. I would only recommend getting into Logic Pro’s more powerful and complex features if you are looking to use it for more involved audio recording, mixing, and mastering.


Screen Shot 2021-05-04 at 2.33.43 PM.png

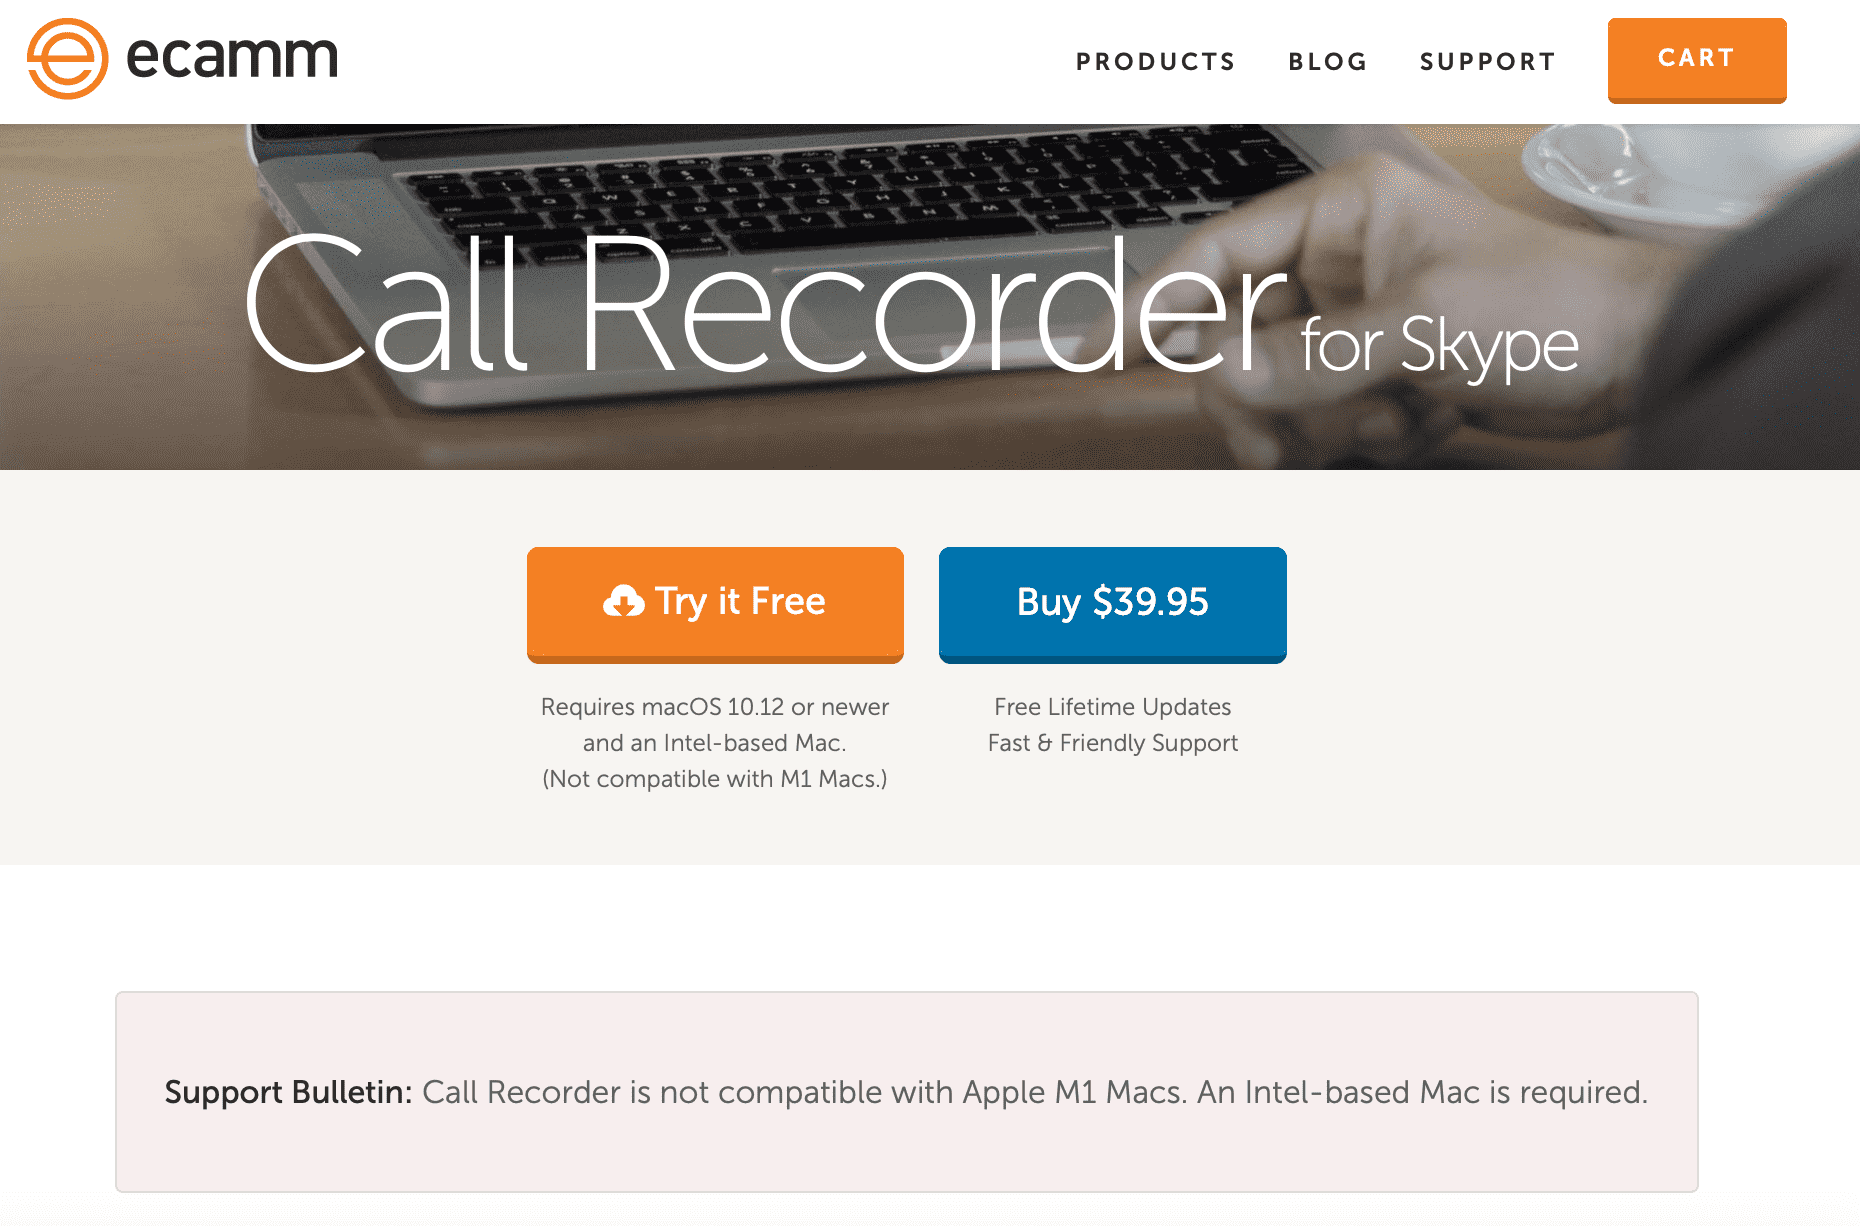
7. Ecamm Call Recorder - five years ago, I started my blog’s interview series where I post audio of my conversations with colleagues and past collaborators. I purchased this software which seemed a bit pricey at the time, but it ended up being very reliable and consistent through the many interviews I have conducted. When the person I’m interviewing is taking valuable time out of their schedule to answer my questions about their work, the last thing I want on my mind is the worry of whether the audio is recording properly. Only once, I made the mistake of using Skype’s built in recording feature, which resulted in the poorest audio of my interview series (most ironically, the Part 1 discussion with Isaku Kageyama about home audio recording gear). These days, I spend more time on Zoom so I have other options for recording those calls. It seems common for people to use the recording feature within Zoom, and I don’t know how well it works since I haven’t used that option. The recurring moral of this story is to spend a few dollars for quality and consistency, which I’m sure will demonstrate its value as you use it.


Screen Shot 2021-05-04 at 2.31.00 PM.png

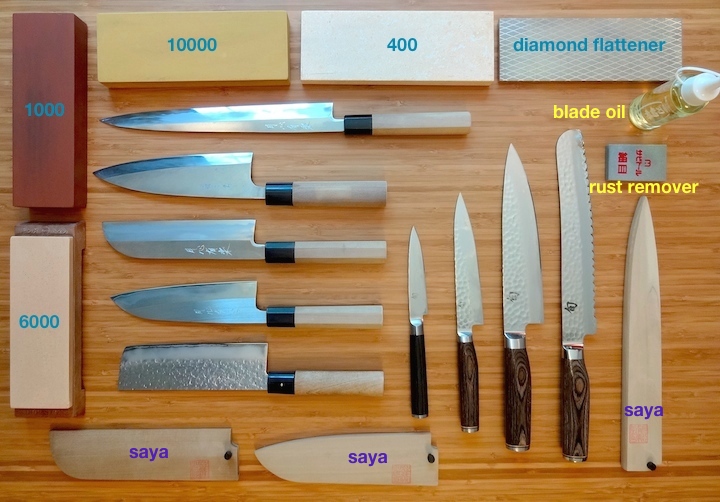
8. ProMovie Recorder - for most of my videos, I use my Canon DSLR in full manual mode where I lock in all exposure, frame rate, color, focus, audio input, and other settings when I record in the controlled environment of my studio. I hesitated to use my iphone for video recording due to the lack of controls until I discovered ProMovie Recorder. This app provides the same controls I get on my camera so that my iphone can capture footage that I can rely on using. I have used this setup on the overhead shot for my 4-part knife sharpening videos as well as the instrument views on my kadon live Edo Bayashi workshop promo video. Recording your practice sessions or rehearsals is important to your musical growth, and an app like this can help to make sure your phone is capturing footage like a pro.


Screen Shot 2021-05-04 at 2.34.15 PM.png

9. Loopback - like many other musicians, I was struggling with the complex and somewhat uncharted territory of routing various audio input and outputs through my computer over the past year. There are various free ‘workaround solutions’ to this problem, but I found them to be hard to understand and unreliable as I tried to get the best audio quality out to my online students or livestream audience. From the beginning, I should have just purchased Loopback from Rogue Amoeba, which would have prevented many hours of headache and confusion. This app is now essential for my online teaching and presentations because it provides full control of the audio inputs and outputs in my computer. It helped me immensely during the recent Online Edo Bayashi Gathering when I routed multiple mics, my audio interface, play-along tracks in Logic, and pre-session music in itunes as one input source going directly into Zoom. I wasn’t in the loop about this company previously, but now I’m a fan and have gone back to purchase their other very useful apps.

Shimedaiko Rope Types and How to Choose One

Shimedaiko rope used for testing

Shimedaiko rope used for testing

This guide is for anyone looking for information about shimedaiko rope. I prefer using the traditional rope-tightened style of shimedaiko over the bolted kind for several reasons:

  1. They sound better to my ears.

  2. They look better to my eyes.

  3. They feel better to my arms when I carry them.

  4. They are kinder on my stands, floors, limbs, and any surface that comes in contact with the drum.

  5. They are still the only type used by professionals in many traditional arts such as kagura, noh, kabuki, and Edo Bayashi.

Obviously, the bolt-style drums are legitimate and have many fans, mainly due to the ease of tightening and loosening the drum quickly and evenly. To tighten properly, both drum styles require lots of practice and careful attention to detail to get the best sound and longevity of the instruments. I believe that rope shimedaiko can be more fun, rewarding, and beneficial to your growth as a player once you gain the knowledge and develop the skills required to care for it correctly. This blog entry is only about rope types, so send me an email if you are interested in learning more about the advantages of the wooden mallet tightening technique described here:

https://www.eienhunterishikawa.com/blog/my-favorite-shimedaiko-tightening-met

Kuremona (9mm)

Kuremona (9mm)

Vintage 3 strand (10mm)

Vintage 3 strand (10mm)

When I started my research about rope options for shimedaiko, I was surprised at how little information I could find online. There is a huge variety of rope types out there and this overabundance of choice is confusing when you are trying to compare materials, pricing, diameter, color, stretch, and the ability to hold knots. Hopefully this guide will help you narrow down the sea of choices and focus your own quest for the best rope. A special thanks to Chris Huynh for helping with my research.

The two most important characteristics for shimedaiko rope performance are: not stretching and not slipping. The rope needs to hold knots during tightening, and then hold the tension after the drum is tightened. With these requirements in mind, here are the ropes I eliminated from my list of acceptable materials:

Nylon - too stretchy, too slippery
Cotton - too weak, too stretchy
Sisal - too hard, brittle, and rough
Kevlar - no good options available
Dyneema - too slippery
Spectra - too slippery
Hempex & Unmanilla/Promanilla - these are said to stretch and slip, but I haven’t tried it
Any braided rope - too smooth, and therefore too slippery

Below are the ropes that work, with pros and cons for each. They are all 3-strand twist because of their ability to hold knots better. Some of these ropes can tend to unravel, so I would recommend always keeping a tight twist for better durability and limiting the stretchiness. The first two are natural ropes - the texture is rougher so it’s a good idea to use gloves when working with them. The other synthetic ropes are generally easier on the hands.

  1. Hemp - the traditional rope, best for not stretching and holding knots. The main disadvantages: the rope is rough on your hands, they ‘shed’ material on the floor, your clothes, and into the air. Depending on the supplier, some hemp rope (like the one I bought, even after days of sun exposure and spraying with vinegar solution) smells so bad that I don’t want to handle it. Although I haven’t personally used them yet, the hemp rope sold at Miyamoto Unosuke Shoten and Asano Taiko are of high quality and don’t seem to have any offensive smell. They also seem to only carry the natural rope, with no dyed-color options. Asa is the Japanese word for hemp. I have been told that hemp shrinks over time, so that’s something to keep in mind.

  2. Manila - a very inexpensive and easy-to-find alternative to hemp, it performs very well by holding knots and not stretching. Depending on the supplier, it can be rougher on the hands and shed even more than hemp. But it’s cheap and available everywhere. If there are higher-quality manila ropes out there, I would be interested in trying them out.

  3. Kuremona - a synthetic rope that both Miyamoto and Asano carry. I would think that there are different types of kuremona, but my only experience with this rope is on the Edo Bayashi taiko made by Miyamoto. It stretches and slips more than the natural rope mentioned above, but it is within the acceptable range of performance. The advantages: the variety of colors available, and the rope feels nice in the hands.

  4. POSH - a synthetic rope I recently became aware of and decided to try out. It stretches less and holds knots better than kuremona, but the main disadvantage is its stiffness. I would think that the rope will eventually soften, but I have only used it once. The lack of suppleness make it hard to get the slack out of knots before you tighten, and this doesn’t allow you full control of how much tension the rope creates on the drum heads. If this rope softens, it would be my top choice. I purchased this rope online at R & W Rope. It has been suggested that perhaps putting the rope through a wash cycle might soften it. The photo below shows the impressive array of POSH color options at R & W Rope. This photo was emailed to me by Ray, who was very helpful in helping me narrow down the choices. The online store shows less color selection, so you might need send them an email to order a specific color.

  5. Vintage 3 Strand - another synthetic rope I recently learned about and purchased to try. This is softer and easier to handle than POSH, but with slightly less knot-holding ability. It also only comes in one color, a natural beige. Because it’s cheaper and easier to work with, I would place this rope slightly ahead of POSH in terms of performance. This was also purchased at R & W Rope.

The 4 ropes I tried back-to-back to compare

The 4 ropes I tried back-to-back to compare

Rope samples from Miyamoto - five kuremona colors and hemp (far right)

Rope samples from Miyamoto - five kuremona colors and hemp (far right)

POSH colors available at R & W Rope

POSH colors available at R & W Rope

Rope Diameter and Length

It makes sense to use the appropriate diameter rope for the size of shimedaiko you use. For the typical medium sized (2 or 3 chogake) drum, I think 10 - 12mm works well. A smaller drum might take 8 - 9mm and the biggest drums (4 or 5 chogake) could use 12 - 13mm, depending on the drum maker and rope type. In the US, 3/8 inch (9.5mm) rope is very common and easy to find. Thicker diameter is better for durability and less stretch but a rope too thick can be hard to work with. Take into consideration the depth of the body, how stretched the skins are already, and how large the holes near the rings are. For example, the Edo Bayashi taiko pictured below has a 9mm kuremona rope - it works fine, but I would prefer something slightly thicker for this drum. You can see that the holes are definitely wide enough for a bigger rope. I have learned that both Miyamoto and Asano sell a preset diameter rope for each shimedaiko size, which makes it simpler to order the appropriate rope for each drum size. However, you might want to ask for more detail about the material and diameter of the ropes so that you can choose one that best fits your needs. It’s common in Japan to use the traditional unit ‘bu’ (3mm) for rope, and for our purposes we would look for 3 or 4 bu (9mm or 12mm). But I’m pretty sure that other diameter ropes would be available in 1mm increments, and will continue my research to learn more about our options.

Miyamoto Edo Bayashi shimedaiko with 9mm kuremona

Miyamoto Edo Bayashi shimedaiko with 9mm kuremona

The taiko companies also seem to provide a set length for each shimedaiko size, but I think it would be possible to place a custom order. After the drum is tightened, I prefer to follow the common practice of winding the rope 3 times around before tying off. I have noticed that Kodo and Hayashi Eitetsu both wind the rope 2 times, so I can understand people using this method as well. For me, it’s like the martini olives rule - you should have an odd number, and 1 is too few (and 5 won’t fit). Because each drum will have differences in the length of rope required, I ordered 36 feet (11 meters) of rope for my testing and cut off the excess after tightening the drum for the first time. I feel more at ease knowing that I will have plenty of rope to work with, but you can certainly order less than this. If you are ordering from Miyamoto or Asano, it might be a good idea to ask about the set rope length and see if you can purchase your preferred length in addition to the diameter.

Whipping on the end of the rope

Whipping on the end of the rope

General Tips

1. It’s worth learning how to tie a proper whipping knot on the end of the rope to prevent it from fraying or unraveling. Tape can do the job, but it’s less aesthetically pleasing and it can come off with some pressure. A quick online search will give you many photo and video tutorials on how to whip the end of a rope.

2. Prioritize function over appearance. I have seen many drums with beautiful ropes that don’t work well at all, resulting in less than ideal sound and tightening performance. Instead of trying to find a rope that takes dye well (such as cotton) at the expense of function, search for rope that is already the color you are looking for within the category of acceptable performance.

3. Experiment to learn your individual preferences on material, diameter, length, and price. Then ask questions so that the supplier is sending you exactly what you are looking for. For example, I should have asked the salesperson about the smell of their hemp rope before ordering. Ask other taiko players, makers, and stores for detailed information so that you can build your base knowledge and find the best rope for you. I also found it interesting to learn about the wide the variation in pricing, so don’t forget to make note of the differences carefully. Let me know if you have any recommendations and I will add them to my list.

4. Learn proper tightening technique so that you value the performance of the rope. There are several different tightening methods that are commonly used. Choose one that works best for you and practice a lot. And boosting your ability to play the drum will increase your appreciation of the sound and condition of the skins over time.

5. Understand that your treatment of your shimedaiko can impact not just the sound, but also the longevity. A clamshelled shimedaiko will not last as long as a more evenly tightened one. And keeping a drum tightened all the time will result in a shorter lifespan than one that is loosened between uses. Of course, other factors like stick selection, playing technique, stand design, weather, and general handling practices will all affect how long your heads will last.

6. Links to suppliers:

Miyamoto Unosuke Shoten

Asano Taiko US

R & W Rope

Partially tightened Edo Bayashi shimedaiko by Miyamoto Unosuke Shoten

Partially tightened Edo Bayashi shimedaiko by Miyamoto Unosuke Shoten

Complete set of Edo Bayashi instruments and accessories

Complete set of Edo Bayashi instruments and accessories

My Favorite Shimedaiko Tightening Method

Edo Bayashi shimedaiko courtesy of Miyamoto Unosuke Shoten & tightening tools

Edo Bayashi shimedaiko courtesy of Miyamoto Unosuke Shoten & tightening tools

I have used several different methods for tightening shimedaiko over the years, and my single favorite technique uses a kizuchi (wooden mallet). I first learned about it from Kenny Endo many years ago when I moved to Hawaii to study with him. Last year, during my Edo Bayashi intensive with Kyosuke Suzuki sensei in Tokyo, I was taught all the details for Wakayama Shachu’s version of this method. Suzuki sensei is always very open in sharing his knowledge, and his terrific teaching skills are always present, whether I’m learning Edo Bayashi, shishimai, or shimedaiko tightening. You can read more about the intensive here:

https://www.eienhunterishikawa.com/blog/my-edo-bayashi-year-2018

The biggest advantages for the kizuchi method are: you can tighten a drum by yourself, muscle power is not needed due to the use of leverage, there is no need to weaken the rope by hitting it, and there is minimal strain on your back. Last year I started offering instruction on this method, and it has been great to see people sharing my enthusiasm for tightening shimedaiko this way. The two most common problems I see with rope shimedaiko are not getting it tight enough and repeated uneven tightening resulting in the ‘clamshell’ effect. I have no doubt that learning the kizuchi method will help groups improve the sound and longevity of their drums.

The taiko pictured here is courtesy of Miyamoto Unosuke Shoten, an Edo Bayashi drum and stand made to Wakayama Shachu specifications. Next to it are my oak agebachi (43cm), a kizuchi head modified to fit the agebachi, vinyl hose pieces, and a plastic pad for protecting the drumhead. Thank you to Yoshihiko Miyamoto san for the continued support!


Here are ten pieces of advice about shimedaiko tightening that I learned from Suzuki sensei:

  1. Play the lower-pitched side of the shimedaiko. It sounds fuller and richer.

  2. Tie the rope to the playing side using a bowline knot (moyai musubi). This knot is included in my blog about atarigane knots.

  3. Make sure the tate rope (tsuna) is evenly tightened before going on to the next step. If uneven, the drum will clamshell in the long run.

  4. For new drums, use slitted pieces of hose to protect the rim as you use the agebachi.

  5. Use a kizuchi (approximately 7 x 15cm head, 40cm handle length) to get the drum tight through the use of leverage. You can make it yourself or order custom-made mallets from my friends Abby or Chris. Contact me for more information.

  6. Protect the drumhead when using the kizuchi.

  7. To save time, find the middle point of the rope and pull the doubled rope through.

  8. At the end, the rope should wrap around the drum 3 times, tying the very last knot at the same place as the very first bowline knot.

  9. Place the knot side on the bottom when you place it on the stand.

  10. Always loosen the drum after playing. The advantages are: better sound, longer-lasting heads, any unevenness will not become permanent, and it provides valuable tightening practice to improve your skill.

Decorative Knots for Atarigane and Shumoku

Angled kane and shumoku.jpg

I recently started a serious study of knots and quickly found out how bottomless this world of knot-tying really is. During my Tokyo Edo Bayashi intensive (read about it here) last June, Suzuki sensei showed me his method of tightening shimedaiko including all of the knots. But for the atarigane and shumoku, sensei simply showed me his instruments and advised me to look up some decorative knots and experiment after I got home. While this was a fun activity, I realized the challenges of not only learning how to tie them, but to find the correct knots in the first place. The internet usually makes information searches fast and easy but my of lack prior knowledge made it frustrating to comb through hundreds of tutorial photos, videos, and useless web links. For knots, it turns out that you need to know the exact name of the knot before any good search results will show up. This was even more difficult when I was trying to find the English name of Japanese knots, or trying to reverse engineer knots from photos. Fortunately there are a lot of great tutorials online when you start with the correct knot names, and I list all of the ones I use here.

My research is knot done yet, but these labeled photos will provide a good starting point for anyone looking to add some color and style to their atarigane and shumoku. I don’t believe that there is a single correct way to approach this, and I would encourage everyone to experiment with different combinations of these and other knots. Much like the study of the Edo Bayashi music, there is no end once you start going deeper and deeper down this path. It would be fun to see everyone’s versions so please send me a photo if you try this yourself.

The left-side photo below shows a 5.5 Betsubiki atarigane with some decorative string I repurposed from a pair of chappa. The shumoku (Marukuma Edo Bayashi) string was originally on one of my other kane, and at 93cm it’s probably too long. I might go with something like 60 - 70cm for the shumoku string (length before tying). The common colors I see are purple, red, orange, and white, but it might be interesting to try other colors or combinations. The right-side photo (orange string) shows my experimentation with locking loop knots so that the string length is easily adjusted for different playing styles. Of the two, I prefer the adjustable grip hitch for its ability to hold more firmly. I added a variation so that the end of the string points down rather than out to the side. This photo also shows the proper orientation of the kane where the string holes are toward the bottom.

There are some bonus photos at the end showing two knots: the cowboy bowline and the snake knot. I used an old piece of string from my vibraphone to practice these knots before trying it on the real material. I would highly recommend doing this to get more familiar with the many different techniques. The cowboy bowline is typically used as the starting knot for shimedaiko and is called moyai musubi もやい結び in Japanese. Although I considered similarly breaking down all of the knots I list here, I decided knot to because doing your own research is invaluable, and I wanted to keep the length of this blog entry reasonable. Feel free to send me any follow-up questions. Good luck and happy tying!

Purple kane with shumoku.jpg
Orange kane and shumoku.jpg

Poacher’s knot

Adjustable grip hitch
(variation of passing the string through the last loop down)

Snake knot
Tsuyu musubi つゆ結び

Shamrock knot (sailor’s cross)
Agemaki musubi あげまき結び

Japanese square knot
Kanou musubi かのう結び

Purple close up copy.jpg
Orange close up copy.jpg

Snake knot

Japanese square knot

Triangle lanyard knot

Double connection knot

Overhand knot

shumoku top copy.jpg
shumoku bottom copy.jpg

Snake Knot

snake knot loose copy.jpg
snake knot tight copy.jpg

Cowboy Bowline Knot

Cowboy bowline loose copy.jpg
Cowboy bowline tight copy.jpg
green string.jpg

My Edo Bayashi Year of 2018

Edo Bayashi intensive with Suzuki sensei in Tokyo, June 2018

Edo Bayashi intensive with Suzuki sensei in Tokyo, June 2018

A lot of great things happened in 2018, but one of my most important through lines of this past year was Edo Bayashi. My initial introduction to traditional Tokyo festival music happened through my first teacher, Saburo Mochizuki sensei, who patiently taught these intricate rhythms to me and the members of our youth taiko ensemble based in Saitama. I can clearly recall those lessons and eventual performances where I quickly realized the necessity to practice the material on my own time in order to internalize it completely. This was quite different than the other taiko pieces we had been learning. The music was fascinating, but I also remember the unmistakable festive feeling of omatsuri bringing joy every time I heard this music. Many years later, I had the good fortune of completing a full circle by studying and performing Edo Bayashi in Hawaii with Kenny Endo. In addition to studying Japanese classical percussion with Saburo sensei, Kenny had spent many years learning Edo Bayashi from Maru sensei, one Wakayama Shachu’s top players. During my time as a member of Kenny’s ensemble, I met Suzuki sensei. He had been invited by Kenny to appear as a guest artist for a Hawaii concert tour, and I was immediately struck by his combination of uncompromising artistic standard and genuine niceness as a teacher and fellow musician. This first encounter has turned into a thirteen-year connection spanning lessons, concerts, and US tours, and I am grateful to have Suzuki sensei as a teacher, collaborator, and friend. Below are some of the highlights of my Edo Bayashi year of 2018.

For anyone wanting to start or to further your Edo Bayashi studies, contact me. I’m happy to answer any questions and help you gather the necessary tools to start practicing. This music is remarkable in the way it has been steadily spreading across players of all styles, ages, and experience levels. In addition to workshops, I teach private lessons - both in person and through online software like skype. Feel free to send me an email to inquire about setting something up for yourself or your group. I can also discuss possibilities of inviting Suzuki sensei to your area.


Edo Bayashi practice materials during my 2-week Tokyo intensive

Edo Bayashi practice materials during my 2-week Tokyo intensive

Edo Bayashi private lesson intensive in Tokyo
In order to further my Edo Bayashi study, I traveled to Tokyo for a 2-week private lesson intensive with Suzuki sensei in June. While my previous intensive focused on how to teach the kihon (basic) version of Edo Bayashi, this recent trip was to focus on how to teach the next level.

Read about my previous intensive

Learning “Level 2” has its challenges due to the music being more free and open to changing rhythms and section lengths compared to the “Book” version. I wanted to make sure my own playing and instruction concept reflected the proper approach of Suzuki sensei within the Wakayama-Ryu style. Our lessons covered three main topics: the music (shimedaiko, odaiko, atarigane, shinobue), the reigi (etiquette), and shimedaiko tightening. There are various paths of study that Level 2 Edo Bayashi can take, but it was important for me to clarify all of the details so that my teaching of the material would be completely in line with Suzuki sensei’s method. It was also interesting to confirm my thinking that, like the study of jazz, transcribing and studying the best players are of paramount importance in this next-level study. On this trip, I was lucky to have the opportunity see Wakayama Shachu perform Edo Bayashi several times at a small festival in Tokyo at Shirahige Jinja, and this provided more insight on how Suzuki sensei and his fellow members approach this music.

Wakayama Shachu performing Edo Bayashi at Shirahige Jinja

Wakayama Shachu performing Edo Bayashi at Shirahige Jinja

Shirahige Jinja in Tokyo

Shirahige Jinja in Tokyo

The topic of reigi has increasingly been on my mind, especially because of Suzuki sensei’s interaction with many students and collaborators during his recent US tours. On one side of this issue is how etiquette in Japanese traditional arts (especially professional) are taught, practiced, and expected. As sensei states, both teachers and students who are accustomed to this structured system feel more “ochitsukeru" (at ease) when everyone’s behavior follows traditional customs. An opposing viewpoint might argue that anyone who didn’t grow up in the system should not be expected to follow this foreign etiquette, as it is separate from the appreciation and commitment to the music itself. Finding a healthy balance point seems to be a continuous puzzle for sensei as he navigates teaching in a wide variety of situations during his time here. Talking at length about how things went during previous tours, we boiled down this topic into three points which we feel are universally valued and easily understood: hello, thank you, and I’m sorry. Here are the three A’s of good etiquette:

  1. Aisatsu - this is to acknowledge the presence of your teacher and fellow students. Always say hello when you see someone for the first time, especially your teacher. The phrase “yoroshiku onegai shimasu” can be added after the initial hello if a lesson, rehearsal, or performance is to follow. It’s also important to say goodbye before parting. A simultaneous lowering of the head, even slightly, communicates your feeling of respect to the person. It’s also good practice to avoid looking down on your teacher by positioning yourself at the same level or lower than your teacher. For example, sit down if they are seated, or step down from a higher point such as a riser on stage.

  2. Arigato gozaimashita - thanking your teacher for a lesson, performance, meals, and generally their time and energy can probably never be overdone. A truly great teacher provides us with invaluable knowledge and experiences, so the least we can do is to express our appreciation as much as possible. This also applies to the next day or next meeting after a lesson, concert, or meal where we can say “thank you for the performance yesterday.” Notably missing here is “otsukare samadeshita” because within Wakayama Shachu, as is the case in many Japanese traditional arts, this phrase is never used to address your teacher or fellow students who are more experienced.

  3. Ayamaru - as sensei says, we apologize to clear the air. If we make a mistake during a performance, good etiquette tells us to say sorry to your teacher (and fellow performers) immediately after exiting the stage. This is to verbally clarify that you take responsibility and do not place blame on others. Common sense also dictates us to apologize for being late, or causing nuisance in any way to your teacher. Of course, we should always be striving to prevent situations where such apologies become a necessity in the first place.

Finally, I was able to learn the shimedaiko tightening method used by Wakayama Shachu. It utilizes the agebachi as well as a large wooden mallet, which provides leverage so that getting a lot of rope tension is possible without much muscle exertion due to physics and the use of body weight. In contrast, the two-person tightening method requires more strength along with the biggest disadvantage of needing two people. The other common method of pulling up on the rope as you stand on top of the drum also requires more muscle power, and it strains your back even if you are careful to use your legs. I am confident that the method Suzuki sensei taught me is truly superior to these other two, and I’m looking forward to sharing the technique with others in the near future. The taiko world needs more properly tightened shimedaiko, in my opinion.

Miyamoto logo.jpg

I would like to express my enormous gratitude to Yoshihiko Miyamoto and Miyamoto Unosuke Shoten for sponsoring these private lessons. Such kind support is very important and meaningful for me to continue my studies into this bottomless well of learning that is traditional Tokyo festival music. Thank you very much Yoshi san!


Suzuki sensei US Tour
We are fortunate that Suzuki sensei is always willing to travel to the US to share his knowledge and artistry. He was at the very first North American Taiko Conference in 1997, and he continues to gain new fans with each new workshop or performance presented around the country. Suzuki sensei’s most recent tour happened in April and we visited three places:

Suzuki sensei with Ho Etsu Taiko

Suzuki sensei with Ho Etsu Taiko

Suzuki sensei and Eien at “the bean" in Chicago

Suzuki sensei and Eien at “the bean" in Chicago

Chicago
Ho Etsu Taiko invited Suzuki sensei for a 1-week residency which included many hours of workshops and private lessons along with the group’s very first performance of Edo Bayashi. The planning started 6 months before the concert, when I conducted an introductory Edo Bayashi workshop weekend for Ho Etsu. This extraordinarily short timeline required focused planning and a lot of hard work, and the group’s dedication came through in multiple ways, resulting in a very successful residency and concert. This was their first time meeting Suzuki sensei and I could sense a bit of anxiousness as his arrival date approached, but it didn’t take long for everyone to witness his kind and relaxed demeanor. The concert program was a nice mixture of Ho Etsu’s repertoire, featured spots for Suzuki sensei and myself, and the traditional forms of Edo Bayashi, Edo Kotobuki Jishi, and Ryoumen Odori. The members of Ho Etsu created an excellent blog series documenting this process, and they even asked me to contribute a guest blog. Ho Etsu’s leader Jason Matsumoto also created a short video recap of the residency, which provides a glimpse into the activities that week.

Ho Etsu Taiko’s Edo Bayashi blog

Suzuki sensei residency recap video

Minneapolis
The planning of this US tour began with TaikoArts Midwest’s Jennifer Weir and Iris Shiraishi inviting Suzuki sensei for their April installment of Taiko Tuesdays concert series. We were in Minnesota for ten days, which consisted of rehearsals, workshops, private lessons, and a little bit of sightseeing. Suzuki sensei continues to be impressed with the progress of the TAM Edo Bayashi Ensemble. He was there in August 2017 to work with the group and some of the members have taken other intensives in the US and Tokyo. Like Chicago, the concert included pieces from the Enso Daiko repertoire, features for Suzuki sensei and myself, and the traditional forms of Edo Bayashi, Edo Kotobuki Jishi, and Ryoumen Odori. Perhaps the most significant achievement is this: this was the very first performance of Level 2 Wakayama-Ryu Edo Bayashi as taught by Suzuki sensei outside of Japan. As important as this was, TAM continued to blaze trails a few months later by crowdfunding successfully to purchase a new set of instruments for Edo Bayashi and Kotobuki Jishi from Miyamoto Unosuke Shoten. More about these drums later, but a big congratulations to the TAM Edo Bayashi Ensemble!

Photo by Jeff Sandeen

Photo by Jeff Sandeen

Photo by Jeff Sandeen

Photo by Jeff Sandeen

Taiko Tuesday program featuring Kyosuke Suzuki sensei

Taiko Tuesday program featuring Kyosuke Suzuki sensei

Photo by Jeff Sandeen

Photo by Jeff Sandeen

Suzuki sensei intensive at Kaoru Watanabe Taiko Center in Brooklyn

Suzuki sensei intensive at Kaoru Watanabe Taiko Center in Brooklyn

Brookyn
Our final stop was the Kaoru Watanabe Taiko Center in Brooklyn, New York for a weekend intensive. The format consisted of instruction on Friday, Saturday, and Sunday as well as facilitating in-depth learning along with ample opportunities to talk and ask questions to sensei during breaks and communal mealtimes. Being at the end of a long and busy tour, Suzuki sensei and I were somewhat challenged by this intense schedule, but it was very rewarding to spend so many consecutive hours on instruction and informal conversation. One of the fun late-evening moments was when Kaoru hooked up his computer to the projector and we watched various videos of Suzuki sensei and Wakayama Shachu, pausing to talk about the music, dance, costumes, history, or some related topic. It’s a pleasure to have a friend and colleague like Kaoru, as our views about the importance of traditional forms, and music in general, are very much in line with each other.


In March, I interviewed Kenny Endo for my blog’s interview series. I wanted to specifically talk about his time in Japan learning Wakayama-Ryu Edo Bayashi, and this interview turned out to be an important resource for anyone interested in Edo Bayashi. I agree with Iris Shiraishi who said there were many ‘aha’ moments during the conversation. Thank you to Kenny for making time to share these important stories and insights.

Kenny Endo Interview

Taiko workshop for Edo Kotobuki Jishi in San Diego

Taiko workshop for Edo Kotobuki Jishi in San Diego

Earlier that month, I was invited for a weekend of public workshops in San Diego. I had spent a week there in August 2017 during the North American Taiko Conference and Suzuki sensei’s Shishi Mai Summer Taiko Institute. Partly due to this, there was plenty of interest in workshops for Edo Bayashi and the shishimai ohayashi (music). I also offered workshops for shinobue and taiko fundamentals to round out the weekend. I had a great time and it was wonderful to see so much interest in these topics. My hosts were wonderful, taking me around to visit a respectable number of breweries in the thriving scene there. Thank you to Chris Huynh and Jack Hsiao for the warm hospitality.

Taiko workshop in San Diego

Taiko workshop in San Diego

Shinobue workshop in San Diego

Shinobue workshop in San Diego

Later that month, I was invited by Susan Yuen of Jun Daiko to work with the Edo Bayashi nerd club in Mountain View, California. Jun Daiko has so many members with whom I played in Hawaii as a member of Kenny’s group so it’s always a fun reunion where we can speak the same language and share stories. You can also read Sue’s guest entry at Ho Etsu’s Edo Bayashi blog page.

Ho Etsu Taiko’s Edo Bayashi blog


Edo Bayashi workshop in Seattle with Dekoboko Taiko

Edo Bayashi workshop in Seattle with Dekoboko Taiko

In May, I was invited to teach Edo Bayashi to a newly formed group in Seattle called Dekoboko Taiko. None of their members were familiar with Edo Bayashi, but they showed a lot of interest before, during, and after this introductory workshop. I was shown some of the music they play and it was wonderful to see their energy and emphasis on playing the group’s original compositions. I look forward to seeing the development of Edo Bayashi in Seattle. Thank you to Lamond and Leanna for the fun time.


In August, Maui’s dynamic youth group Zenshin Daiko invited me for a one-week residency. It’s always wonderful to be back in Hawaii and to work with such a great group of kids. Zenshin has a lot of experience performing big shows and learning from professionals, and as a result I have learned that it usually take them half the time to learn new music compared to other taiko groups. This proved to be true when I introduced the taiko and atarigane patterns for Nageai, where they were able to rotate parts to learn everything in the book. I returned in October to introduce the fue parts along with new taiko and atarigane variations to incorporate. I look forward to seeing how this group incorporates the new material into their future performances. Thank you to Tony and Valerie Jones for the always wonderful hospitality.

After the Edo Bayashi workshop in Denver

After the Edo Bayashi workshop in Denver

In September, I traveled to Denver for a variety of workshop topics. The origin point of the tour was the Denver Buddhist Temple, where I conducted a Natto Demonstration and a Japanese Knife Sharpening Workshop. Those events went well, along with the music-related workshops for different Denver groups. There was a public workshop called Introduction to Edo Bayashi where we covered the taiko and atarigane parts for Nageai. A few days later was the class where we covered the fue portion. I feel fortunate to have a lot of friends who take care of me in Denver, and I feel warmly welcomed each time I visit there. Thank you to Sarah Anderson, Courtney Ozaki, and everyone else involved with my tour.


Finally, back to the new taiko fund-raised and ordered by TaikoArts Midwest! The beautiful new instruments arrived to Minneapolis in early November and I was invited back to introduce more Level 2 Edo Bayashi material from my June intensive. It was also rewarding to share the new shimedaiko tightening method to everyone, and this was the first tightening session since their delivery. The drums look incredible and sound fantastic! The real sound can only come from the real instruments made for this specific music, and it was wonderfully rewarding to conduct our workshops on these new drums after tightening them as a group using Suzuki sensei’s method. Indisputably, TaikoArts Midwest is simultaneously setting the bar higher for Edo Bayashi study and showing the rest of us that this is all possible. I am looking forward to what comes next in Minnesota, and everyone should be paying close attention as well. Thank you to Iris Shiraishi and Jennifer Weir for everything you do.

TAM shimedaiko after tightening.JPG
TaikoArts Midwest members with the newly arrived Edo Bayashi taiko from Miyamoto Unosuke Shoten

TaikoArts Midwest members with the newly arrived Edo Bayashi taiko from Miyamoto Unosuke Shoten